T-374
5–16
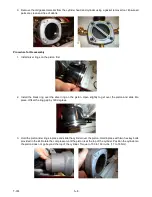
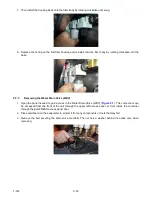
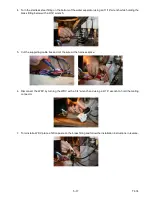
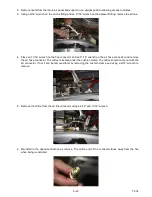
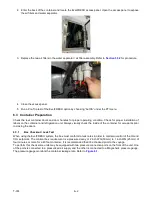
7. Then install the housing back onto the filter body by rotating clockwise until snug.
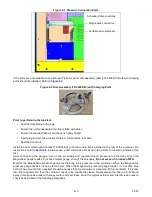
8. Replace the O-ring on the first filter housing and reinstall onto the filter body by rotating clockwise into the
base.
5.3.3
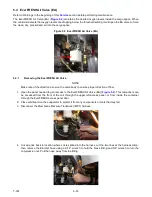
Removing the Water Drain Valve (WDV)
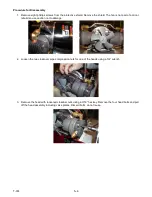
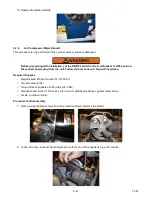
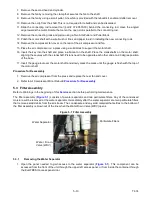
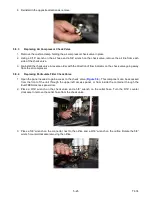
1. Open the panel needed to gain access to the Water Drain Valve (WDV) (
). This component can
be accessed from the front of the unit through the upper left access panel, or from inside the container
through the EverFRESH access panel door.
2. Place cardboard on the evaporator to protect it from any components or tools that may fall.
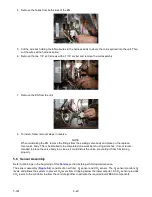
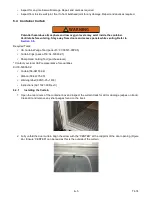
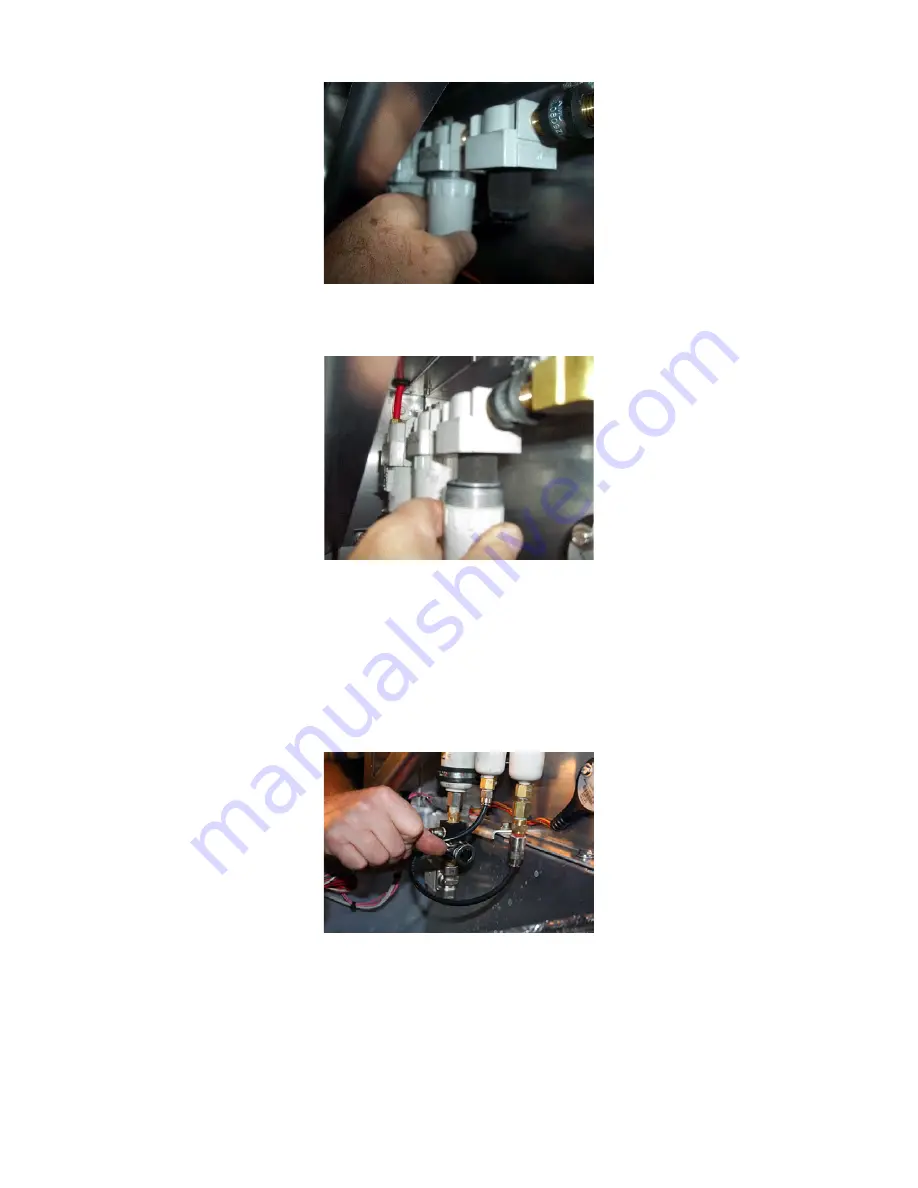
3. Remove the bolt securing the drain valve manifold. The nut has a washer behind it so take care when
removing.
Summary of Contents for EverFRESH
Page 14: ......
Page 22: ......
Page 30: ......
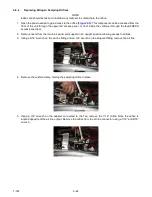
Page 56: ...T 374 5 26 4 Note the orientation of the check valve 5 Reinstall in reverse order ...
Page 64: ......
Page 66: ......
Page 67: ...8 1 T 374 SECTION 8 SCHEMATICS DIAGRAMS STANDARD UNITS Figure 8 1 Legend Standard Units ...
Page 68: ...T 374 8 2 Figure 8 2 Schematic Standard Units Page 1 ...
Page 69: ...8 3 T 374 Figure 8 3 Schematic Standard Units Page 2 ...
Page 70: ...T 374 8 4 Figure 8 4 Wiring Diagram Standard Units ...
Page 72: ...T 374 9 2 Figure 9 2 Schematic Units with CO2 Injection Page 1 ...
Page 73: ...9 3 T 374 Figure 9 3 Schematic Units with CO2 Injection Page 2 ...
Page 74: ...T 374 9 4 Figure 9 4 Wiring Diagram Units with CO2 Injection ...
Page 99: ......

