6–5
T-374
• Inspect for any internal wall damage. Repair and caulk as required
• Inspect floor to side wall joint, floor to front bulkhead joint for any damage. Repair and caulk as required
6.4 Container Curtain
WARNING
!
Potential hazardous atmosphere and low oxygen levels may exist inside the container.
Ventilate before entering. Stay away from doors and access panels while venting. Refer to
Required Tools:
• CA Curtain Wedge Tool (pack of 5: 07-00573-00PK5)
• Curtain Clips (pack of 50: 34-50093-01)
• Sharp Hand Cutting Tool (purchase local)
* Contact your local CAP representative for quantities
Kit 76-50036-02:
• Curtain (58-04153-02)
• Ribbon (58-66775-00)
• Warning label (69NT--35--1618)
• Instructions (62-11921-00 Rev C)
6.4.1
Installing the Curtain
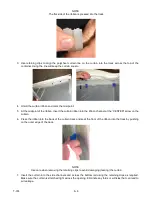
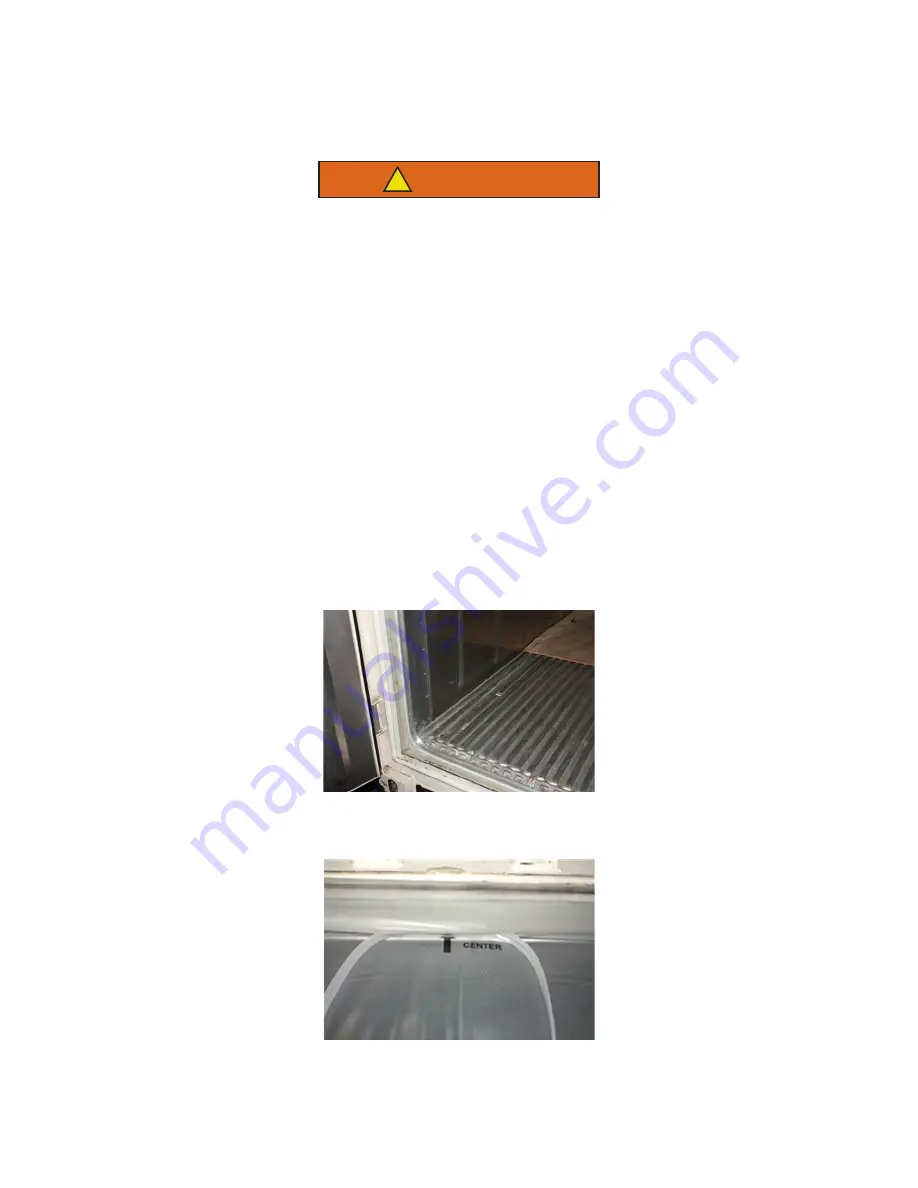
1. Open the rear doors of the container box and inspect the curtain track for dirt or damage (edges on track).
Clean dirt and remove any sharp edges found on the track.
2. Fully unfold the door curtain. Align the arrow with the “CENTER” at the midpoint of the door opening (Figure
2a). Ensure “CENTER” can be read as this is the outside of the curtain.
Summary of Contents for EverFRESH
Page 14: ......
Page 22: ......
Page 30: ......
Page 56: ...T 374 5 26 4 Note the orientation of the check valve 5 Reinstall in reverse order ...
Page 64: ......
Page 66: ......
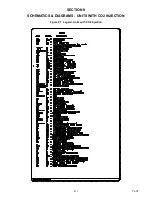
Page 67: ...8 1 T 374 SECTION 8 SCHEMATICS DIAGRAMS STANDARD UNITS Figure 8 1 Legend Standard Units ...
Page 68: ...T 374 8 2 Figure 8 2 Schematic Standard Units Page 1 ...
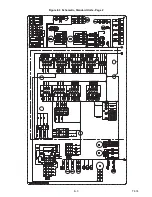
Page 69: ...8 3 T 374 Figure 8 3 Schematic Standard Units Page 2 ...
Page 70: ...T 374 8 4 Figure 8 4 Wiring Diagram Standard Units ...
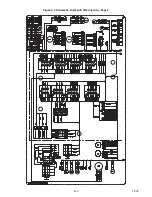
Page 72: ...T 374 9 2 Figure 9 2 Schematic Units with CO2 Injection Page 1 ...
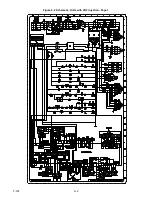
Page 73: ...9 3 T 374 Figure 9 3 Schematic Units with CO2 Injection Page 2 ...
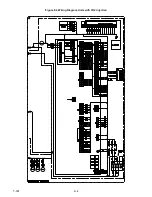
Page 74: ...T 374 9 4 Figure 9 4 Wiring Diagram Units with CO2 Injection ...
Page 99: ......

