7–13
T-372
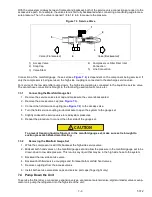
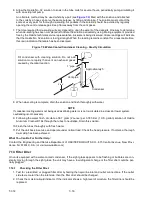
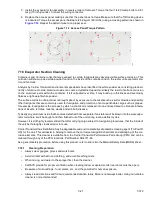
Figure 7.7 Condenser Fan Position
19. Use Loctite “H” on the fan set screws, and tighten.
20. Refit left and right infill panels.
21. Refit the condenser fan grille, ensuring the grille is properly centered around the condenser fan.
22. Evacuate the entire unit. See
.
23. Recharge the unit with the charge shown on the unit serial plate. See
. It is important for proper
unit operation that the charge is weighed into the unit.
7.12 Condenser Fan and Fan Motor
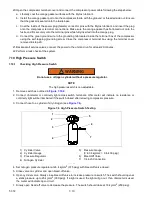
The condenser fan rotates counter-clockwise (viewed from front of unit). The fan pulls air through the condenser
coil, and discharges the air horizontally through the front of the unit.
7.12.1
Condenser Fan Motor Remove and Replace
WARNING
!
Do not remove the condenser fan grille before turning power OFF and disconnecting the power plug.
1. Remove the condenser fan grille. Retain all bolts and washers for reuse.
2. Remove the condenser fan by loosening the two set screws.
3. Disconnect the condenser fan motor wiring.
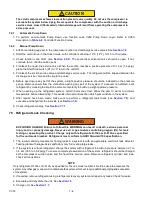
CAUTION
!
Take necessary steps (place plywood over coil or use sling on motor) to prevent motor from
falling into condenser coil.
4. Note the number of shims on each side of the motor as the same configuration will be required to refit the
new motor.
5. Remove the fan motor mounting hardware and remove the motor.
6. Loosely mount the new motor using new lock nuts.
7. Connect the fan motor wiring to the new fan motor.
8. Replace the shims in the same configuration as they were removed.
9. Tighten the fan motor mounting bolts to properly secure the motor.
37mm (1.5”)
Fan
Shroud

