T-372
7–30
7.27 Controller
7.27.1
Handling Modules
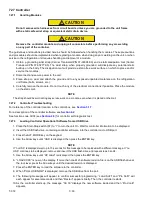
CAUTION
!
Do not remove wire harnesses from circuit boards unless you are grounded to the unit frame
with a static safe wrist strap or equivalent static drain device.
CAUTION
!
Remove the controller module and unplug all connectors before performing any arc welding
on any part of the container.
The guidelines and cautions provided herein should be followed when handling the modules. These precautions
and procedures should be implemented when replacing a module, when doing any arc welding on the unit, or when
service to the refrigeration unit requires handling and removal of a module.
1. Obtain a grounding wrist strap (Carrier Transicold P/N 07-00304-00) and a static dissipation mat (Carrier
Transicold P/N 07-00277-00). The wrist strap, when properly grounded, will dissipate any potential static
buildup on the body. The dissipation mat will provide a static-free work surface on which to place and/or
service the modules.
2. Disconnect and secure power to the unit.
3. Place strap on wrist and attach the ground end to any exposed unpainted metal area on the refrigeration
unit frame (bolts, screws, etc.).
4. Carefully remove the module. Do not touch any of the electrical connections if possible. Place the module
on the static mat.
NOTE
The strap should be worn during any service work on a module, even when it is placed on the mat.
7.27.2
Controller Troubleshooting
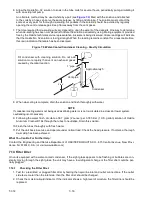
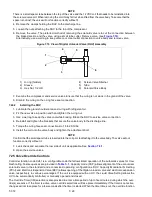
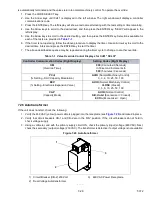
For reference of the controller location in the control box, see
For a description of the controller software, see
See function code Cd74 (see
) for controller self diagnostic test.
7.27.3
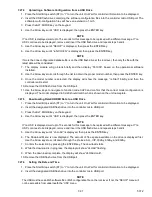
Loading Controller Operational Software from a USB Drive
1. Place the Start-Stop switch (ST) to “I” to turn the unit On. Wait for controller information to be displayed.
2. Insert the USB flash drive, containing controller software, into the controller micro USB port.
3. Press the ALT. MODE key on the keypad.
4. Use the Arrow keys until “USb” is displayed, then press the ENTER key.
NOTE
If “no USb” is displayed, wait up to 15 seconds for this message to be replaced with a different message. If “no
USb” continues to be displayed, remove and insert the USB flash drive and repeat steps 3 and 4.
5. Use the Arrow keys until “UP LoAd” is displayed, then press the ENTER key.
6. “LOAd XXXX” is now on the display. If more than one ML5 software revision file is on the USB flash drive at
the root level, press the Arrow keys until the desired revision is displayed.
7. Press the ENTER key to load the software to the controller.
8. When “PULL USB NOW” is displayed, remove the USB drive from the port.
9. The following messages will appear to confirm successful programming: “LoAd SoFt” and “Pro SoFt” will
each appear for several seconds and then “Restart” appears briefly. Then, the controller restarts.
10. As the controller starts up, the message “Cd 18” displays the new software loaded and then “Pro donE”
appears.

