7–65
62-11785
04002
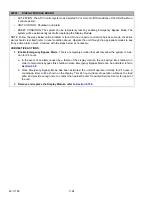
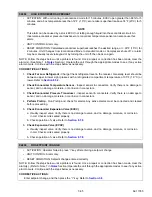
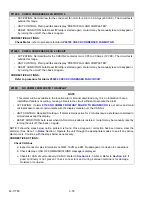
HIGH ECONOMIZER SUPERHEAT
• ACTIVATION: With unit running in economized mode for 15 minutes, ECXV open greater than 99% for 5
minutes, and a box temperature less than 14°F (-10°C); economizer superheat is above 74°F (23°C) for 5
minutes.
NOTE
This alarm can be caused by a stuck ECXV, not letting enough liquid into the economizer circuit. An
inaccurate economizer pressure transducer or economizer temperature sensor can also cause this
alarm.
• UNIT CONTROL: Alarm only.
• RESET CONDITION: Calculated economizer superheat reaches the desired range, or < 60°F (15°C) for
2 minutes. Unit Changes from Economized Mode to standard mode or Compressor shuts off, or alarm
may be manually reset via keypad or by turning the unit off, then back on again.
NOTE: Follow the steps below until a problem is found. Once a repair or correction has been made, clear the
alarm(s). (See Note 1 in
Section.) Operate the unit through the appropriate modes to see if any active
alarm occurs. Continue with the steps below as necessary.
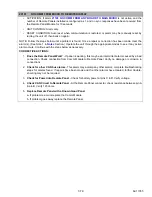
CORRECTIVE ACTIONS:
1.
Check For Low Refrigerant
- Charge Check refrigerant level in the receiver. Generally, level should be
between upper & lower sight glasses with a refrigerated compartment temperature of 35°F (1.0°C) or
lower. Refer to
.
2.
Check Economizer Temperature Sensor
- Inspect sensor & connectors. Verify there is no damage to
sensor, and no damage, moisture, or corrosion in connectors.
3.
Check Economizer Pressure Transducer
- Inspect sensor & connectors. Verify there is no damage to
sensor, and no damage, moisture, or corrosion in connectors.
4.
Perform Pretrip
- Run Pretrip and check for alarms. Any active alarms must be corrected and cleared
before proceeding.
5.
Check Economizer Expansion Valve (ECXV)
a. Visually inspect valve. Verify there is no damage to valve, and no damage, moisture, or corrosion
in coil. Check coil is seated properly.
b. Check operation of valve. Refer to
.
6.
Check Expansion Valve (EVXV)
a. Visually inspect valve. Verify there is no damage to valve, and no damage, moisture, or corrosion
in coil. Check coil is seated properly.
b. Check operation of valve. Refer to
.
04004
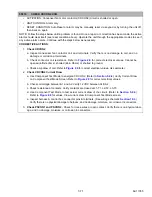
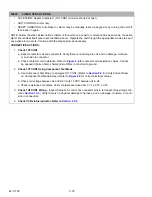
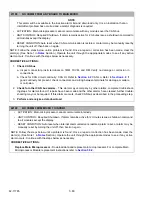
NO SETPOINT CHANGE
• ACTIVATION: Operator failed to press '=' key after entering a setpoint change
• UNIT CONTROL: Alarm only.
• RESET CONDITION: Setpoint change entered correctly.
NOTE: Follow the steps below until a problem is found. Once a repair or correction has been made, clear the
alarm(s). (Refer to Note 1 in
Section) Operate the unit through the appropriate modes to see if any active
alarm occurs. Continue with the steps below as necessary.
CORRECTIVE ACTIONS:
Enter setpoint change, and then press the “=” key. Refer to
.
Summary of Contents for VECTOR 8100
Page 2: ......
Page 4: ......
Page 12: ...62 11785 viii ...
Page 16: ...62 11640 12 ...
Page 18: ...62 11785 ...
Page 24: ...62 11785 1 6 1 3 SAFETY DECALS ...
Page 25: ...1 7 62 11785 ...
Page 26: ...62 11785 1 8 ...
Page 27: ...1 9 62 11785 ...
Page 28: ...62 11785 1 10 ...
Page 30: ...62 11785 ...
Page 50: ...62 11785 ...
Page 82: ...62 11785 ...
Page 96: ...62 11785 4 14 ...
Page 98: ...62 11785 ...
Page 129: ...5 31 62 11785 ...
Page 130: ...62 11785 5 32 ...
Page 134: ...62 11785 6 4 ...
Page 138: ...62 11785 ...
Page 230: ...62 11785 ...
Page 271: ...8 41 62 11785 ...
Page 272: ...62 11785 8 42 ...
Page 274: ...62 11785 ...
Page 286: ......
Page 287: ......
Page 288: ...62 11785 10 8 ...
Page 292: ......
Page 293: ......


