7–75
62-11785
06001
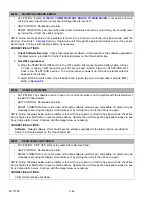
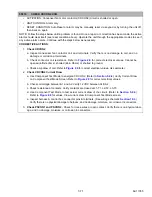
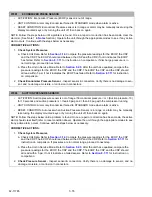
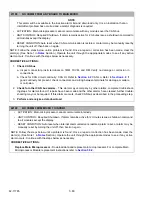
CHECK LIGHT BAR
• ACTIVATION: A problem has been detected in the light circuit (LB). If this alarm is activated while the cir-
cuit is energized, the circuit is detected shorted. If this alarm is activated at any other time, the circuit is
detected open.
• UNIT CONTROL: Alarm only.
• RESET CONDITION: Auto reset when the circuit is normal, or alarm may be manually reset using the dis-
play mounted keys or by turning the unit off, then back on again.
NOTE: Follow the steps below until a problem is found. Once a repair or correction has been made, the active
alarm should clear itself (refer to reset condition above). Operate the unit through the appropriate modes to see
if any active alarm occurs. Continue with the steps below as necessary.
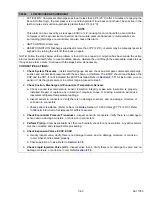
CORRECTIVE ACTIONS:
1.
Check Light Bar Wiring -
Inspect light bar & connector. Verify there is no damage to light bar, and no
damage, moisture, or corrosion in connector. Place the SROS in the OFF position and check:
• Fuses F5 & F11 in the PCM, continuity of the wiring from PCM-7 to LB-B, continuity of the wiring from
LB-G - including SP10 to ground, continuity of the wiring from LB-H to 3MM-7.
• Verify correct fuse, see
. Check connectors and wiring between terminals for damage,
moisture or corrosion.
2.
Check Light Bar
- Check operation of 2-Light Bar. Refer to
for information on testing the
light bar.
07000
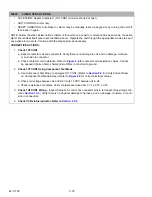
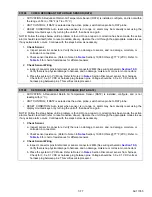
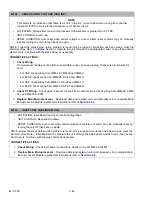
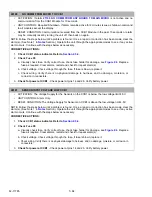
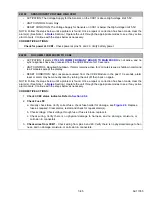
ECONOMIZER TEMP SENSOR
• ACTIVATION: Economizer temperature sensor is out of range
• UNIT CONTROL: Alarm only.
• RESET CONDITION: Auto reset or alarm may be manually reset using the display mounted keys or by
turning the unit off, then back on again.
NOTE: Follow the steps below until a problem is found. Once a repair or correction has been made, clear the
alarm(s). (See Note 1 in
Section.) Operate the unit through the appropriate modes to see if any active
alarm occurs. Continue with the steps below as necessary.
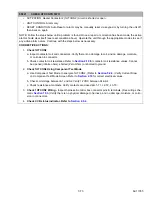
CORRECTIVE ACTIONS:
1.
Check Sensor
a. Inspect sensor & connector. Verify there is no damage to sensor, and no damage, moisture, or
corrosion in connector.
b. Check sensor resistance (See Note 3 in
Section.) 10,000 Ohms @ 77°F (25°C.) See
for complete table of temperatures and resistance values.
2.
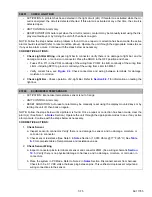
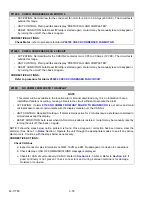
Check Sensor Wiring
a. Inspect connector pins & terminals at sensor and connector 2MM. (See wiring schematic
.) Verify there is no physical damage to harness, and no damage, moisture, or corrosion in
connectors.
b. Place the system in PC Mode. Refer to Note 2 in
Section. Disconnect sensor from harness.
Check for 3.0 ± 0.1 VDC volts at harness plug between pins. This verifies microprocessor output and
wiring connections to the sensor.
Summary of Contents for VECTOR 8100
Page 2: ......
Page 4: ......
Page 12: ...62 11785 viii ...
Page 16: ...62 11640 12 ...
Page 18: ...62 11785 ...
Page 24: ...62 11785 1 6 1 3 SAFETY DECALS ...
Page 25: ...1 7 62 11785 ...
Page 26: ...62 11785 1 8 ...
Page 27: ...1 9 62 11785 ...
Page 28: ...62 11785 1 10 ...
Page 30: ...62 11785 ...
Page 50: ...62 11785 ...
Page 82: ...62 11785 ...
Page 96: ...62 11785 4 14 ...
Page 98: ...62 11785 ...
Page 129: ...5 31 62 11785 ...
Page 130: ...62 11785 5 32 ...
Page 134: ...62 11785 6 4 ...
Page 138: ...62 11785 ...
Page 230: ...62 11785 ...
Page 271: ...8 41 62 11785 ...
Page 272: ...62 11785 8 42 ...
Page 274: ...62 11785 ...
Page 286: ......
Page 287: ......
Page 288: ...62 11785 10 8 ...
Page 292: ......
Page 293: ......


