7–5
62-11640
00012
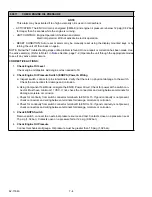
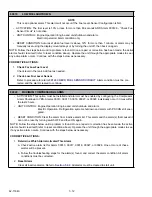
HIGH COOLANT TEMPERATURE
• ACTIVATION:
Condition 1
: Ambient temperature is below 120°F (48.9°C) and engine coolant temperature is above
230°F (110°C).
Condition 2
: Ambient temperature is above 120°F (48.9°C) and, engine coolant temp is above
241°F (116°C).
Condition 3
: Ambient temperature is below 120°F (48.9°C) and the engine coolant temperature has
remained between 230 and 241°F (110 and 116°C) for more than 5 minutes.
• UNIT CONTROL: Engine Operation: Engine and unit shutdown and alarm.
Electric Operation: Will not activate in electric operation.
• RESET CONDITION: Auto reset after 15 minutes if the engine coolant temp falls below 212°F (100°C), or
alarm may be manually reset using the display mounted keys or by turning the unit off and back on again.
NOTE: Follow the Troubleshooting steps until a problem is found. Once a repair or correction has been made,
the active alarm should clear itself (refer to reset condition above). Operate the unit through the appropriate
modes to see if any active alarm occurs.
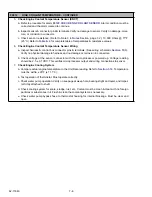
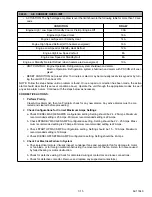
CORRECTIVE ACTIONS:
1.
Check
Coolant Level
WARNING
!
Do not remove the cap from a hot coolant system. If the cap must be removed, do so very
slowly in order to release the pressure without spray.
a. Check coolant level in overflow bottle. Level must be in the normal range.
b. Inspect connecting tube between overflow bottle and radiator. Connections must be airtight. No
leakage or holes in tube.
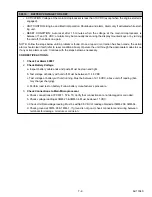
2.
Check
Freeze Point Of Coolant
Use Coolant Tester to check concentration of anti-freeze mixture. Must be between 40% to 60% Eth-
ylene Glycol to water mixture.
3.
Check
Airflow Through Radiator & Condenser Coil
a. Inspect condenser & radiator. Ninety percent or more of the coil surface must be undamaged.
Condenser/Radiator coil must be clean.
b. Check airflow (with unit running). Verify even airflow through the entire coil and no “dead” spots.
c. Check condenser fan rotation / operation. Fans should operate correctly. Air should be directed in
through the grill, and into the engine compartment.
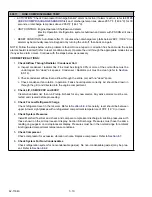
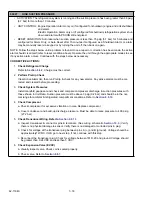
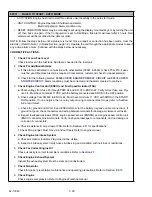
4.
Check
Water Pump Belt
Check belt condition. Verify no Glazing, no Cracking, no Slipping. Replace belt if required. Refer to
Summary of Contents for Vector 8500
Page 23: ...62 11640 1 6 1 3 SAFETY DECALS ...
Page 24: ...1 7 62 11640 62 03958 ...
Page 25: ...62 11640 1 8 ...
Page 26: ...1 9 62 11640 ...
Page 27: ...62 11640 1 10 ...
Page 125: ...62 11640 SECTION 6 MESSAGECENTER PARAGRAPH NUMBER Page 6 1 MESSAGECENTER MESSAGES 6 1 ...
Page 321: ......
Page 322: ......

