7–7
62-11640
00013
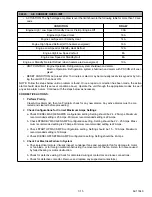
HIGH DISCHARGE PRESSURE
• ACTIVATION: Compressor discharge pressure switch (HPS) contacts are open. HPS contacts open
when the discharge pressure rises. Refer to
• UNIT CONTROL: Engine Operation: Engine and unit shutdown and alarm.
Electric Operation: Refrigeration system shutdown and alarm with PSCON still ener-
gized. CSMV at 50% and EVXV controls superheat.
• RESET CONDITION: Auto reset after 15 minutes if the compressor discharge pressure falls below limit,
or alarm may be manually reset using the display mounted keys or by turning the unit off, then back on
again.
NOTE: Follow the steps below until a problem is found. Once a repair or correction has been made, the active
alarm should clear itself (refer to reset condition above). Operate the unit through the appropriate modes to see
if any active alarm occurs. Continue with the steps below as necessary.
CORRECTIVE ACTIONS:
1.
Check
System Pressures
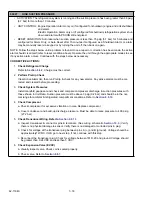
Install manifold gauge set and check and compare compressor discharge & suction pressures with
those shown in Unit Data. Refer to
for instruction on comparison. If discharge pres-
sure is in normal range, proceed to step 5.
2.
Check
Airflow Through Radiator & Condenser Coil
a. Inspect condenser & radiator. Ninety percent or more of the coil surface must be undamaged.
Condenser/Radiator coil must be clean.
b. Check airflow (with unit running). Verify even airflow through the entire coil, and no “dead” spots.
c. Check condenser fan rotation / operation. Fans should operate correctly. Air should be directed in
through the grill, and into the engine compartment.
3.
Perform
Pre
−
trip
Check CSMV & ECXV tests. Refer to
. Pass Test.
4.
Check Refrigerant
Charge
Refer to
5.
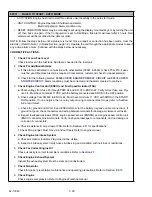
Check HPS Power And
Wiring
a. Inspect switch, connector pins & terminals. Verify that there is no physical damage to the switch.
Check the connections for damage and corrosion.
b. Check for power at the 2MM35 or J1A. If a minimum of 11 VDC is not present, check connectors
and wiring between terminals for damage, moisture or corrosion.
c. Check continuity from the switch connector B position to 3MM16 2MM35. Inspect SP
−
23 and
SP
−
24 connections. If they are OK replace HPS. If good continuity is not present, check connec-
tors and wiring between terminals for damage, moisture or corrosion.
6.
Check
HPS
a. With discharge pressure below the switch closing pressure (refer to
from the switch connector B position to 2MM35. Switch closed.
b. Check switch operation. Test switch. Refer to
step b.
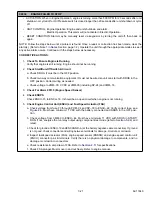
7.
Refer to Refrigeration
Troubleshooting
Refer to
. Discharge must be in range for the current ambient and refrigerated compart-
ment conditions.
Summary of Contents for Vector 8500
Page 23: ...62 11640 1 6 1 3 SAFETY DECALS ...
Page 24: ...1 7 62 11640 62 03958 ...
Page 25: ...62 11640 1 8 ...
Page 26: ...1 9 62 11640 ...
Page 27: ...62 11640 1 10 ...
Page 125: ...62 11640 SECTION 6 MESSAGECENTER PARAGRAPH NUMBER Page 6 1 MESSAGECENTER MESSAGES 6 1 ...
Page 321: ......
Page 322: ......


