62-11640
7–72
P00189
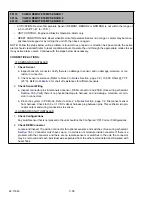
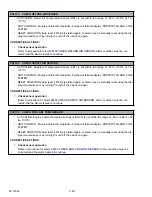
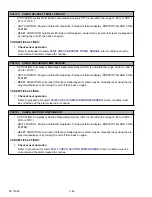
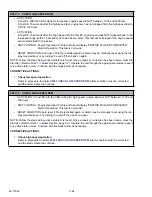
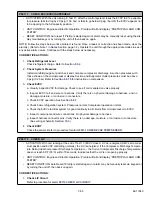
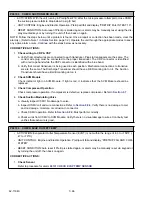
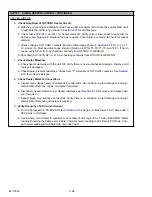
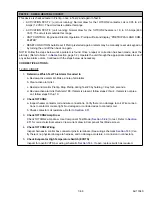
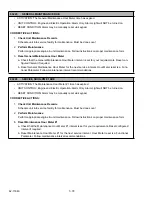
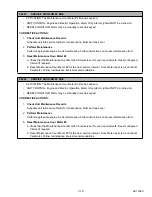
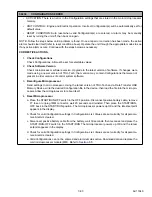
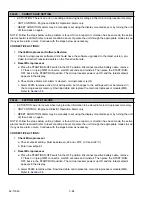
CHECK EVAPORATOR FAN MOTOR - CONTINUED
460 VAC CIRCUIT
5.
Check Amp Draw of 1EVCON Evaporator Fan Motor Circuit
a. With the unit running in either HEAT or COOL, use a clamp on ammeter to check the current draw
of all 3 legs. Must be within range shown in
for all three legs.
b. Check fuses F36, F37, and F38 for heater elements. Verify correct fuse, check fuse holder for
damage, see
. Replace fuse as required. Clear alarms, restart and check for repeat
alarm(s).
c. Check voltage at 1EVCON contacts. Must be within range shown in
and L2-L3. Must be within range shown in
6. Check Evaporator Fan Motor
a. With the unit off, visually check fan motor and blower wheel. Verify there is no visual physical dam-
age. No blockage to blower wheels. Blower wheels spin freely. Remove and replace if required.
b. With the unit off, check the resistance of the evaporator fan motor windings. See
for cor-
rect resistance. Resistance (Ohms) must be in range. No continuity from any high voltage lead to
ground.
7.
Check Evaporator Fan Motor Connections
a. Inspect high voltage fan motor connections at evaporator. No corrosion, water damage or burning
/ discoloration. Remove, repair, or replace if required.
8.
Verify Accuracy of AC Current Sensor
a. Put microprocessor in PC Mode. Refer to
page 5
−
8. Must have 0 AC1 Amps and 0
AC2 Amps in Unit Data.
b. Use a clamp on ammeter to measure current draw of all 3 legs of the T side of GENCON. Meter
reading should be the same as Unit Data: Compare meter reading to Unit Data in PC Mode. Com-
pare meter reading to Unit Data with unit under load.
Summary of Contents for Vector 8500
Page 23: ...62 11640 1 6 1 3 SAFETY DECALS ...
Page 24: ...1 7 62 11640 62 03958 ...
Page 25: ...62 11640 1 8 ...
Page 26: ...1 9 62 11640 ...
Page 27: ...62 11640 1 10 ...
Page 125: ...62 11640 SECTION 6 MESSAGECENTER PARAGRAPH NUMBER Page 6 1 MESSAGECENTER MESSAGES 6 1 ...
Page 321: ......
Page 322: ......

