8–11
62-11640
8.5.9
Engine Oil and Oil Filter
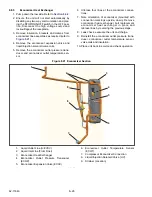
a. To Check The Engine Oil Level:
1. Warm up the engine and then stop it by placing
the STOP/RUN-OFF switch in the OFF position.
Disconnect the high voltage source and lockout/
tagout the receptacle.
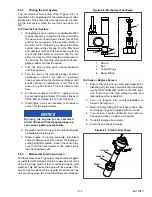
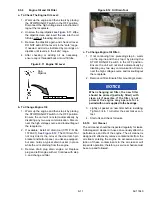
2. Unscrew the cap/dipstick see
the dipstick clean and insert the cap into the oil
fill tube without threading into tube.
3. Remove the dipstick again and check oil level.
DO NOT add oil if the level is in the “safe” range.
If needed, add oil as indicated by markings on
dipstick until level is in the “safe” range.
4. After checking or adding oil as necessary,
ensure cap is threaded back onto oil fill tube.
Figure 8.11 Engine Oil Level
b. To Change Engine Oil:
1. Warm up the engine and then stop it by placing
the STOP/RUN-OFF switch in the OFF position.
Ensure the unit will not start automatically by
disabling any two way communication. Discon-
nect the high voltage source and lockout/tagout
the receptacle.
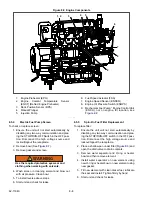
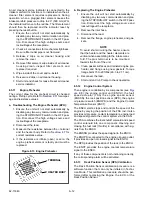
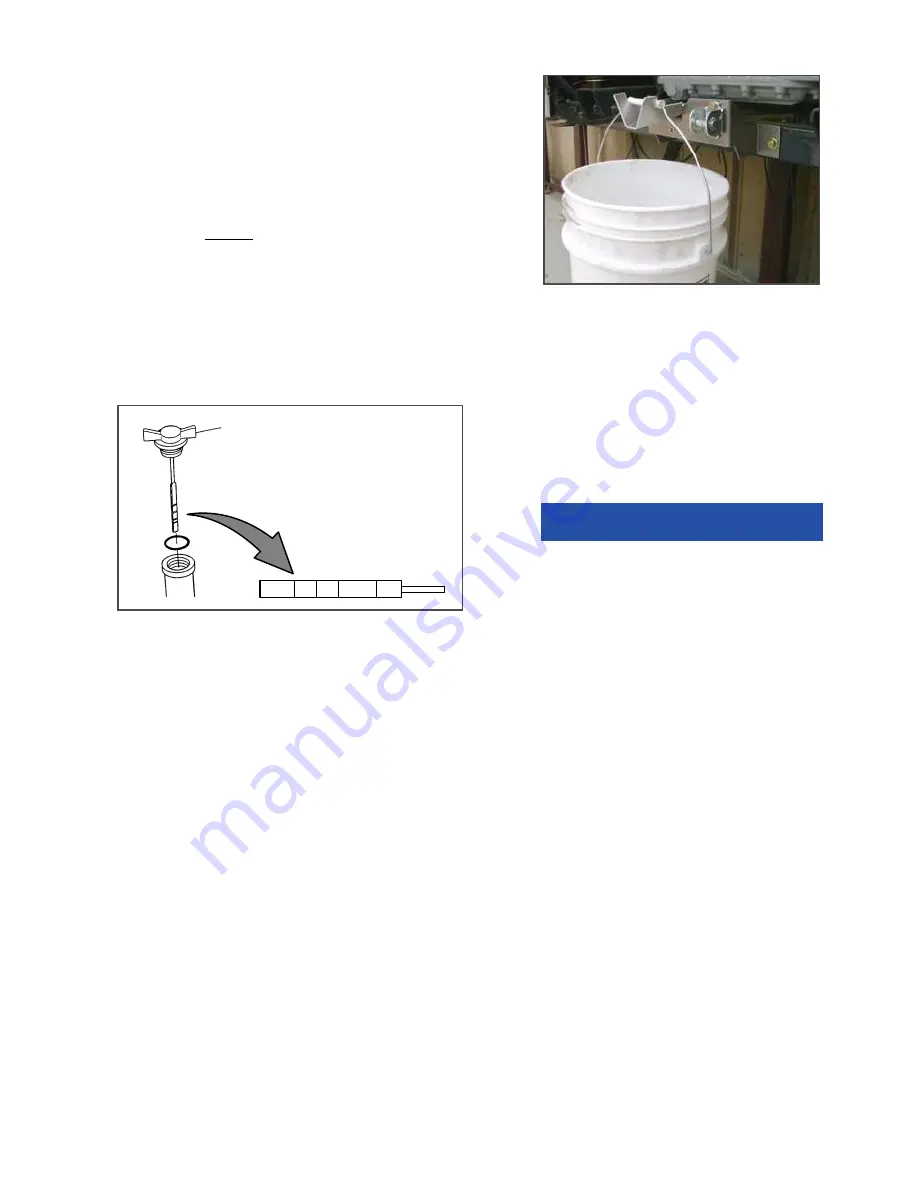
2. If available, install oil drain tool (CTD P/N 68-
15763-01). See
. The Oil Drain Tool
not only directs the oil over the door latch pin
bracket and bottom panel, on units so equipped,
but also holds a typical drain bucket in place
while the oil is draining from the engine.
3. Remove drain plug drain engine oil. Replace
plug and refill engine with oil. Continue with step
c. and change oil filter.
Figure 8.12 Oil Drain Tool
c. To Change Engine Oil Filter:
1. If not continuing from preceding step b., warm
up the engine and then stop it by placing the
STOP/ RUN-OFF switch in the OFF position.
Ensure the unit will not start automatically by
disabling any two way communication. Discon-
nect the high voltage source and lockout/tagout
the receptacle.
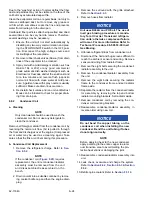
2. Remove oil filter. Ensure filter mounting is clean.
NOTICE
When changing oil filter, the new filter
should be primed (partially filled) with
clean oil if possible. If the filter is not
primed, the engine may operate for a
period with no oil supplied to the bearings.
3. Lightly oil gasket on new filter before installing.
Tighten 3/4 to 1 turn after the seal makes con-
tact.
4. Start unit and check for leaks.
8.5.10
Air Cleaner
The air cleaner should be inspected regularly for leaks.
A damaged air cleaner or hose can seriously affect the
performance and life of the engine. The air cleaner is
designed to effectively remove contaminants from the
air stream entering the engine. An excessive accumu-
lation of these contaminants in the air cleaner will
impair its operation; therefore, a service schedule must
be set up and followed.
Cap
Dipstick
QTS
1
2
SAFE
Summary of Contents for Vector 8500
Page 23: ...62 11640 1 6 1 3 SAFETY DECALS ...
Page 24: ...1 7 62 11640 62 03958 ...
Page 25: ...62 11640 1 8 ...
Page 26: ...1 9 62 11640 ...
Page 27: ...62 11640 1 10 ...
Page 125: ...62 11640 SECTION 6 MESSAGECENTER PARAGRAPH NUMBER Page 6 1 MESSAGECENTER MESSAGES 6 1 ...
Page 321: ......
Page 322: ......

