background image

LOCATION 

For proper operation and maximum performance, locate the unit 
in an ambient air temperature of 70ºF (21ºC).   


Avoid placement in areas near exhaust fans or where there are 
active air movements.   


For safe operation and maximum performance, locate the unit at 
least 2” from any wall or combustible material. 


Unit must be on a solid level surface. 

INSTALLATION and STARTUP 


Damage to unit due to being      
connected to the wrong voltage or 
phase is 

NOT 

covered by warranty. 

If necessary, contact a licensed 
electrician to install an appropriate 
20 amp electrical circuit with cor-
rect NEMA receptacle.  Power cord 
is 10' long. 

DO NOT use an exten-

sion cord. 

Installation procedures must be  
performed by a qualified technician 
with full knowledge of all applicable 
electrical codes.  Failure could   
result in personal injury and prop-
erty damage. 

STARTUP


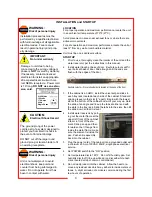
1.  Prior to use, thoroughly clean the interior of the unit and the 

water reservoir, per the instructions in this manual. 

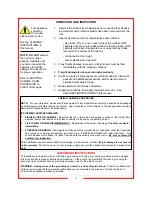
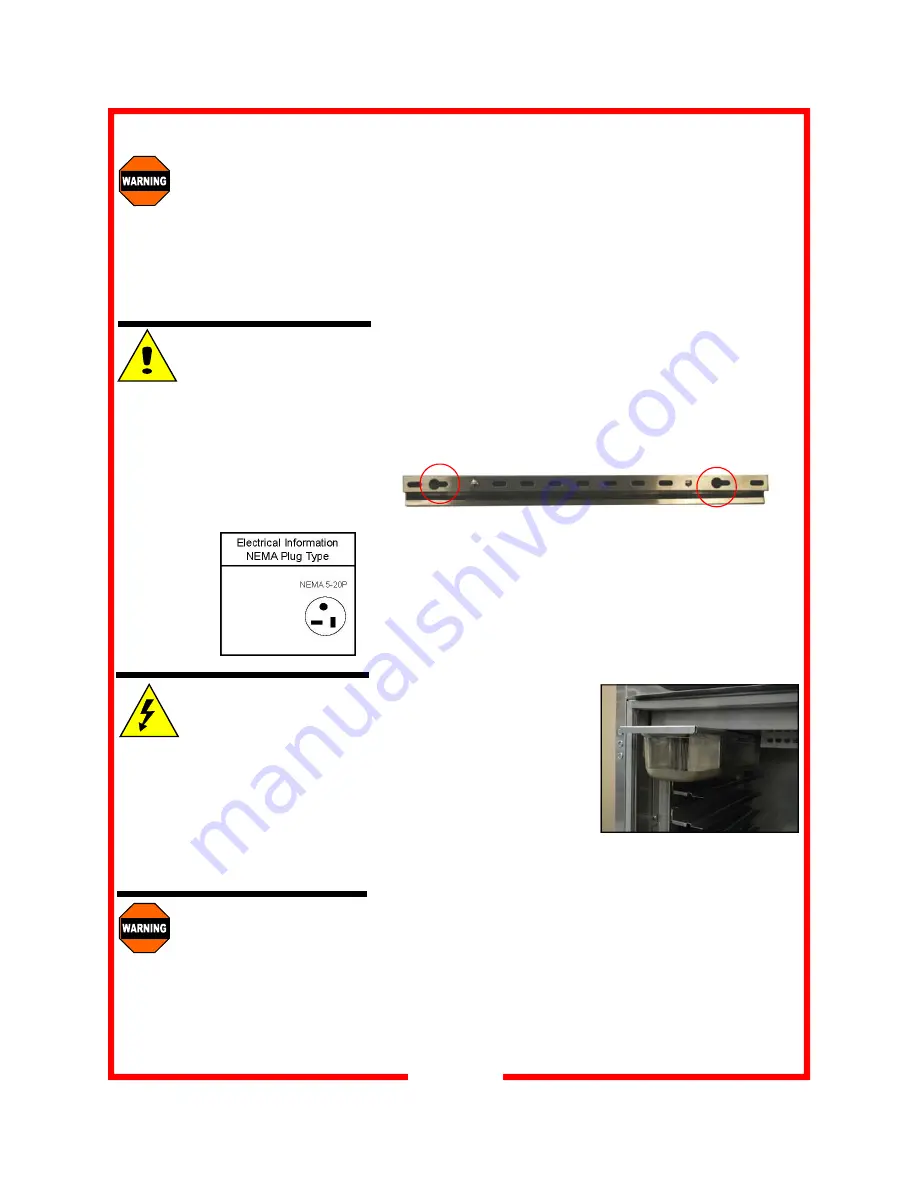
2.  Install water trough at base of door.  Keyhole cutouts will fit 

over bolts at base of door. Slide trough until the ends are 
flush with the edges of the door. 

3.  If the cabinet is an HWU, install the universal pan slides in 

each tray rack located at each side of the cabinet. Standard 
spacing is every other slot (3” apart).  Begin with the lowest 
slot at the bottom of the cabinet and work your way up. Hold 
the slide at an angle and line up the tabs at either end with 
the slots in the tray rack. Slide the tabs into the slots, then tilt 
the slide down so that it is level. 

4.  Install water reservoir by pull-

ing out the metal frame at the 
upper left front of the cabinet 
interior in front of the ele-
ment. Slide pan up and then 
forward so that it hangs from 
inside the metal frame; make 
sure the element is inside the 
pan. Push entire assembly 
back into the cabinet. 

5.  Plug the power cord of the cabinet into a grounded outlet with 

a minimum 20 Amp 120VAC, 60HZ, single phase electrical 
service. 

6.  Set POWER switch to the “ON” position. 

7.  Set temperature dial to 190°F.  Do not fill humidity pan.  Set 

humidity dial to off (line up white dot on dial with white hash 
mark, located at top of dial on control panel) 

8.  Do not load product into the cabinet.  Allow the heat to re-

move any residual oils which may adhere to inside metal sur-
faces.  A slight emission of smoke is common during the first 
few hours of operation. 

T

he ground prong of the power 

cord is part of a system designed to 
protect you from electric shock in 
the event of internal damage. 


DO NOT cut off the large round 
ground prong or twist a blade to fit 
an existing receptacle. 

2100 Watts 
120 volts 
17.5 Amps 
60 Hz 
Single Phase 

CAUTION:


Electrical Shock Hazard 

Unit is not waterproof, to avoid   
electrical shock, keep unit and 
counter from being submerged in 
water.  Do not operate if unit has 
been in contact with water. 

IMPORTANT:  
Not under warranty


WARNING: 

Risk of personal injury 

WARNING: 

Risk of personal injury 

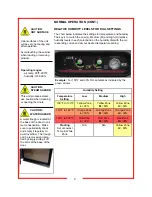
Keyhole cutouts—fit over shoulder bolts located at the base of the door. 

Summary of Contents for Logix6 HWC10J1XM

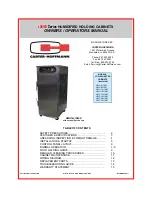
Page 1: ...PERATION 7 8 FOOD HOLDING GUIDE 9 REGULAR CLEANING PROCEDURES 10 CABINET MAINTENANCE 11 WIRING DIAGRAM 12 REPLACEMENT PARTS 13 TROUBLESHOOTING GUIDE 14 WARRANTY STATEMENT 15 MANUFACTURED BY CARTER HOF...

Page 2: ...pose as described in the manual a This equipment is specifically designed to hold pre cooked food at temperature b This equipment is intended for use in commercial establishments only c This equipment...

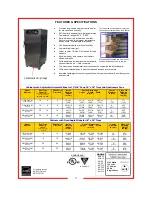
Page 3: ...4 1 2 1384 76 3 8 33 1 16 28 3 16 1940 840 716 5 127 475 215 Precision engineered heat ducts with blower for even heat and humidity 90 humidity attainable at high temperatures Temperature range of 85...

Page 4: ...personnel before leaving the factory Upon acceptance of this shipment the transportation company assumes full responsibility for its safe delivery IF SHIPMENT ARRIVES DAMAGED 1 VISIBLE LOSS OR DAMAGE...

Page 5: ...p the tabs at either end with the slots in the tray rack Slide the tabs into the slots then tilt the slide down so that it is level 4 Install water reservoir by pull ing out the metal frame at the upp...

Page 6: ...cator Add water to reservoir when lit Humidity Knob Rotate clockwise to in crease humidity set point rotate counter clockwise to reduce humidity set point Match Low Medium and High locations within sa...

Page 7: ...emoving items start at the bottom and work to the top This keeps food hotter and eliminates spillage onto lower items For safety reasons we recommend that the holding tempera ture be set at or above 1...

Page 8: ...The trough can be removed and emp tied by simply sliding it off the bolts at the base of the door Humidity Setting Temperature Setting Low Medium High 100 F to 130 F Yellow Zone L 30 Yellow Zone M 60...

Page 9: ...30 Pasta 175 F 79 C 75 60 Pastries 165 F 74 C 20 30 Pizza uncovered 180 F 82 C 10 30 Pizza boxed 180 F 82 C NONE REQUIRED 60 Poppers Deep Fried 190 F 88 C NONE REQUIRED 25 Poultry Whole bone in 175 F...

Page 10: ...luminum cabinet walls Stubborn deposits may be cleaned with a mild soap and water and then rinsed with clean water Use a soft non abrasive cloth to avoid scratching the door 9 Control panel should be...

Page 11: ...REMOVE THE SCREWS THAT HOLD THE HINGES TO THE DOOR Remove the door tak ing care not to let it fall 2 Remove the door strike plate and screws adjacent to the door opening on the cabinet Reinstall door...

Page 12: ...Logix6 SERIES WITH ANALOG CONTROL 120 VOLT 2100 WATT 17 5 AMP 1 PH 60 HZ 12 WIRING DIAGRAMS...

Page 13: ...17 0011 Cord grip Verify w factory Heat element 1000 watt water reservoir 18612 0315 Heat element 1000 watt air 18614 0291 Fan motor 18614 0314 Muffin fan 18603 5018 Fan blade for motor 18614 0291 290...

Page 14: ...nician Element hi limit trip defective Call service technician Takes too long to get to temperature Improper voltage Call service technician to verify incoming voltage matches cabinet specifications U...

Page 15: ...d by CARTER HOFFMANN to be defective CARTER HOFFMANN neither makes nor assumes and does not authorize any other person to make or assume any obligation or liability in connection with its products oth...

Reviews: