background image

CARVIN

®

 PLATINUM SERIES OVAL POOL | USER MANUAL

24

REMPLACEMENT PARTS

Use the original CARVIN

®

 replacement parts only.

ITEM 

#

PART CODE

DESCRIPTION

QUANTITY PER SIZE (Feet)

ROUND SECTION

MADERA/

BROWN 476C

MADERA/

BLACK 6C

12x15 12x18

12x21

12x24

15x21

15x24

15x30

18x33

18x39

1

46028476

46028006

UPRIGHT PLATINUM SERIES 52’’

6

6

6

6

8

8

8

10

10

2

46073476

46073006

TOP SEAT PLATINUM SERIES

8

8

8

8

10

10

10

12

12

3

46025815

46025706

BOTTOM PLATE PLATINUM SERIES

6

6

6

6

8

8

8

10

10

4

46077682

46077506

TOP PLATE PLATINUM SERIES

6

6

6

6

8

8

8

10

10

5

46071476

46071006

TOP LEDGE COVER FRONT PLATINUM SERIES

10

12

14

16

14

16

20

22

26

6

46072476

46072006

TOP LEDGE COVER BACK PLATINUM SERIES

10

12

14

16

14

16

20

22

26

5+6

46073476

 46073206

 ASSEMBLED LEDGE COVERS KIT

10

12

14

16

14

16

20

22

26

7

46074476

46074006

TOP LEDGE COVER CAP PLATINUM SERIES

10

12

14

16

14

16

20

22

26

8

46026435

46026315

RAIL 15’

16

16

16

16

20

20

20

24

24

STRAIGHT SECTION METAL PARTS

12x15 

12x18

12x21

12x24

15x21

15x24

15x30

18x33

18x39

9

46025008

OVAL POOL FOOT BEAM SHEET METAL

4

6

8

10

6

8

12

12

16

10

46025009

OVAL POOL BUTTRESS POST

4

6

8

10

6

8

12

12

16

11

46025003

OVAL POOL PRESSURE PLATE

2

4

6

8

4

6

10

10

14

12

46025007

OVAL POOL TIE STRAPS SIZE 35’’

2

3

4

5

46025006

OVAL POOL TIE STRAPS SIZE 40’’

2

3

4

5

6

8

46025005

OVAL POOL TIE STRAPS SIZE 55’’

6

8

12

12

16

13

46025010

BOLT BUSHING

12

18

24

30

18

24

36

36

48

STRAIGHT SECTION PLASTIC PARTS

12X15

 12X18

12x21

 12x24

15x21

15x24

15x30

 18x33

18x39

14

46024076

 46024006

 OVAL POOL STRAIGHT FOOT

4

6

8

10

6

8

12

12

16

15

46077376

 46077306

OVAL POOL STRAIGHT TOP PLATE

4

6

8

10

6

8

12

12

16

16

46026276

46026206

OVAL POOL STRAIGHT RAIL

4

8

12

16

8

12

20

20

28

17

46044476

46044006

 OVAL POOL POST COVER PLATINUM SERIES

4

6

8

10

6

8

12

12

16

18

46032476

46032006

OVAL POOL STRAIGHT MARGELLE PLATINUM SERIES

2

4

6

8

4

6

10

10

14

HARDWARE

12X15

 12X18

12x21

 12x24

15x21

15x24

15x30

 18x33

18x39

19

14455045

1/2’’-20-2B HEX NUT

12

18

24

30

18

24

36

36

48

20

14455095

1/2’’ WASHER ID0.515-OD0875-THK0.0625

40

 60

80

 100

 60

 80

120

120

160

21

14455035

1/2’’-20 X 3.000’’_HEX HEAD 

SCREW_PARTIALLY THREADED

12

 18

24

30

 18

24

36

 36

 48

22

14455075

1/4-20 X 1/2’’ HEX HEAD FULLY THREADED 

8

 12

16

20

12

 16

 24

 48

 64

23

14455085

1/4”-20-2B HEX NUT

8

12

16

20

 12

16

24

48

 64

24

14433700-ZINC

#12-11 X 1.000 PHILLIPS PAN HEAD SHEET 

METAL SCREW ZINC

48

76

104

 132

76

104

 160

160

 216

25

14073852

#12 OVERSIZED WASHER STNSTL316-

ID0.250-OD0.750

16

 24

32

 40

 24

32

48

48

 64

26

14455110

TYPE HI-LO THREAD SELF TAPPING SCREW W/WASHER 5/8 

SS 316 # 3 #12-14  X 1 1/4 “

40

48

 56

 64

 56

 64

 80

 88

104

27

14455032

PAN HEAD #3 SCREW #12-14 X 1,25’’ SS316

58

66

 74

82

 80

88

104

118

134

28

02581536

WALLBRACKET SS316

2

2

2

2

2

2

2

2

2

29

14172209

PAN HEAD  1/4-20X0,75’’ SS316

30

30

30

30

30

30

30

30

30

30

14072620

FLANGED NUT 1/4-20 5/16 SS316

30

30

30

30

30

30

30

30

30

31

46025015

EXPANDED POLYSTYRENE BLOCK

8

12

16

20

 12

16

 24

 24

32

POOL WALL

ITEM 

#

MADERA

POOL SIZE (Feets)

12X15

 12X18  12x21

 12x24

15x21

 5x24

15x30

18x33

18x39

32

1926551215

 12x15

1

1926551218

12x18

1

1926551221

12x21

1

1926551224

 12x24

1

1926551521

15x21

1

1926551524

15x24

1

1926551530

 15x30

1

1926551833

18x33

1

1926551839

18x39

1

Summary of Contents for OVAL PLATINUM Series

Page 1: ...CARVIN POOL EQUIPMENT 4000 boul Casavant Ouest Saint Hyacinthe Québec Canada J2S 9E3 M22905008 EN 2021 Le Groupe VIF Inc All rights reserved OVAL PLATINUM SERIES User Manual for Above Ground Pool ...

Page 2: ...obtain support for this Product visit carvinpool com support and refer to Consumer Information section of this manual This Product is compliant with the following safety standard ICC ES File PMG 1576 APSP 4 2012 Standard for Above ground Onground Residential Swimming Pools TABLE OF CONTENT Introduction 2 Warning 3 Safety recommendations 3 Pool safety label 3 Pool liner label 3 Installation 4 Tools...

Page 3: ...meter buoy Bad or inexperienced swimmers should always use a life jacket Wait 1 hour before swimming after eating since cramps can occur land lead to risks of drowning No walking or sitting on top ledges since they have not been designed for this purpose and can be slippery resulting in dangerous falls Do not use alcohol or drugs that may bias your judgment and diminis your reflexes Do not use you...

Page 4: ...ive slope keeping the water away from pool base should not be on a hollow ground since this will result in a build up of water this could jeopardize your foundation and damage your pool The ground must be free of rocks pebbles tree roots bamboo and cattails Never install your pool in a place where chemicals have been spread this could damage the liner and rust the wall Never install your pool on a...

Page 5: ...d that your pool has more fewer uprights sections to install Be aware that STEP 1 Through STEP 3 will be more time consuming and labor intensive than the rest of the steps since the foundation of your oval pool must be done right in order to increase the longevity of your pool The permissible tolerance of the soil in the straight metal structure and the round ends must be a maximum of 1 8 in 3 18 ...

Page 6: ...4 70 2 4 70 5 0 152 5 0 152 5 0 152 5 0 152 3 10 117 6 10 117 9 11 301 12 11 393 2 5 74 2 5 74 2 5 74 2 5 74 2 7 78 2 7 78 2 7 78 2 7 78 2 2 67 2 2 67 2 2 67 Equal 2 2 67 Equal 3 8 cm Deep 3 8 cm Deep 3 8 cm Deep 3 8 cm Deep 12x15 12x18 12x21 12x24 Patio block Patio block Patio block Patio block 10 25 Equal trench width 10 25 Equal trench width 10 25 Equal trench width 10 25 Equal trench width 8 5...

Page 7: ...PACKING THE POOL PARTS Open all the boxes that were supplied with your pool Layout on the ground all the parts and make sure that you have all the parts listed in the BOM section at page 23 Make sure that you DO NOT start installation if any parts are missing Contact your seller if that is the case he will provide the missing parts Make sure to inspect if there are any defects in the parts before ...

Page 8: ...LLIPS DRIVE P N 14433700 ZINC Max torque 4 N m 35 in lbf Drill at low speed 7 16 11mm HEX SOCKET P N 14455075 Max torque 7 5 N m 66 in lbf 3 4 19mm HEX SOCKET P N 14455085 ASSEMBLING THE TIE STRAPS Look into the table for part number required of tie straps configuration and assem ble with hex cap machine screw 20 x 0 500 14455075 and 20 nuts 14455085 Remove the radii stakes before screwing the tie...

Page 9: ... F G H I Wall R 12 12x15 3 77 12 4 1 39 4 6 2 57 8 5 3 35 10 12 N A 3 64 12 0 4 58 15 0 1 82 6 0 12x18 4 710 13 5 5 50 18 0 12x21 4 58 15 0 6 64 21 0 12x24 5 19 17 0 7 34 24 0 15 15x21 4 9 16 2 1 40 4 7 2 67 8 9 3 68 12 1 4 32 14 2 N A 4 58 15 0 6 41 21 0 2 29 7 9 15x24 5 34 17 6 7 33 24 0 15x30 6 49 21 3 9 18 30 0 18 18x33 7 16 23 6 1 41 4 7 2 73 8 11 3 86 12 8 4 73 15 6 5 27 17 3 5 48 18 0 10 09...

Page 10: ... box and place it on a plywood sheet STEP 4 Start unrolling the wall by guiding the bottom of the wall into the lower slot of the rail already positioned The first end of the wall must be in the center of a bottom plate to allow the installation of the screws so that they are hidden behind an upright Be careful not to push any sand on or inside the rails which would make it difficult to insert the w...

Page 11: ...umference is slightly reduced Tighten all the screws without forgetting any because this could cause an alignment problem STEP 4 Cover the wall joint by applying two or three layers of 2 50mm duct tape Make sure all screw heads are well covered with tape so that the liner is protected from sharp corners of screws to avoid it to be torn or pierced STEP 3 When the assembly holes of the wall are alig...

Page 12: ...ge the liner STEP 4 If you are using a prefabricated cove follow the instruction in the manual provided by the manufacturer STEP 5 Once the layer of sand is even across using sand or soil create a triangular shape ledge along the bottom of the wall of 3 to 6 7 5 cm to 15 cm x 8 to 12 20 cm to 30 cm long When done use water hose to dampen the cove and recompact Sandbed and coving the inside pool TH...

Page 13: ...OUND SECTION UPRIGHTS Before starting the installation of the uprights check if the bottom plates are centered correctly into the rails of each plate Adjust if necessary STEP 1 Insert uprights into each bottom plates Push the upright down until you hear a click STEP 2 Holes are located on each side of each bottom plate to install screws The installation of these screws is mandatory to make the ass...

Page 14: ... liner on the outside of the wall of the pool If disassembly or reassembly is necessary a liner that has been cut will be much more difficult to position If the excess liner is too long simply fold it and fasten it with tape STRUCTURE ASSEMBLY INSTALLING THE TOP PLATES ROUND SECTIONS STEP 1 Tilt the top plate so that the inside part hooks onto the top rail Then lower the top plate to press down agai...

Page 15: ...t Assemble 4x screw per plate P3 PHILLIPS DRIVE P N 14455032 Max torque 4 N m 35 in lbf Screw at low speed P3 PHILLIPS DRIVE P N 14433700 Max torque 3 N m 27 in lbf Screw at low speed P N 14073852 1 2 STEP 3 At the bottom of the posts there are 1 hole on each side assemble with the buttress post 1x screw and washer on each sides P3 PHILLIPS DRIVE P N 14455032 Max torque 4 N m 35 in lbf Screw at lo...

Page 16: ...screwing zone Screw top ledges with 2 screws 14455110 on each side Use the outermost holes to screw on the top ledges Many holes are on the top plates for assembly use the one that seems best located for your installation STEP 3 Hold the rear part of the top ledge cover against top ledge interior of the pool and push on the front part exterior of the pool of the top ledge cover so that the shape o...

Page 17: ...ll with cardboard and duct tape to also prevent air from escaping Water return outlet Duct Tape Skimmer Water return outlet Duct Tape Skimmer STEP 3 Start the vacuum cleaner The liner will begin to stick against the wall If you notice any wrinkles smooth out the bottom To avoid damaging the liner do not wear shoes for this step STEP 4 Start filling the pool with water by using a gardening hose Dur...

Page 18: ...rly for leaks Also inspect your wall for corrosion and scratches If problems are detected action must be taken immedi ately Small leaks or holes in the liner can be repaired easily using repair kits sold at your dealer Corrosion and scratches on the pool wall must be repaired by using an anti rust enameling product Rub the rusted surface with a wire brush apply the anti rust product and repaint th...

Page 19: ...ure the pipe is above water level to prevent the pool water from emptying through the hole Fill this pipe with antifreeze until you see antifreeze coming out of the main drain of the pool You will not be able to fill the pipe since the water pushed by the anti freeze will go into the pool by the principle of communicating vessels Make sure that the pipe remains higher than the water level all wint...

Page 20: ...p of your cover Take off your winter cover from your pool STEP 2 Reposition your filtration system in place and reconnect the hoses to the skimmer and water return STEP 3 Fill the pool with water so that the level reaches the middle of the skimmer Check your pool to make sure there is no apparent rust or leaks specially around the skimmer and water return If you see a problem proceed with repairs a...

Page 21: ...CARVIN PLATINUM SERIES OVAL POOL USER MANUAL 21 REMPLACEMENT PARTS Use the original CARVIN replacement parts only 24 24 ...

Page 22: ...CARVIN PLATINUM SERIES OVAL POOL USER MANUAL 22 REMPLACEMENT PARTS Use the original CARVIN replacement parts only 27 26 27 30 29 28 32 27 ...

Page 23: ...CARVIN PLATINUM SERIES OVAL POOL USER MANUAL 23 REMPLACEMENT PARTS Use the original CARVIN replacement parts only ...

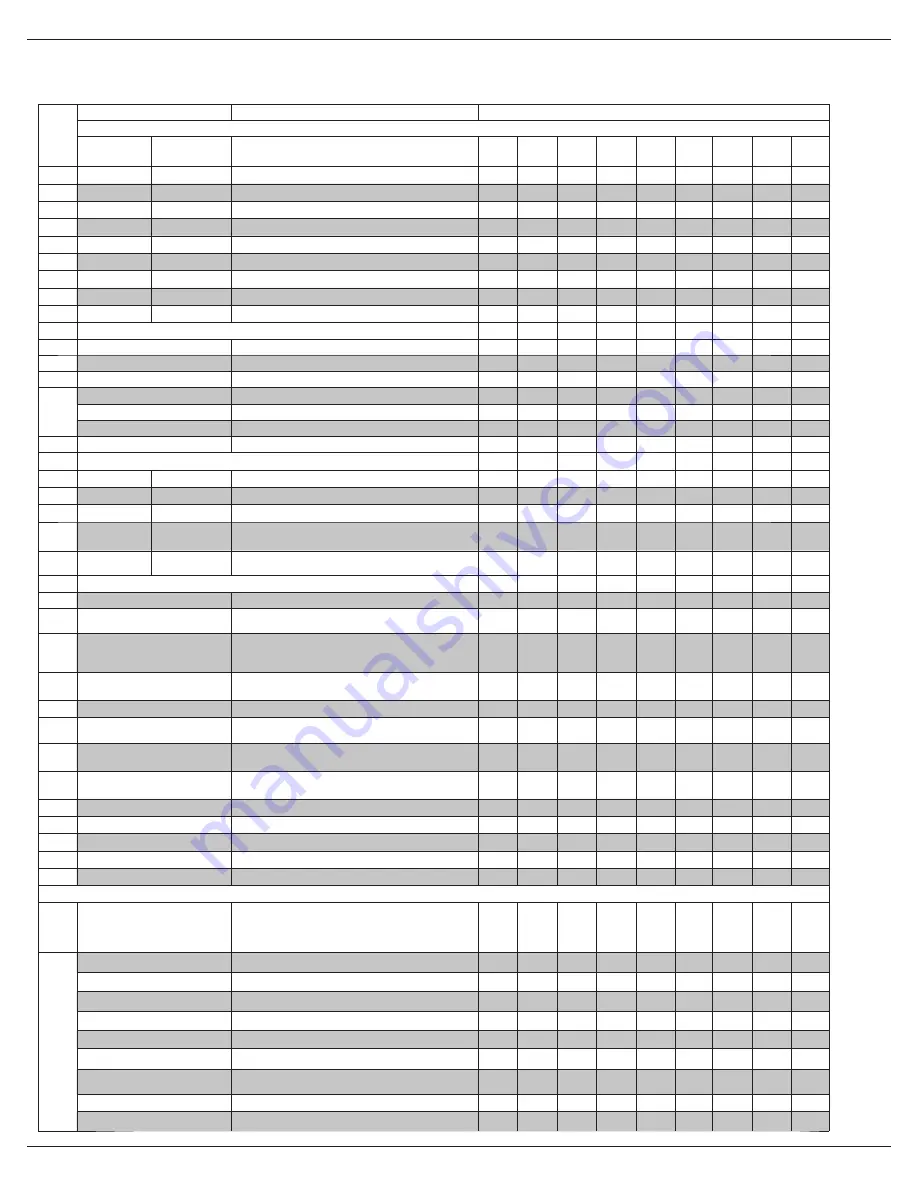
Page 24: ...4076 46024006 OVAL POOL STRAIGHT FOOT 4 6 8 10 6 8 12 12 16 15 46077376 46077306 OVAL POOL STRAIGHT TOP PLATE 4 6 8 10 6 8 12 12 16 16 46026276 46026206 OVAL POOL STRAIGHT RAIL 4 8 12 16 8 12 20 20 28 17 46044476 46044006 OVAL POOL POST COVER PLATINUM SERIES 4 6 8 10 6 8 12 12 16 18 46032476 46032006 OVAL POOL STRAIGHT MARGELLE PLATINUM SERIES 2 4 6 8 4 6 10 10 14 HARDWARE 12X15 12X18 12x21 12x24 ...

Page 25: ...WARRANTY SERVICE You must first contact your authorized CARVIN retailer or distributor Please refer to section Customer Information Any defect must be reported to an authorized CARVIN retailer or distributor within 72 hours to avoid potential breakage to other equipment otherwise the warranty will not be honored TECHNICAL SUPPORT INFORMATION After following the troubleshooting section of this manu...

Reviews: