background image


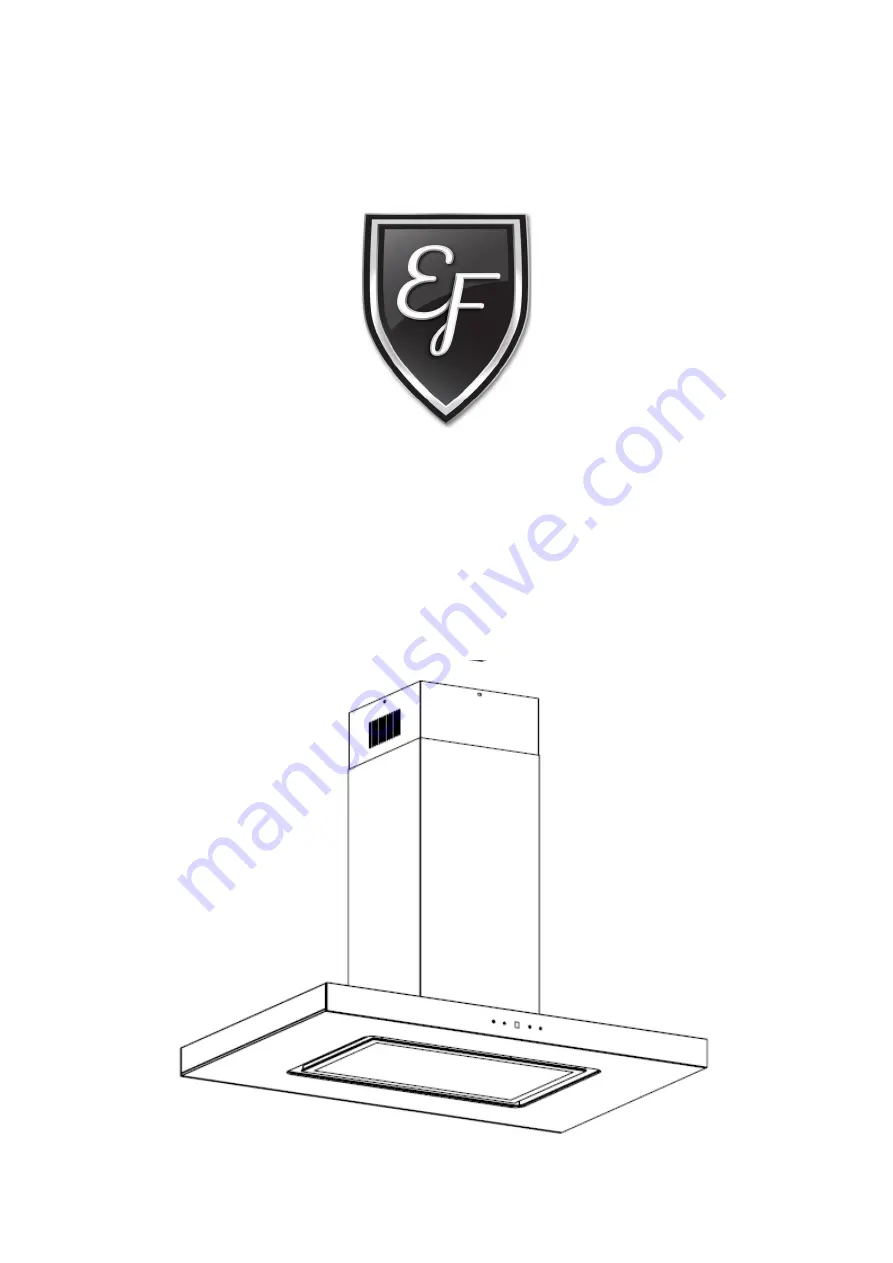
ISLAND HOOD 


EMBRACING FINEST MOMENT


CK LUNA IS 

User Manual 

Summary of Contents for CK LUNA IS

Page 1: ...ISLAND HOOD EMBRACING FINEST MOMENT CK LUNA IS User Manual ...

Page 2: ...d packaging as this may result in suffocation Before disposing of any old appliances be sure to cut off the power cord so that others will not be end angered by a defective electric appliance Installation and Usage Read this user manual thoroughly before attempting to use this appliance This appliance is intended for domestic use only The appliance is not intended for use outside The appliance can...

Page 3: ...m any heat source or sharp objects The recommended minimum installation height from the bench top to the lower part of the hood is 700mm and 600mm respectively for gas hob and electric hob If the instructions for the installation of gas hob is greater than the recommended height this has to be taken into account Ensure that the filters are cleaned or replaced at an appropriate intervals to prevent...

Page 4: ...od The air must not be discharged into a flue that is used for exhausting fumes from appliances burning gas or other fuels Range hoods and other cooking fume extractors may adversely affect the safe operation of appliances burning gas or other fuels including those in other rooms due to back flow of combustion gases The gas can potentially result in carbon monoxide poisoning After installation of ...

Page 5: ...4 SPECIFICATIONS COMPONENT LIST GENERAL INFORMATION ...

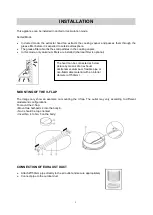
Page 6: ...al MOUNTING OF THE V FLAP The image only show an example on mounting the V flap The outlet may vary according to different models and configurations To mount the V flap Mount two half parts 2 into the body 6 No 3 should be top oriented Insert No 4 to No 5 on the body CONNECTION OF EXHAUST DUCT Attach Ø150mm pipe directly to the air outlet and secure appropriately Connect pipe to the outdoor duct I...

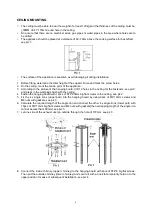
Page 7: ... ceiling for the fasteners see pic2 and press in the wall plugs flush with the ceiling 4 Fasten the hanging board with 12pcs of ST6 40mm big flat screws to the ceiling see pic 2 5 Fix the 4 x angle irons upper part into the hanging board by using 8pcs of M4 10mm screws and M4 nuts with gaskets see pic 3 6 Calculate the required length of the angle iron and connect the other 4 x angle irons lower p...

Page 8: ...he angle iron using 16pcs of M4 10mm big flat screws see pic 5 10 Connect the exhaust duct to the outlet of the appliance 11 Once the connection is done remove the hook that hold on the outside chimney previously pic 4 and re position the outside chimney see pic 6 7 ...

Page 9: ...y other appliance such as warmer tube gas tube hot wind tube The angle of the bend of the exhaust duct should not be less than 120º you must direct the duct horizontally or alternatively the duct should go up from the initial point and should be led to an outer wall After the installation make sure that the appliance is level to avoid grease collection at one end Ensure the exhaust duct selected f...

Page 10: ...iance will start operating at low speed 1 3 Touch the speed button to increase the fan speed 1 low 2 medium 3 high The speed button is working in circulating module To reduce the speed touch the button again and the speed will go back to 1 after the highest speed of 3 is selected 1 2 3 1 2 3 4 Light button Touch the light button to on or off the LED light 5 Delay Stop Timer I The delay stop timer ...

Page 11: ...e the appliance works at high speed and the display window will show 3 II To reduce the speed wave your hand from right to left once the appliance will shift to lower speed 3 2 1 From speed 1 wave your hand from right to left again the appliance will be turned off and enter into standby mode All the symbol light will be off III If the appliance is not in operation for 10 minutes inactive the gestu...

Page 12: ...py water with a soft cloth Use a dry soft cloth to remove any excess moisture left after cleaning Important Using neutral detergents and avoid using harsh cleaning chemicals strong household detergents or products containing abrasives as this will affect the appearance of the appliance and potentially remove any printing of artwork on the control panel and will void manufactures warranty OIL COLLE...

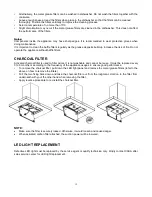
Page 13: ...ut baffle filters CHARCOAL FILTER Activated charcoal filter is used to filter odors It is not washable and cannot be reuse It must be replaced every 3 to 6 months or according to the frequency of the appliance usages to ensure good performance To remove the charcoal filter pull down the LED light panel and remove the metal grease filters refer to the above on how to remove the filters Pull the two...

Page 14: ...more information please contact your local or regional authorities NOTE The following shows how to reduce total environmental impact e g energy use of the cooking process 1 Install the appliance in a proper place where there is efficient ventilation 2 Clean the appliance regularly so as not to block the airway 3 Remember to switch off the appliance light after cooking 4 Remember to switch off the ...

Page 15: ...ntly ventilated to allow entry of fresh air The hood is installed too near or too far to the cooking appliance Adjust installation height recommended height is 70cm 60cm from cooking appliance Strong Vibration Hood installed incorrectly Reinstall the hood correctly Fan installed incorrectly Reinstall the fan correctly Fan is damaged Replaced or repair Strong cooking smell Charcoal filter snot inst...

Page 16: ... the content of this manual Customer will not be notified in the event of any amendments to the content The manufacturer and agent decline all responsibilities in the event of damage caused by improper incorrect or illogical use of the appliance Contact after sales service center when in doubt of the condition of the appliance For customer care after sales service Singapore please contact Casa S P...

Reviews: