


www.CasablancaFanCo.com
1.888.227.2178
PA
G
E
14
PA
G
E
5
PA
G
E
19
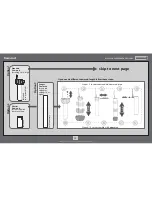
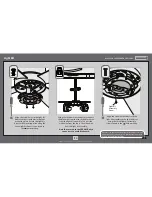
30 inches
7 feet
PA
G
E
2
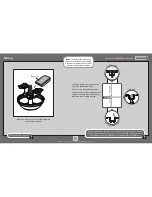
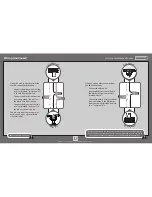
What to Expect with
Your Installation
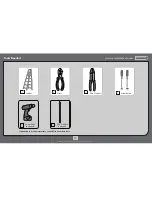
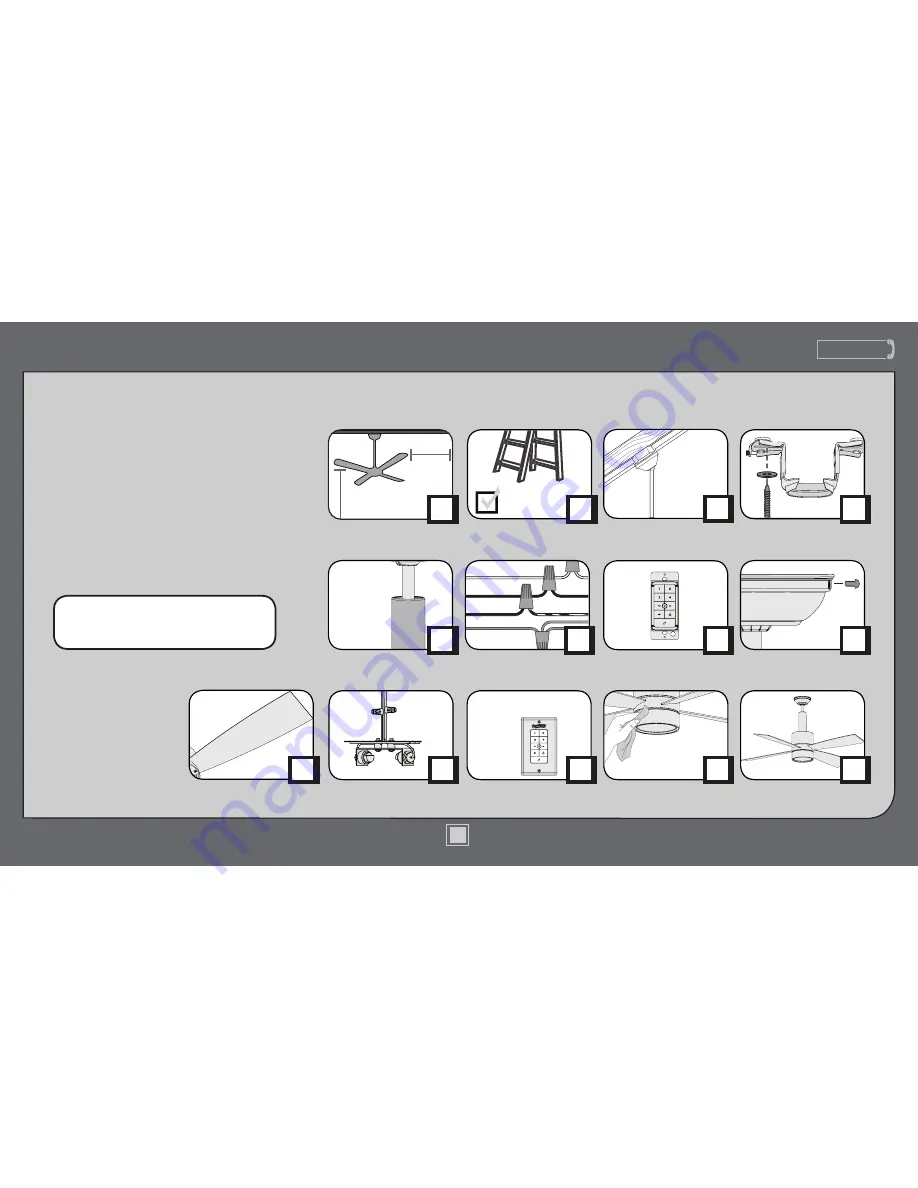
Ladder
PA
G
E
3
Tools Needed
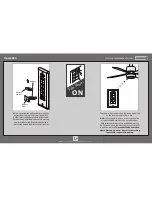
Operation
Maintenance
& Cleaning
Troubleshooting
Light Kit
?
?
?
PA
G
E
6
PA
G
E
9
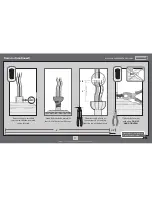
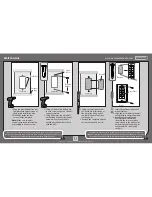
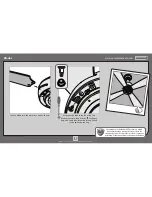
Wiring
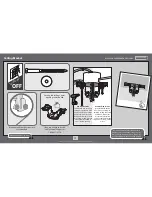
Downrod
Canopy
PA
G
E
12
PA
G
E
16
PA
G
E
18
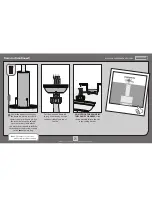
Table of Contents
PA
G
E
4
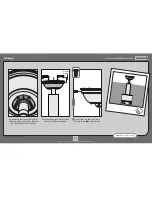
Mounting Options
Ceiling Bracket
Congratulations on purchasing your new
Casablanca® ceiling fan! It will provide
comfort and performance in your home
or office for many years. This installation
and operation manual contains complete
instructions for installing and operating
your fan.
We are proud of our work and appreciate
the opportunity to supply you with the
best ceiling fan available anywhere in the
world.
To register your fan, please visit:
www.CasablancaFanCo.com/register
Save your receipt for proof of purchase.
Blades
PA
G
E
13
PA
G
E
11
Wall Control
1
M8511-01 • 10/30/14 • © Casablanca Fan Company


