39
|
P a g e
cascadesciences.com
|
Tel. 503 847-9047
OPERATION
P
UT THE
O
VEN INTO
O
PERATION
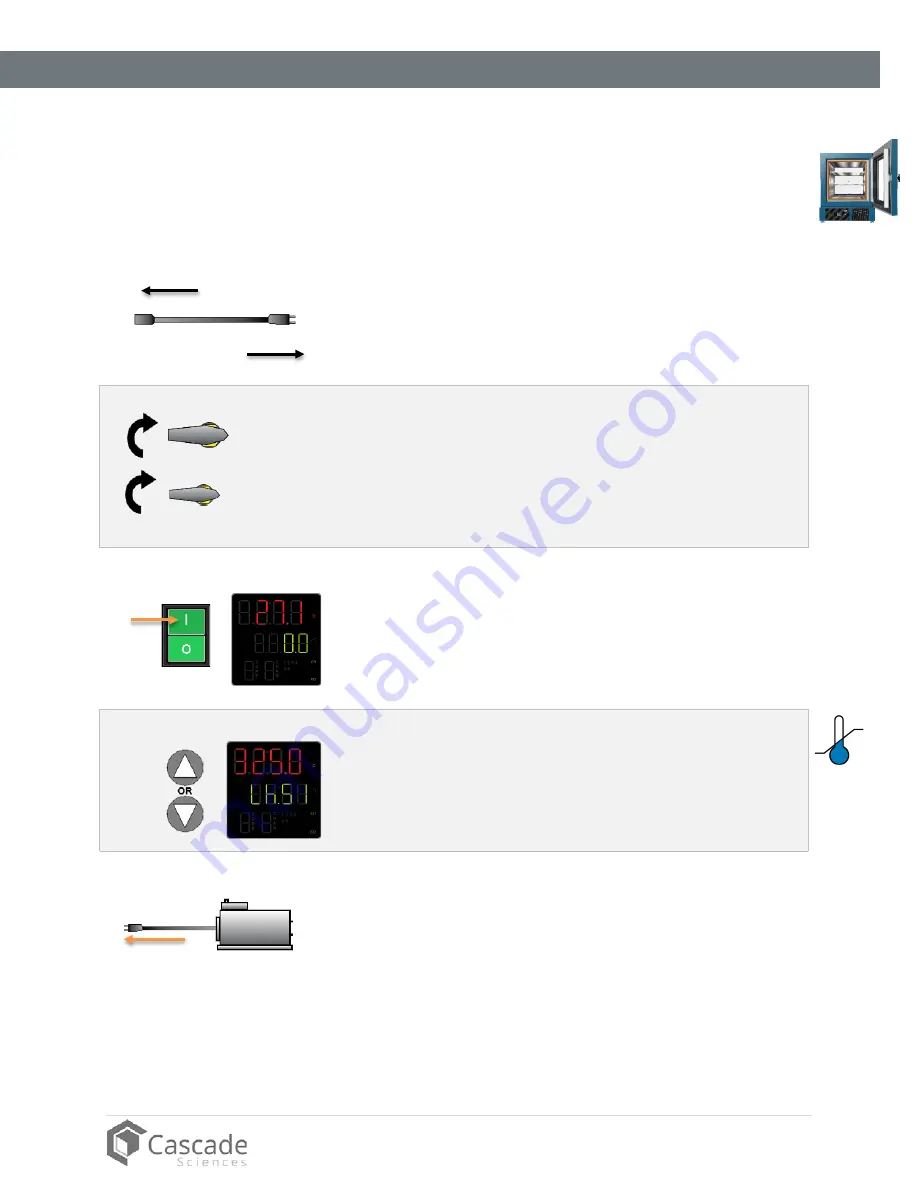
Verify all of the required procedures in the Installation section have been carried out. Then perform
the following steps and procedures to prepare the oven for use in a new location.
Continued next page
1
2
Attach the Power Cord
Attach the power cord that came with the unit to the power inlet
receptacle on the back of the oven.
Plug the power cord into the workspace electrical supply.
3
Verify the Door and Valves are Closed
Verify the oven
chamber door
is
closed and latched
, and
that the
vent intake valve and vacuum valve
are in
the
closed position
(turned all the way clockwise).
This safeguards your vacuum pump from exposure to
streaming atmosphere.
4
Turn on the Oven
Place the oven
Power Switch
in the ON ( I ) position.
•
The controller display will illuminate and default to its home
page.
•
The vacuum display will illuminate.
5
Set the High Limit Temperature
Set the Temperature High Limit
to at least 10°C above the
highest intended temperature of your application, page 41.
6
Plug in the Vacuum Pump
Plug the vacuum pump power cord into a wall power source.
Summary of Contents for CVO-2-HT
Page 1: ...Vacuum Ovens CVO 2 HT CVO 5 HT Installation Operation Manual...
Page 6: ...6 P a g e cascadesciences com Tel 503 847 9047 TABLE OF CONTENTS...
Page 8: ...8 P a g e cascadesciences com Tel 503 847 9047 CERTIFICATIONS...
Page 12: ...12 P a g e cascadesciences com Tel 503 847 9047 UNIT SPECIFICATIONS...
Page 16: ...16 P a g e cascadesciences com Tel 503 847 9047 INTRODUCTION...
Page 22: ...22 P a g e cascadesciences com Tel 503 847 9047 RECEIVING YOUR OVEN...
Page 32: ...32 P a g e cascadesciences com Tel 503 847 9047 GRAPHIC SYMBOLS...
Page 71: ...71 P a g e cascadesciences com Tel 503 847 9047 REPLACEMENT PARTS...
Page 72: ......


