Summary of Contents for 680 CK

Page 1: ...ers 680 CK SeriesC 9 72595 1 Trim along dashed line b 2 Slide into pocket on Binder Spine TYPE 1 4 1 SERVICE MANUAL Loaders 680 CK SeriesC 9 72595 0 1 Trim along dashed line b 2 Slide into pocket on B...

Page 2: ...g Backhoe Control Valve ExteDdah oe Control Valve Stabilizer I ock Valve Hydra Guide Boom I ockout Valve and Relief Valve I oader and Backhoe Cylinders NOTE Also see Sections 9011 and 9012 for explode...

Page 3: ...ing Brake Control Valve and Quick Release Valve 7017 Pressure Reducing Valve Pressure Protection Valve Double Check Valve Clutch Cutout Valve Stoplight Switch 7018 Alcohol Evaporator 7020 O SERIES ELE...

Page 4: ...of Compression Rings 2 Number of Oil Rings 1 Type Pins Full Floating Type Type Bearing Replaceable Precision Steel Back Copper Lead Alloy Liners Main Bearings Number of Bearings 5 Type Bearings Repla...

Page 5: ...Find manuals at https best manuals com...

Page 6: ...CASE CORPORATION Section 1050 MAINTENANCE AND LUBRICATION Burl Form 9 72595 Nov 1973 PRINTED IN U S A Find manuals at https best manuals com...

Page 7: ...10 Hours Grease loader pivot points or Daily Which ever Occurs Grease backhoe pivot points First Check engine crankcase oil level Check hydraulic oil level Check radiator coolant level Clean air clean...

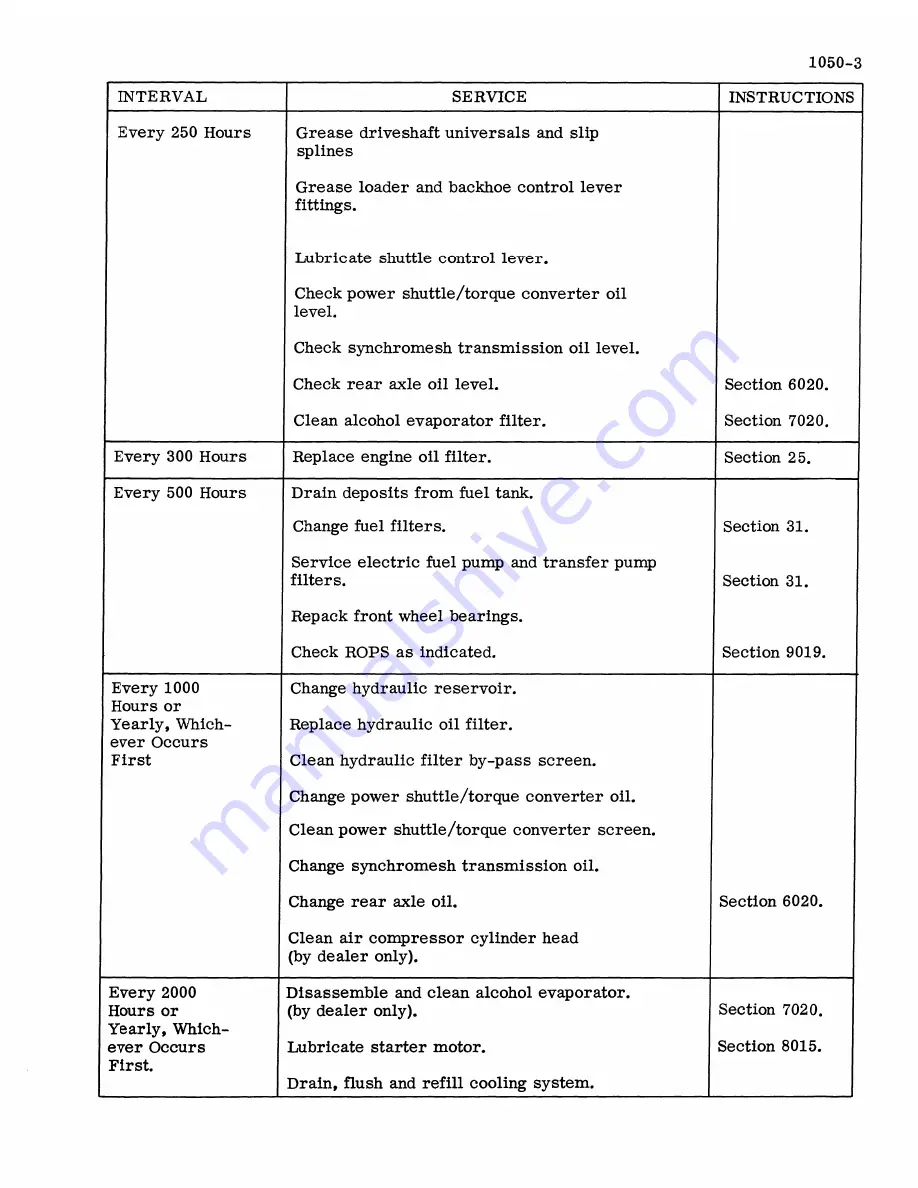
Page 8: ...fuel pump and transfer pump filters Section 31 Repack front wheel bearings Check ROPS as indicated Section 9019 Every 1000 Change hydraulic reservoir Hours or Yearly Which Replace hydraulic oil filte...

Page 9: ...red Service air cleaner element when restriction indicator shows red band Section 2051 After wheel has been removed for service and reinstalled check wheel nut bolt torque every two hours until stabil...

Page 10: ...S or DG Above 32 F SAE l0W Below 32 F SAE 5W Type C 2 transmission and hydraulic fluid such as Tenneco Hytrans Fluid Power shuttle trans mission and torque converter 12 qts 11 4 liters Case TCH Fluid...

Page 11: ...e fittings As required Above 32 F Multipurpose or No 2 lithium soap base grease Below 32 F Multipurpose or No 1 lithium soap base grease Wheel bearings As required Number 2 wheel bearing grease Drive...

Page 12: ...CASE CORPORATION Section 1051 TORQUE CHART Burl Form 9 72595 Nov 1973 PRINTED IN U S A...

Page 13: ...1 4 28 NF 15 20 2 1 2 8 3 4 16 NF 380 460 52 63 5 16 18 NC 20 30 2 8 4 1 7 8 9 NC 540 660 75 91 5 16 24 NF 25 30 3 5 4 1 7 8 14 NF 595 725 82 100 3 8 16 NC 40 50 5 5 6 9 1 8 NC 810 990 112 137 3 8 24...

Page 14: ...36BD and 336BDT 1 755 to 1 745 O D of head 301B 1 567 to 1 557 O D of stem end 402 to 403 002 O D of taper 4 26 75i froin st m end 401 to 402 002 Length 301B 6 4385 to 6 4175 Length 336BD and 336BDT 6...

Page 15: ...25 2 0990 to 2 1000 1 805 to 1 815 2 28 7 75 1695 130 to 140 lbs 41 to 45 lbs 872 to 873 8745 to 8755 010 to 030 4 080 8 5 to 10 lbs 002 002 002 Engine oil camshaft metering Toward valve side of engin...

Page 16: ...ted If the reading is below these fig ures leaking valves or excessive ring clearance is indicated NOTE To make a simple check when a compression leak ENGINE SPEED is indicated squirt a small amount a...

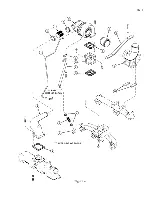
Page 17: ...necessary Installation 1 Install the intake elbow 8 with a new gasket 9 to the intake manifold Retain with bolts and nuts and torque 35 to 42 ft pounds 2 Install the exhaust elbow 13 and spacers 18 to...

Page 18: ...I I I I I I I I I I I I I I 14 D I I I I I I I I TO RIGHT F BLOCK SIDE O I I I I I I I I I I j I I I I 10 I K l _ l j I JI _ i f I 11 1 1 y I I I J 1 A I y TO LEFT SIDE OF BLOCK Figure 4 22 5...

Page 19: ...emove the manifold brace 5 and spacer 6 if equipped 4 Remove the intake elbow 3 and gasket 4 if equipped and discarding the gasket 5 Remove the intake manifold 7 and dis card the gaskets 8 6 Remove th...

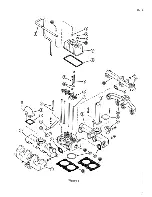
Page 20: ...27 r I I 1 1 I I I e I I C ii I 16 J lC I i 7 I 8 c el 9 Figure 5 22 7 13 26...

Page 21: ...of the Service Manual 3 Remove the breather tube 1 and discard the gaskets 2 4 Remove the intake manifold 3 and discard the gaskets 4 5 Remove the exhaust stack 5 if equipped Remove the exhaust manif...

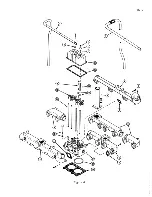
Page 22: ...I B el 5 y I J I I f I I I I I i i K I L 4 _ _ Cl Figure 6 D 22 22 9...

Page 23: ...ure cylinder sleeve protrusion at points A B C and D Using plate ball and clamping bar clamp the CYLINDER SLEEVE PROTRUSION BOTH SLEEVES UNDER ONE HEAD FLUSH TO 002 BOTH SLEEVES UNDER ONE HEAD 002 OR...

Page 24: ...SLEEVE Figure 8 INSET A Figure 9 22 11 I CYLINDER SLEEVE PROTRUSION 1 00 B C OCT 970 14C 336BD 336BDT ENGINE OTC 970 12 301 B ENGINE OTC 970 10 267B 401 B ENGiNE MEASURE SLEEVE PROTRUSION AT POINTS A...

Page 25: ...rm assemblies 21 in their original location Make sure all of the push rods 22 are engaged with the adjusting screws on the rocker arms In stall the bracket studs 19 and washers 20 and tighten Torque t...

Page 26: ...22 13 INSET D INSET A Jf7i r e 1 7 V 8 INSET C __ I 26 A42393 WRENCH Figure 10...

Page 27: ...locations 6 Install the rocker arm assemblies 18 in their original location Make sure all of the push rods 19 are engaged with the adjusting screws on the rocker arms In stall the bracket studs 16 and...

Page 28: ...INSET C A42393 WRENCH 01 0 TO 030 INC CLEARANCE INSET B 1 Ill I 6 ilI 1 I L 4 C o I I I I Figure 11 ___ T J I 21 22 _ 22 15 INSET A INSET D B 1D...

Page 29: ...rms Clean the oil holes in the rocker arms to insure free oil flow Inspect the valve stem contact area on the rocker arm for wear Replace if worn In spect the tappet adjusting screw for wear marks or...

Page 30: ...INSET A ARM ASS EMBLV ROCKER 30 INCH 10 TO O 6 LEARANCE Figure 12 22 17 INSET B 7 FANt...

Page 31: ...ve seats 11 and intake valve seats 16 if equipped clean the recess in the cylinder head Place the valve seats in dry ice to shrink them In sert the valve seats in the head and press them in place usin...

Page 32: ...22 19 INSET A I 1 31 1 r INSET E INSET D Figure 13...

Page 33: ...any point along the bore the guide must be replaced Use a arbor equal to the inside diameter of the valve guide to keep the guide from collapsing when pressed into place Press in from the top of the...

Page 34: ...m Figure 22 Wear limit must not exceed 002 at all points of mea surement If the wear is greater replace the valve The exhaust valve being a tapered stem must have two diameter readings as shown in Fig...

Page 35: ...end of the valve should be checked for roughness or wear Usually this can be removed with some very light cuts against the side of the grinding wheel and will square up the end Never grind off the va...

Page 36: ...nout should be checked after finish grinding with a dial indicator and seat grinding pilot Figure 28 The runout of the valve seat must not exceed 002 inch DIAL INDICATOR PILOT The valve seat contact a...

Page 37: ...the engine one complete revolution and align the pointer and the TDC mark STEP 2 Crank the engine one complete re volution and align the timing pointer and the TDC mark Figure 31 or Figure 32 Cylinde...

Page 38: ...stroke If the push rods are tight crank the engine one complete revo lution and align the pointer and the mark Check and adjust the following valve clearances intake valve at 015 clearance on cylinder...

Page 39: ......

Page 40: ...h Oil Pump 23 16 Front Mounted Oil Pump 23 20 Diesel Engine Timing Gear Cover 23 22 Spark Ignition Timing Gear Cover 23 24 Camshaft Bushings Lifters and Timing Gears 23 26 Crankshaft Pistons Sleeves a...

Page 41: ...This as a preview PDF file from best manuals com Download full PDF manual at best manuals com...

Reviews:

Related manuals for 680 CK