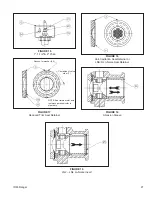
IOM-Ranger
8
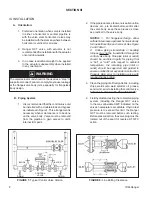
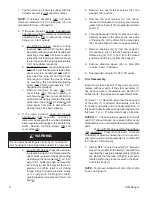
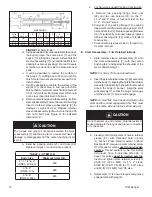
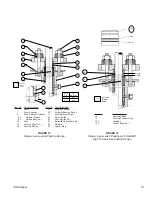
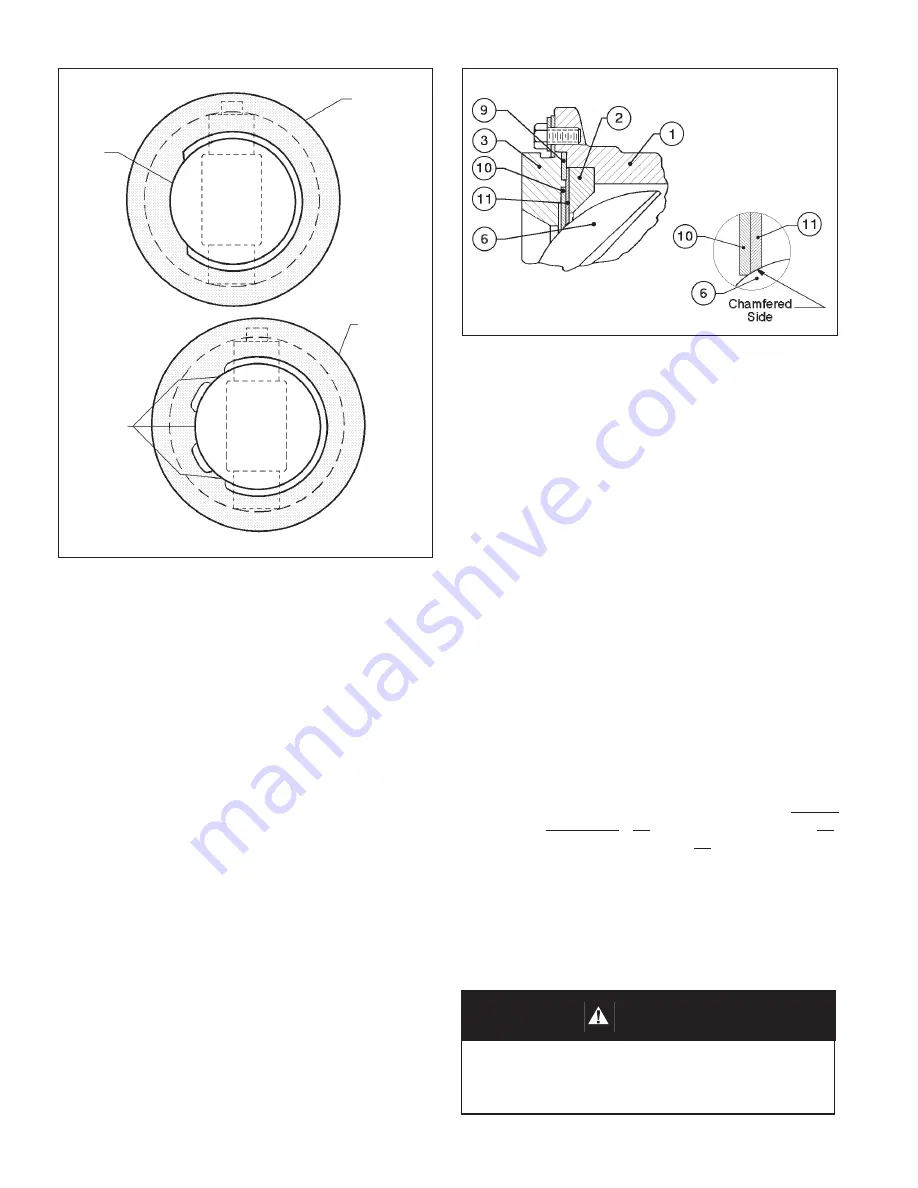
FIGURE 7
Mechanical Travel Stops - Plug in Closed Position
Front-End View
Mechanical
Stop
Cage (2)
Mechanical
Stops
Cage (2)
Sizes 2" & 4"
(DN50 & 100)
Plug (6)
Plug (6)
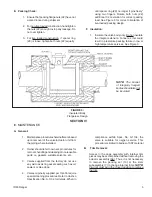
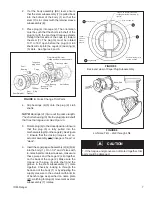
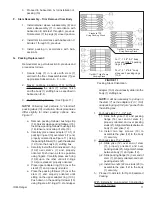
FIGURE 8:
Typical Seal Assembly
Sizes 1", 1-1/2", 3", 6" & 8"
(DN25, 40, 80, 150 & 200)
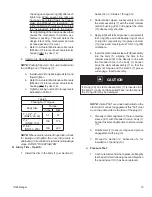
CAUTION
The valve must be isolated from the process, all
pres sures must be relieved and the unit removed from
the piping system before attempting disassembly.
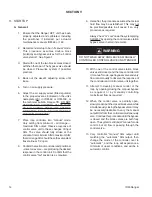
9. I n s t a l l w a s h e r s ( 2 3 ) , B e l l e v i l l e
washers (47) (convex side up) and
cap screws (18) and hand tighten.
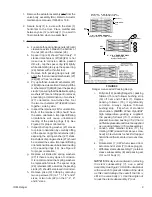
Reduced port seal re tain ers (3) have re cess es
ma chined-in to receive the washers (23,
47). See Figure 17. These ensure that the
elon gat ed port (slot) is prop er ly aligned.
Wrench-tighten the cap screws (18) in 1/2
revolution in cre ments, in an alternating
pat tern, until tight.
NOTE:
The seal retainer gasket (9) and the soft
seal (10) are not “set” until the valve is placed in
the line and compressed between flanges. If the
seals are “set” by clamping the valve between the
flang es during a seat leak age test, retighten the
cap screws (18) to hold the seal retainer (3) and
seals (9, 10 and 11) firmly in place. Once a soft
seal (10) is “set” by clamping the valve be tween
flanges, it cannot be re moved, re in stalled and
then prop er ly centered to pro vide Class VI shutoff.
10. On ATO-FC and ATC-FO Valves with out
handwheel (58), replace cover plate (20)
and machine screws (36). De pres sur ize the
ac tu a tor for ATC-FO valves and dis con nect
tem po rary air sup ply.
11. Return to Section III.A. through F. for
in stal la tion instructions.
NOTE:
All Sizes - Reorient unit so that the back-
end of the body (1) is directed downwards, and
the front-end is up wards and in a horizontal plane
so seals properly align on plug.
7. With plug (6) in the closed position, install the
metal seal (11) with cham fered edge of I.D.
to ward the plug (6); a note is “etched” on the
side of the metal seal (11) stating “TO WARD
PLUG”. Place seal re tain er gas ket (9) against
body (1) face and metal seal (11). Place soft
seal (10) against plug (6) face. See Figure 8
for as sem bly details.
NOTE:
The soft seal (10) is not used with anti-
cavitation trim (3) or with some trim des ig na tions.
In reverse flow di rec tion, the soft seal (10) is
ineffective.
8. Carefully set seal retainer (3) into position.
Vi su al ly check to see if the soft seal (10) is
centered over the metal seal (11), and that
the plug (6) is closed.
NOTE:
To center the seals on the plug (6) face,
hold the seal retainer (3) against the as sem bled
trim parts with light hand pressure and rotate the
seal retainer (3) back and forth 90°, 3-4 times.
Spin 360° 3-4 revolutions.
D.
Stem
Removal:


