— 26 —
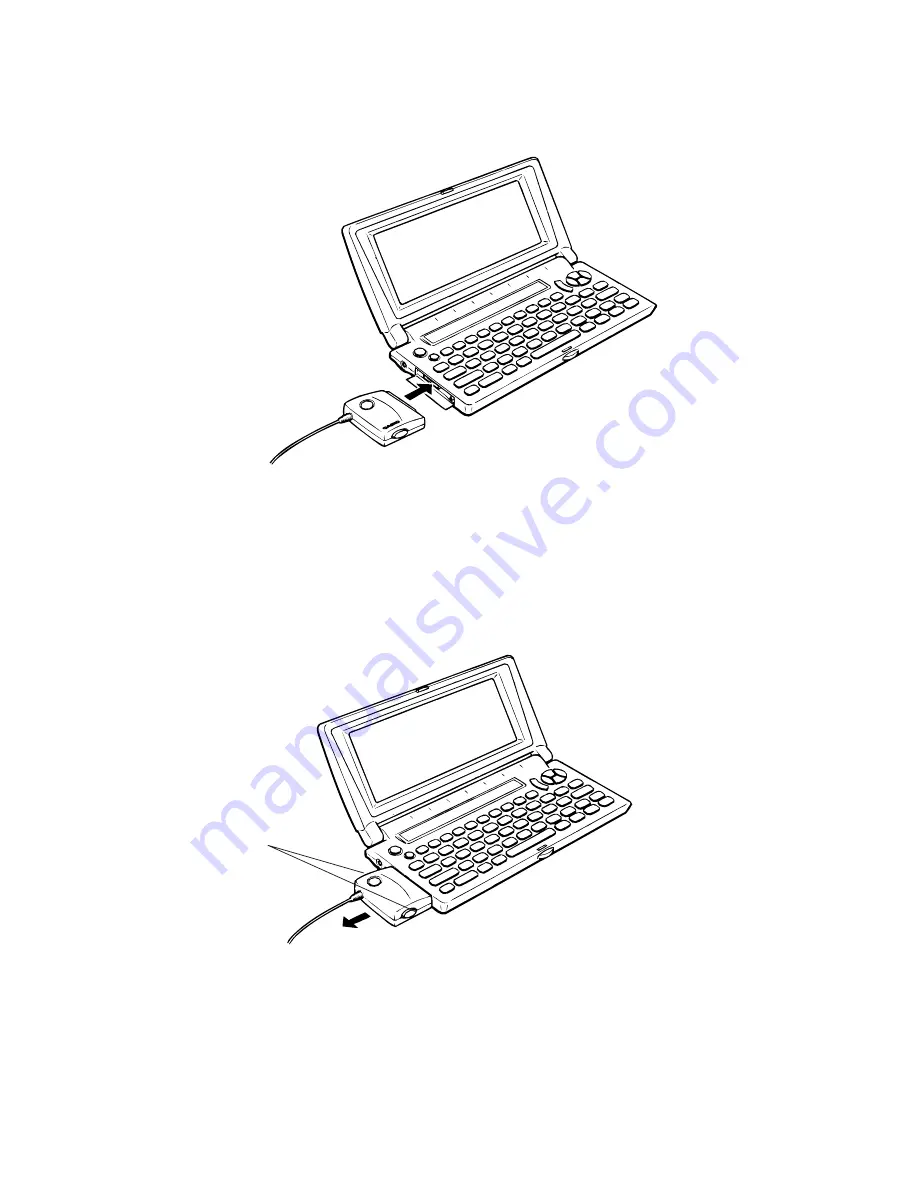
3. With the side marked CASIO facing up (so you can see it), plug the Mini Cradle connector straight
into the BN Unit port.
Important!
• Make sure you insert the connector as far as it will go, until you hear it snap securely into place.
• Do not apply undue force! Doing so can damage the Mini Cradle connector or BN Unit port.
To disconnect the Mini Cradle from the CASIO BN Unit
1. Make sure that the power of both the BN Unit and your computer is turned off.
2. While squeezing the buttons on both sides of the connector, pull it straight out from the Mini
Cradle port to remove it.
3. Close the BN Unit´s port cover.
Squeeze here
Summary of Contents for BN-10
Page 1: ...R BN 10 ZX 456 BN 20 ZX 457 NOV 1997 without price BN 20 ...
Page 49: ... 49 Main block PCB ASSY A140806 2 5 FM3416 Gate array ...
Page 51: ... 51 Main block PCB ASSY A140806 4 5 LINE DRIVER RECEIVER ...
Page 52: ... 52 Main block PCB ASSY A140806 5 5 AC Adapter Batteries ...
Page 55: ... 55 Display block LCD ASSY A140809 A140814 2 3 LCD common terminal driver ...
Page 56: ... 56 Display block LCD PCB ASSY A140809 A140814 3 3 LCD segment terminal driver ...
Page 57: ... 57 Cradle A140805 BN 10 20 PCB Z456 1 shielded ...


