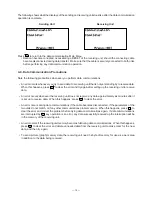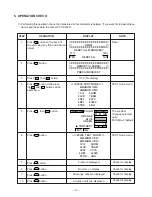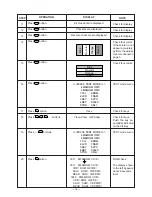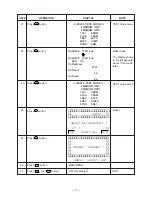
— 7 —
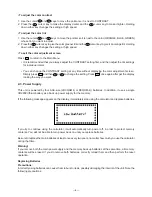
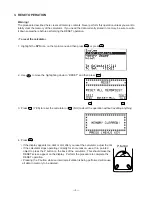
• To replace the main power supply batteries
* Never remove the main power supply and the memory back up batteries from the unit at the same time.
* Never turn the calculator on while the main power supply batteries are removed from the calculator or
not loaded correctly. Doing so can cause memory data to be deleted and malfunction of the calculator.
If mishandling of batteries causes such problems, correctly load batteries and then perform the RESET
operation to resume normal operation.
* Be sure to replace all four batteries with new ones.
1. Press
SHIFT
OFF
to turn the calculator off.
Warning!
* Be sure to turn the unit off before replacing batteries. Replacing batteries with power on will cause data
in memory to be deleted.
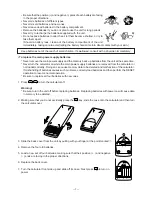
2. Making sure that you do not accidently press the
AC/ON
key, slide the case onto the calculator and then turn
the calculator over.
3. Slide the back cover from the unit by pulling with your finger at the point marked
1
.
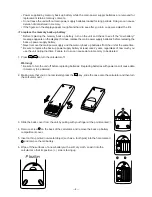
4. Remove the four old batteries.
5. Load a new set of four batteries, making sure that their positive ( + ) and negative
( - ) ends are facing in the proper directions.
6. Replace the back cover.
7. Turn the calculator front side up and slide off its case. Next press
AC/ON
to turn on
power.
• Be sure that the positive (+) and negative (-) poles of each battery are facing
in the proper directions.
• Never mix batteries of different types.
• Never mix old batteries and new ones.
• Never leave dead batteries in the battery compartment.
• Remove the batteries if you do not plan to use the unit for long periods.
• Never try to recharge the batteries supplied with the unit.
• Do not expose batteries to direct heat, let them become shorted, or try to
take them apart.
(Should a battery leak, clean out the battery compartment of the unit
immediately, taking care to avoid letting the battery fluid come into direct contact with your skin.)
Keep batteries out of the reach of small children. If swallowed, consult with a physician immediately.
Summary of Contents for CFX-9970G
Page 1: ...R AUG 1997 CFX 9970G without price CFX 9970G ZX 936A ...
Page 26: ... 26 Main block 2 To Main block 1 To Memory block ...
Page 27: ... 27 Key block To Main block 1 ...
Page 28: ... 28 To Main block 1 Display drive block Sub ass y Contrast adj Sub ass y ...
Page 29: ... 29 Memory block 8M ROM To Main block 2 ...
Page 31: ... 31 17 22 21 25 23 24 20 18 19 12 EXPLODED VIEW 2 2 ...


