— 22 —
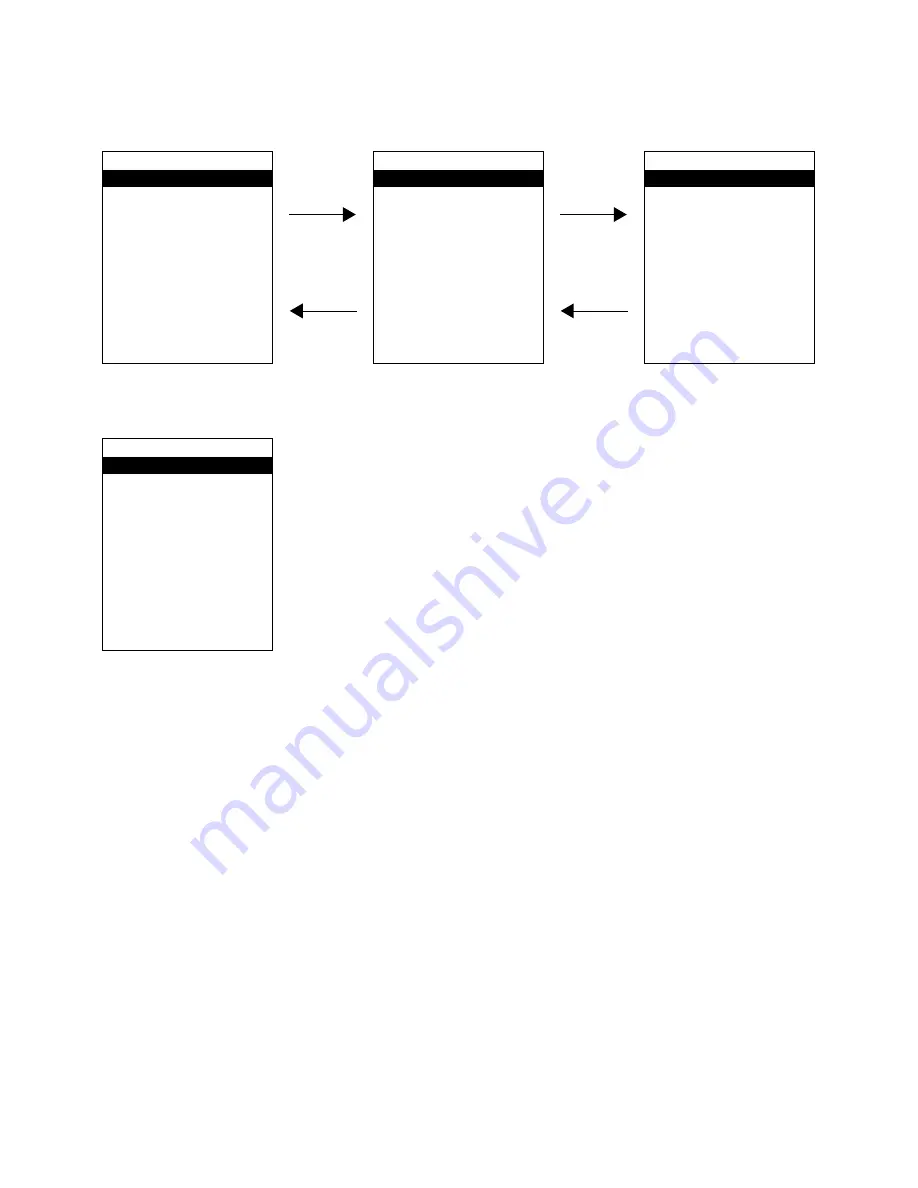
TestMenu V0.22F #1
1.Factory Test
2.PSRAM Test
3.ROM Test
4.NAND Test
5.Buzzer Test
6.Vibrator Test
7.LED Test
8.Key/Button Test
9.Next Page
Press "9"
Press "8"
Press "9"
Press "7"
Menu #2
Menu #1
Menu #3
TestMenu V0.22F #2
1.Display Test
2.Infrared Ray Test
3.Bluetooth Test
4.Laser Test
5.Wireless LAN Test
6.Sensor test
7.Serial Port Test
8.Previous Page
9.Next Page
TestMenu V0.22F #3
1.Burn-In Test
2.WLAN Country Code
3.Serial ID Set
4.RTC
5.OBR Set
6.Memory Test
7.Previous Page
8.Exit
TestMenu V0.22F #3
1.Burn-In Test
2.WLAN Country Code
3.Serial ID Set
4.RTC
5.OBR Set
6.Memory Test
7.Previous Page
8.Exit
Push "8" key in the Test Menu #3 of the Diagnostic Program.
Or select "8. Exit" (which will be highlighted in black) and push "ENT" key.
■
MENU
The Hardware Diagnostic Program has the following three menus.
■
Ending the Program
4-3. Deleting the Test Programs
MAKE SURE YOU DELETE THE TEST PROGRAMS FROM THE TERMINAL AFTER FINISHING THE TEST
PROCESS.
1. Return to the Top Menu and press the "0" key.
2. Enter the password and press Enter.(The default password is 12346789.)
3. Choose FlashDisk Format from the System menu by pressing the "1" key.
4. Choose Format from the FDISK Format menu by pressing the "1" key.
5. Choose Yes from the format warning menu by pressing the "1" key.
6. A message will indicate when the formatting process has been successful.
7. Hold down the "power" key and push in the reset button with a pointed object, then release the reset button.
8. Release the "power" key.
9. Follow the on-screen message and press the right trigger button twice.
10. Press the "0" key to return to the Top Menu.
11. Enter the password and press Enter.
12. Choose FileExplorer from the System menu by pressing the "4" key.
13. When "My Computer" opens press the Fn key once, and then press the "R" key.
14. Check that the FlashDisk directory is clear.
15. Press CLR twice to return to the Top Menu.
16. Power the terminal off.
Summary of Contents for DT-X5M10E
Page 1: ...SERVICE MANUAL DT X5M10E M10R PX 791EE 791ME JUN 2004 HANDHELD TERMINAL Ver 1 Nov 2004 ...
Page 69: ... 67 6 EXPLODED VIEW FRONT CASE ASSY 3 1 7 4 2 5 6 ...
Page 70: ... 68 MIDDLE CASE ASSY 9 8 11 12 See LCD BLOCK DT X5M10R only See LASER BLOCK 14 13 15 10 14 ...
Page 72: ... 70 LCD BLOCK 43 42 41 38 39 40 36 37 35 LASER BLOCK ...


