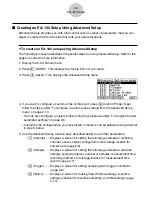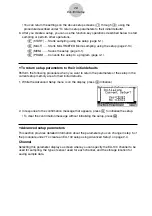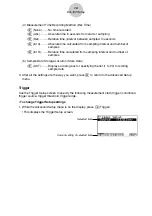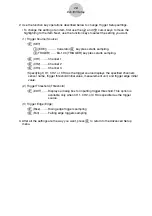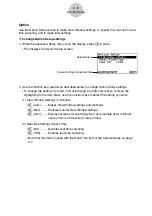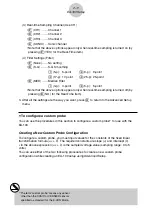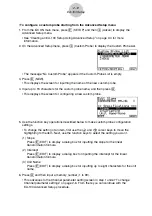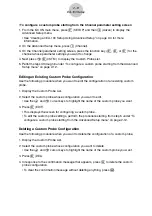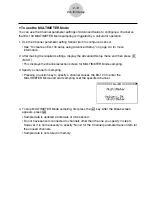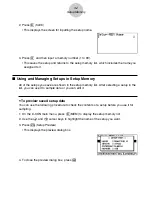
6. After you complete step 5, a screen for setting the number of samples appears on the
display.
• Use the number keys to input the number of samples, and then press
w
.
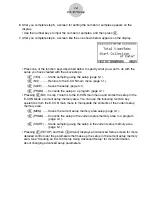
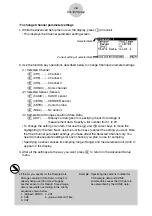
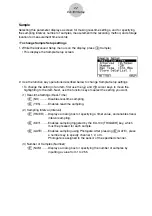
7. After you complete step 6, a screen like the one shown below appears on the display.
• Press one of the function keys described below to specify what you want to do with the
setup you have created with the above steps.
•
1
(YES) ........ Starts sampling using the setup (page 5-1).
•
2
(NO) .......... Returns to the E-CON main menu (page 1-1).
•
3
(SAVE) ...... Saves the setup (page 3-1).
•
4
(PRGM) ..... Converts the setup to a program (page 4-1).
• Pressing
2
(NO) in step 7 returns to the E-CON main menu and stores the setup in the
E-CON Mode’s current setup memory area. You can use the following function key
operations from the E-CON main menu to manipulate the contents of the current setup
memory area.
•
2
(MEM) ....... Saves the current setup memory area setup (page 3-1).
•
3
(PRGM) ..... Converts the setup in the current setup memory area to a program
(page 4-1).
•
4
(START) .... Starts sampling using the setup in the current setup memory area
(page 5-1).
• Pressing
1
(SETUP) and then
c
(Advan) displays an Advanced Setup screen for more
detailed control over the parameters that make up the setup in the current setup memory
area. See “Creating an EA-100 Setup Using Advanced Setup” for more information
about changing advanced setup parameters.
2-3
EA-100 Setup


