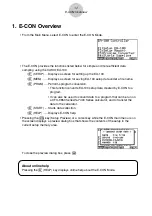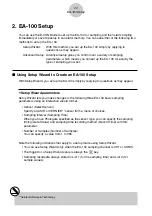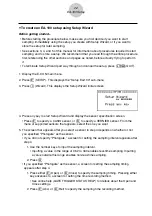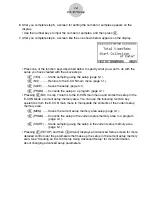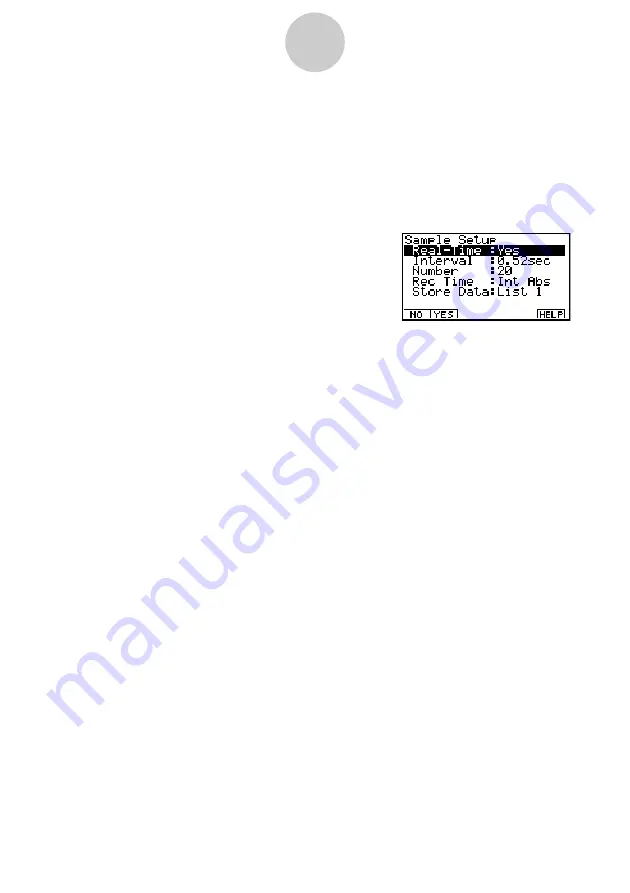
Sample
Selecting this parameter displays a screen for making real-time settings, and for specifying
the sampling interval, number of samples, measurement time recording method, and storage
location for measurement time records.
• To change Sample Setup settings
1. While the Advanced Setup menu is on the display, press
c
(Sample).
• This displays the Sample Setup screen.
2. Use the function key operations described below to change Sample Setup settings.
• To change the setting of an item, first use the
f
and
c
cursor keys to move the
highlighting to the item. Next, use the function keys to select the setting you want.
(1) Real-time Settings (Real-Time)
•
1
(NO) .......... Disables real-time sampling.
•
2
(YES) ........ Enables real-time sampling.
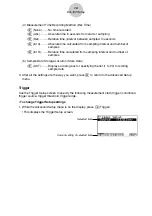
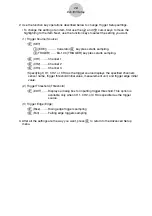
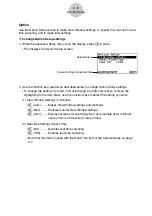
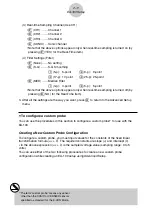
(2) Sampling Interval (Interval)
•
1
(TIMER) .... Displays a dialog box for specifying a timer value, and enables fixed-
interval sampling.
•
2
(KEY) ........ Enables sampling triggered by the EA-100 [TRIGGER] key, which
must be pressed for each sample.
•
3
(GATE) ...... Enables sampling using Photogate. After pressing
3
(GATE), press
a number key to specify channel 1, 2, or 3.
Photogate is assigned to the sensor of the specified channel.
(3) Number of Samples (Number)
•
1
(NUM) ....... Displays a dialog box for specifying the number of samples by
inputting a value from 1 to 255.
2-7
EA-100 Setup


