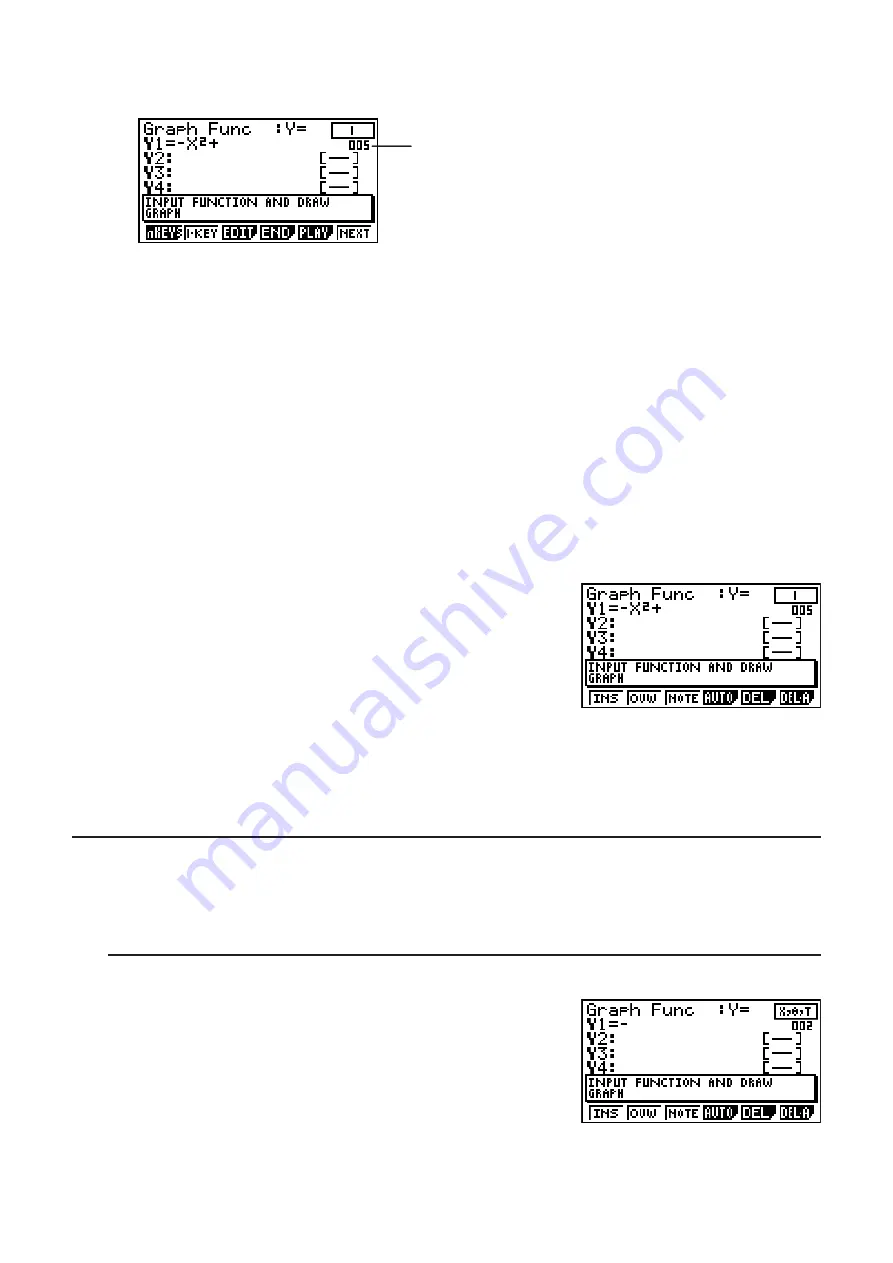
10-19
3. Input a value to specify the number of keys you want to jump and then press
U
.
• Here we want to jump to the
@
key, so we will input
F
U
.
This number indicates the number of the current key
operation from the beginning of the function. In the
case of an AUTO operation, the letter “A” is appended
to the beginning of this number (A005).
• {
nKEYS
} ... {inserts an n-key operation at the display position}
• {
1-KEY
} ... {inserts a 1-key operation at the display position}
• {
EDIT
} ... {starts editing of the key at the current position}
• {
END
} ... {exits the editing operation}
• {
PLAY
} ... {displays a dialog box for selecting the key to be edited}
• {
NEXT
} ... {displays the next key}
• Use
D
and
A
to change the key indicator display position.
D
... Displays the key indicator in the upper right corner.
A
... Displays the key indicator in the lower right corner.
4. Press
(EDIT).
• This will display the
@
key editing screen.
• {
INS
} ... {inserts one key before the current key}
• {
OVW
} ... {overwrites the current key}
• {
NOTE
} ... {edits the current comment}
• {
AUTO
} ... {inserts an AUTO operation after the current
key} See “To create an AUTO operation”
(page 10-16).
• {
DEL
} ... {deletes the current key}
• {
DEL
•
A
} ... {deletes everything from the current key to the end}
I
Editing Example
In this example, we show how to edit the graph function (Y1 = −X
2
+ 1) that is input at the end
of the operation under “To create an n-key operation” (page 10-14).
S
To change −X
2
+ 1 to −2X
2
+ 1 (by inserting a
A
key before the
T
key)
1. This will display the
T
key editing screen.
Summary of Contents for FX-7400GII
Page 337: ...E CON2 Application ...


