18
EN
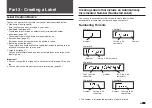
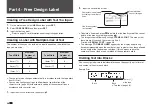
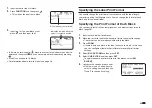
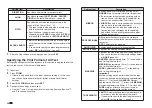
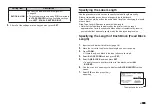
Part 2 - Performing a Test Print
Printing a Label
Sample Print
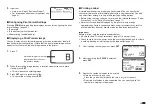
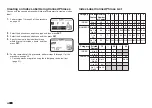
1.
Press
ON
to turn on power.
•
This displays the main menu.
•
A screen including a
PREVIOUS
DATA
(last session's data) option
may appear in place in the screen
shown here. (page 15)
2.
Select
NEW
and then press
SET
.
3.
Select the type of label you want to create and then press
SET
.
•
Here we will select
FREE DESIGN
.
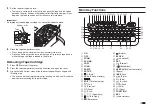
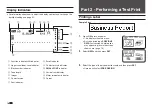
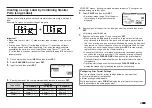
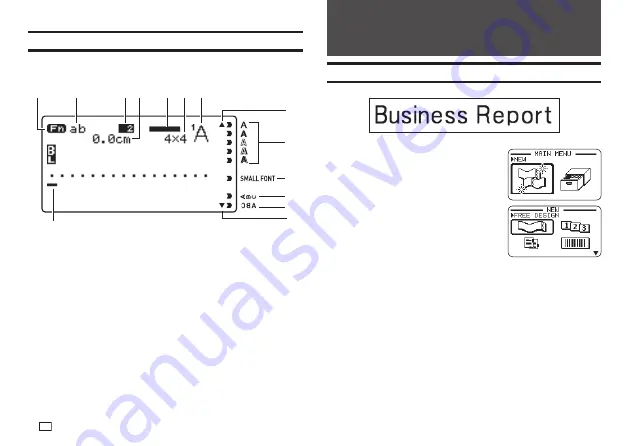
Display Indicators
•
For information about how to adjust the display contrast and to change the
backlight setting, see page 51.
①
②
③
⑤
⑩
⑪
⑫
⑨
⑧
⑧
⑬
⑦
⑥
④
①
Function indicator/shift indicator
⑧
Scroll indicator
②
Upper case/lower case indicator
⑨
Character style indicator
③
Block number indicator
⑩
SMALL FONT
indicator
④
Tape length
⑪
Vertical text indicator
⑤
Imager
⑫
Mirror image text indicator
⑥
Character size
⑬
Cursor
⑦
Font indicator
Summary of Contents for KL-G2
Page 1: ...User s Guide KL G2 EN RJA532734 001V02 Supported Tape Widths 6 mm 9 mm 12 mm 18 mm 24 mm ...
Page 2: ...Important Be sure to keep all user documentation handy for future reference ...
Page 60: ...58 EN 7 8 9 10 11 12 13 14 15 16 17 18 19 20 WORK 1 2 3 4 5 6 7 8 9 10 ATTENTION 1 2 3 4 5 6 ...
Page 63: ...APP 1 Appendix Accented Characters A C D E G H I J K L N O R S T U Y Z ...
Page 64: ...APP 2 a c d e g h i j k l n o r s t u y z ...
Page 65: ...APP 3 GREEK RUSSIAN SUPER SUB Symbols SYMBOL DINGBAT NUMBER ...
Page 66: ...APP 4 Illustrations ILLUST 1 ILLUST 2 ...
Page 67: ...APP 5 Frames ...
Page 68: ...APP 6 ...

