19
EN
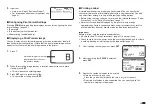
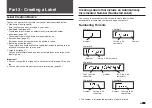
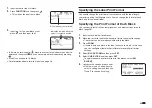
4.
Input text.
•
Here, we will input "Business Report".
•
For information about how to input text, see
page 41.
■
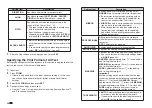
Confi guring Print Format Settings
Pressing
FORM
while inputting text displays a menu for confi guring the print
format settings (page 29).
•
Tape length
•
Text direction (vertical, horizontal)
•
Mirror printing (enable/disable)
■
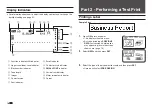
Displaying a Print Preview Image
You can display a print preview image to get an idea of what your label will
look like before actually printing it. Note that the print preview image will not
appear unless there is a tape cartridge loaded in the printer.
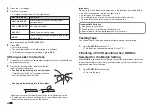
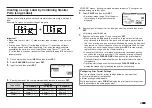
1.
Press .
2.
When the scrolling image reaches a location you want to check more
closely, press
SET
.
•
This will pause the scrolling image.
3.
Press
SET
again to resume scrolling.
•
To cancel the scrolling, press
ESC
.
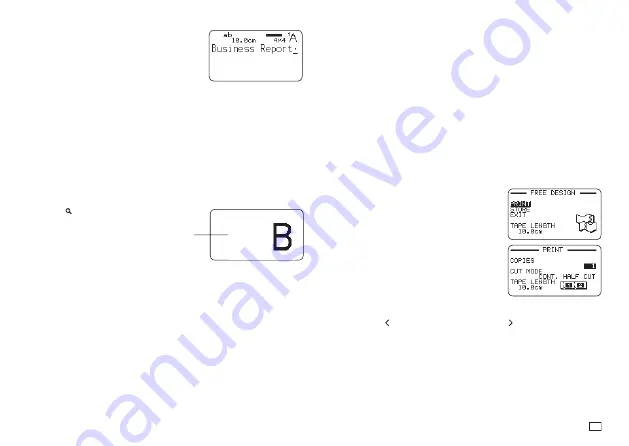
A preview image of what will
be printed will scroll across
the printer's display.
■
Printing a Label
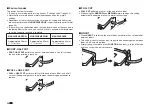
A simple operation prints a label you have created. You can specify the
number of copies and print multiple labels with a single operation. You also
can select from among a variety of different tape cutting options.
•
Before using the tape cutter, be sure to read the information under "Cutter
Precautions" in the "Safety Precautions" (page 7).
•
Note that the tape length displayed by the printer is only a rough
approximation. Certain usage conditions and print contents may result a
printed label that does not exactly match the displayed length value.
Important!
Before printing, note the important points below.
•
Be sure to read "Printing Precautions" (page 21) before printing.
•
Check to make sure the printer has a tape cartridge loaded, and that there
is nothing blocking or interfering with the tape outlet (page 12).
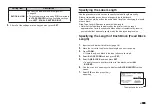
1.
After inputting the text you want, press
SET
.
2.
After confi rming that
is selected,
press
SET
.
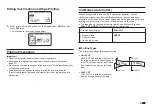
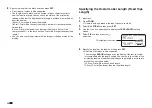
3.
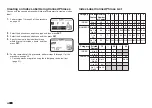
Specify the number of copies to be printed.
•
Here we will specify one copy.
•
Press the arrow key to reduce the value, or to increase it.
•
Direct input of values is also supported. You can specify up to 100
copies for a single print operation.
Summary of Contents for KL-G2
Page 1: ...User s Guide KL G2 EN RJA532734 001V02 Supported Tape Widths 6 mm 9 mm 12 mm 18 mm 24 mm ...
Page 2: ...Important Be sure to keep all user documentation handy for future reference ...
Page 60: ...58 EN 7 8 9 10 11 12 13 14 15 16 17 18 19 20 WORK 1 2 3 4 5 6 7 8 9 10 ATTENTION 1 2 3 4 5 6 ...
Page 63: ...APP 1 Appendix Accented Characters A C D E G H I J K L N O R S T U Y Z ...
Page 64: ...APP 2 a c d e g h i j k l n o r s t u y z ...
Page 65: ...APP 3 GREEK RUSSIAN SUPER SUB Symbols SYMBOL DINGBAT NUMBER ...
Page 66: ...APP 4 Illustrations ILLUST 1 ILLUST 2 ...
Page 67: ...APP 5 Frames ...
Page 68: ...APP 6 ...


