41
EN
5.
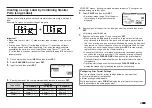
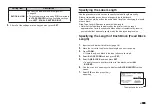
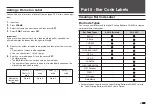
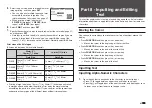
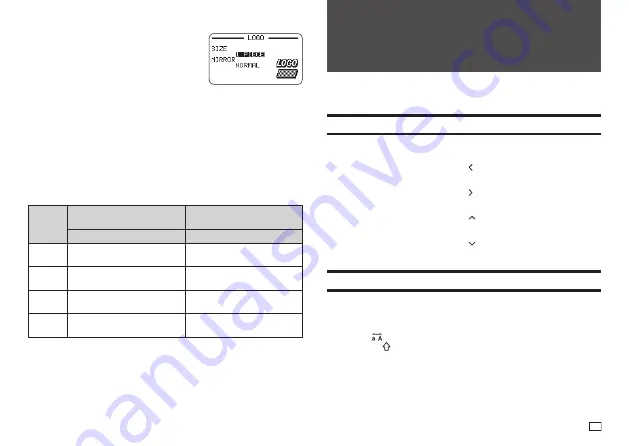
Select the print size, enable or disable mirror
image printing, and then press
SET
.
•
You can also print multiple tapes and later
assemble them into a large label. For
information about print sizes, see page 41.
•
When printing a large label, select
2 PIECES
(two tapes),
3 PIECES
(three
tapes), or
4 PIECES
(four tapes).
6.
Select
and then press
SET
.
7.
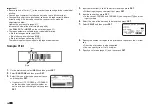
Specify the number of copies to be printed, select the cut mode (page 21),
and then press
SET
.
•
Note that you will not be able to specify the number of copies if you are
printing a large label. In this case, you can select
ALL
or one of the
tapes (1, 2, etc.) that make up the fi nal label. Normally select
ALL
here.
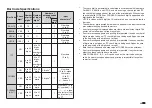
Print sizes of built-in logos
(All sizes indicated as Vertical x Horizontal.)
24mm (1"),
18mm (
3
/
4
") wide
12 mm (
1
/
2
") wide
Data Size
Data Size
1 PIECE
15mm (
9
/
16
") × 67.5mm
(2
11
/
16
")
10mm (
3
/
8
") × 45mm (1
3
/
4
")
2 PIECES
30mm (1
3
/
16
") × 135mm
(5
5
/
16
")
20mm (
13
/
16
") × 90mm
(3
9
/
16
")
3 PIECES 45mm (1
3
/
4
") × 202.5mm (8")
30mm (1
3
/
16
") × 135mm
(5
5
/
16
")
4 PIECES
60mm (2
3
/
8
") × 270mm
(10
5
/
8
")
40mm (1
9
/
16
") × 180mm
(7
1
/
16
")
•
Printing a large label on an 18mm (
3
/
4
") or 24mm (1") wide tape will result
in margins above and below the printing. Trim away the margins before
assembling the parts into a fi nal label. Or you can print on transparent tape
and overlap the margins of the different tapes without trimming them.
Part 8 - Inputting and Editing
Text
This section explains basic text input and editing operations. It also includes
information about how to apply text styles and effects, and how to create user
characters.
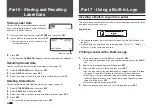
Moving the Cursor
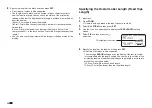
You can use the arrow keys to move the cursor (input position) around the
display.
•
Press
FUNCTION
and then press the arrow key.
→
Moves the cursor to the beginning of the current line.
•
Press
FUNCTION
and then press the arrow key.
→
Moves the cursor to the end of the current line.
•
Press
FUNCTION
and then press the arrow key.
→
Moves the cursor to the beginning of the text.
•
Press
FUNCTION
and then press the arrow key.
→
Moves the cursor to the end of the text.
Inputting Text
Inputting Alpha-Numeric Characters
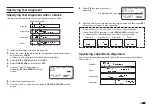
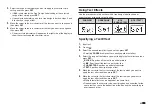
1.
Press the key that corresponds to the character you want to input.
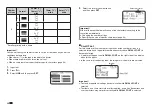
•
Press
to toggle between upper case and lower case input.
•
Pressing
will toggle input of the next character only from upper case
to lower case, or from lower case to upper case.
Summary of Contents for KL-G2
Page 1: ...User s Guide KL G2 EN RJA532734 001V02 Supported Tape Widths 6 mm 9 mm 12 mm 18 mm 24 mm ...
Page 2: ...Important Be sure to keep all user documentation handy for future reference ...
Page 60: ...58 EN 7 8 9 10 11 12 13 14 15 16 17 18 19 20 WORK 1 2 3 4 5 6 7 8 9 10 ATTENTION 1 2 3 4 5 6 ...
Page 63: ...APP 1 Appendix Accented Characters A C D E G H I J K L N O R S T U Y Z ...
Page 64: ...APP 2 a c d e g h i j k l n o r s t u y z ...
Page 65: ...APP 3 GREEK RUSSIAN SUPER SUB Symbols SYMBOL DINGBAT NUMBER ...
Page 66: ...APP 4 Illustrations ILLUST 1 ILLUST 2 ...
Page 67: ...APP 5 Frames ...
Page 68: ...APP 6 ...

