49
EN
4.
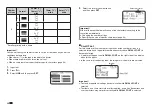
Create a user character.
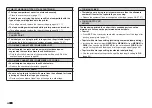
Function
Operation
Move the cursor.
Use arrow keys.
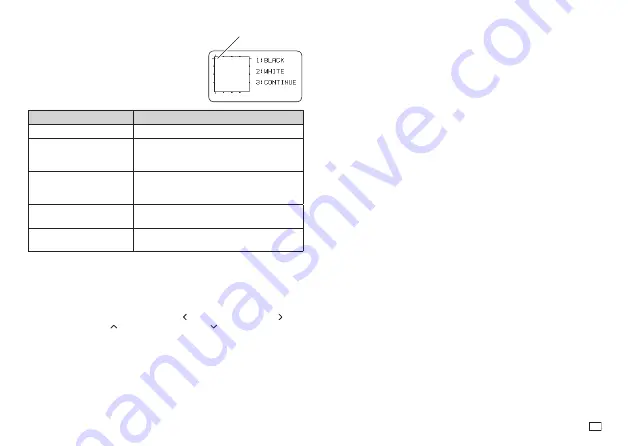
Make the dot at the current
cursor position black.
Press
1
(black).
•
This will cause
1 BLACK
to be highlighted
on the display.
Make the dot at the current
cursor position white.
Press
2
(white).
•
This will cause
2 WHITE
to be highlighted
on the display.
Draw a black line.
Press
1
(black) and then
3
(continuous), and
then move the cursor.
Draw a white line.
Press
2
(white) and then
3
(continuous), and
then move the cursor.
•
Drawing of diagonal lines is not supported.
•
After pressing
1
(BLACK) or
2
(WHITE), each press of
3
(CONTINUE)
enables or disables continuous line drawing. While continuous line drawing
is enabled,
3 CONTINUE
is highlighted on the display.
•
While continuous line drawing is disabled (
3 CONTINUE
not highlighted),
you can perform the following operations to make the cursor jump to one of
the edges of the input area:
FUNCTION
+ (left edge),
FUNCTION
+ (right
edge),
FUNCTION
+ (top edge),
FUNCTION
+ (bottom edge).
5.
After creating a user character, press
SET
.
6.
Select the location where you want to save the user character and then
press
SET
.
•
If the location already contains a user character, the above step will
delete the existing character and replace it with the new one.
•
To cancel the user character save operation, press
ESC
.
7.
Press
SET
.
Using an Existing Printer Character to Create a
User Character
You can create a user character based on an existing printer character.
•
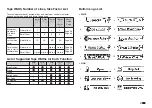
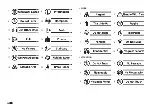
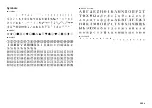
You can also use a symbol (page APP-3) or a illustration (page APP-4) to
create a user character.
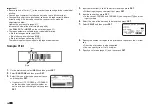
1.
Input the existing character you want to use and then align the cursor with
it.
2.
Press
USER CHR
.
3.
Select
MAKE
and then press
SET
.
4.
Select
USE INPUT CHAR
and then press
SET
.
5.
Perform the steps from step 4 of the procedure under "Creating a User
Character from Scratch" on page 49.
Scale
↓
Scale
↓
Cursor
Summary of Contents for KL-G2
Page 1: ...User s Guide KL G2 EN RJA532734 001V02 Supported Tape Widths 6 mm 9 mm 12 mm 18 mm 24 mm ...
Page 2: ...Important Be sure to keep all user documentation handy for future reference ...
Page 60: ...58 EN 7 8 9 10 11 12 13 14 15 16 17 18 19 20 WORK 1 2 3 4 5 6 7 8 9 10 ATTENTION 1 2 3 4 5 6 ...
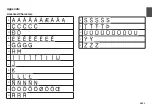
Page 63: ...APP 1 Appendix Accented Characters A C D E G H I J K L N O R S T U Y Z ...
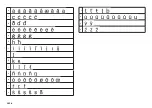
Page 64: ...APP 2 a c d e g h i j k l n o r s t u y z ...
Page 65: ...APP 3 GREEK RUSSIAN SUPER SUB Symbols SYMBOL DINGBAT NUMBER ...
Page 66: ...APP 4 Illustrations ILLUST 1 ILLUST 2 ...
Page 67: ...APP 5 Frames ...
Page 68: ...APP 6 ...


