30
Chapter 2 Scheduler
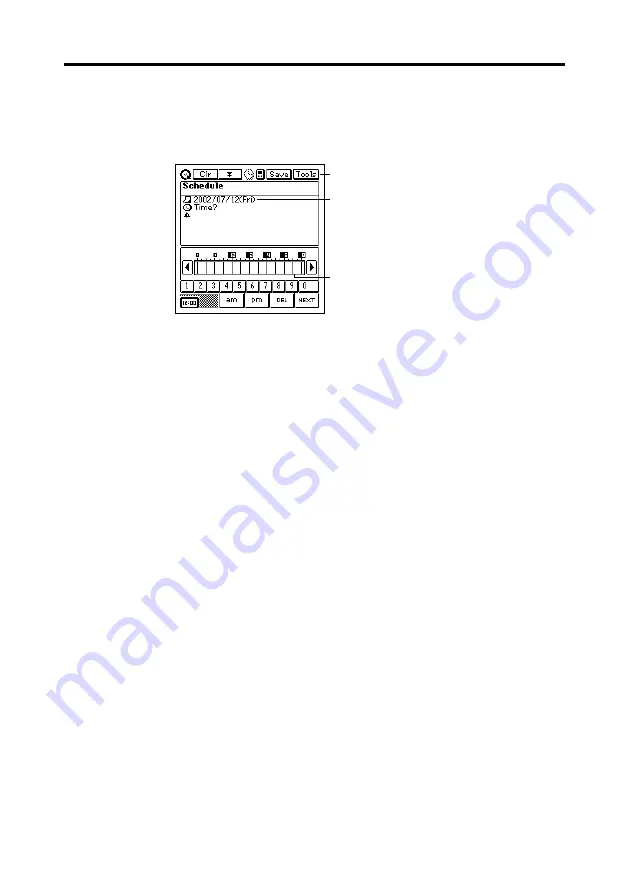
To input a single-date Schedule item
1. While any Scheduler Mode data screen is on the display, tap
New
.
2. On the menu that appears, tap
Schedule
.
2
1
3
3. If you want to change the date of the appointment, tap the displayed
date and then use the date keyboard that appears to make the changes
you want. Tap
NEXT
to advance to the appointment time.
4. Use the time keyboard that appears to input the start time and end time
if you want, and then tap
NEXT
to advance to the alarm time.
5. Use the time keyboard to input the Schedule alarm time if you want,
and then tap
NEXT
to advance to description text input.
6. Use the text keyboard to type text that describes the item.
7. After the item is the way you want, tap
Save
to store it.
•
In addition to a date, you
must
input description text or a start time. The
PV Unit will refuse to store the item if it does not contain a date plus
description text or a start time.
To input a multiple-date Schedule item with the New
button
1. While any Scheduler Mode data screen is on the display, tap
New
.
2. On the menu that appears, tap
Multi-date item
.
•
If you drag the stylus across a range of dates on the 1-Month Calendar
screen (
), a multiple-date item is created with the corresponding
range of dates.
1
Data input tool bar
2
Date
3
Time bar


