11
➢
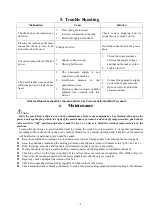
Do not operate the machine before having completing training and qualified for operating the tire changer.
Use appropriate equipment, tools and personal protective equipment, such as eye-glasses, ear-plugs and
working boots, when operating the tire changer.
➢
Make sure that the power, air sources and the oil level in the oil cup are in accordance with the requirements
.
4.1
Principles
⚫
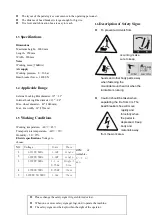
To avoid damage when mounting and demounting
tire,
especially the alloy ones, use the special tire lever.
⚫
For easier demounting and better protection of the
tire
and rim, lubricate the area between the rim and tire
bead,
where the bead breaker shoe goes in, with
industrial lubricant or thick soap solution.
⚫
Pay special attention to rotary direction marked on
some
flanges or tires.
⚫
Fit the tire on the rim of matched size.
⚫
Check for damages (distortions, surface damages,
excessive run out, erosion or overall wear) before
demounting.
⚫
Never ignore the mounting and demounting
requirements of the special wheel.
⚫
When inflating the tire, make sure the pressure
increases in an even way. Check the rim as often
as
possible.
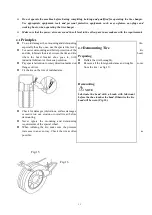
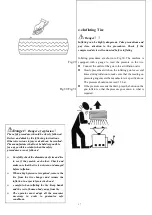
Fig.15
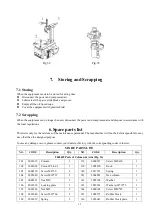
Fig.16
4.2
Demounting Tire
Preparing
⚫
Deflate the tire thoroughly.
⚫
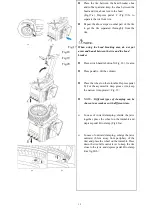
Remove all the foreign substance and weights
from the rim
(
as fig.15
)
.
Demounting
NOTE
:
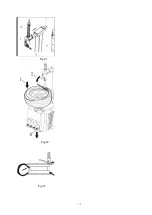
Lubricate the bead with a brush with lubricant
before the shoe touches the bead. Otherwise the tire
bead will be worn (Fig.16).
Summary of Contents for CASC506
Page 14: ...13 Fig 21 Fig 22 Fig 23...
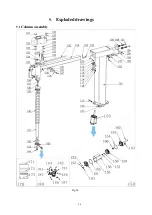
Page 25: ...24 9 Exploded drawings 9 1 Column assembly Fig 34...
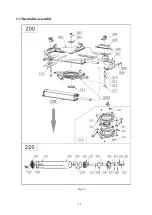
Page 26: ...25 9 2 Turntable assembly Fig 35...
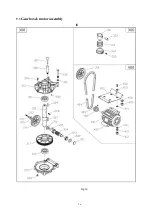
Page 27: ...26 9 3 Gearbox motor assembly Fig 36...
Page 28: ...27 9 4 Body assembly Fig 37...
Page 29: ...28 9 5 Pedal Assembly Fig 38...
Page 30: ...29 9 6 Bead Breaker Cylinder Breaker Arm Assembly Fig 39...
Page 31: ...30 Appendix 1 Electrical Diagram Fig 41 Fig 42...
Page 33: ...32 Appendix 3 Drawing of installation for small package Fig 44...
Page 38: ...37 10 8 Exploded drawings...
Page 50: ......


