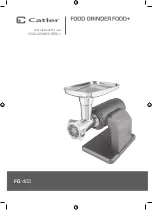
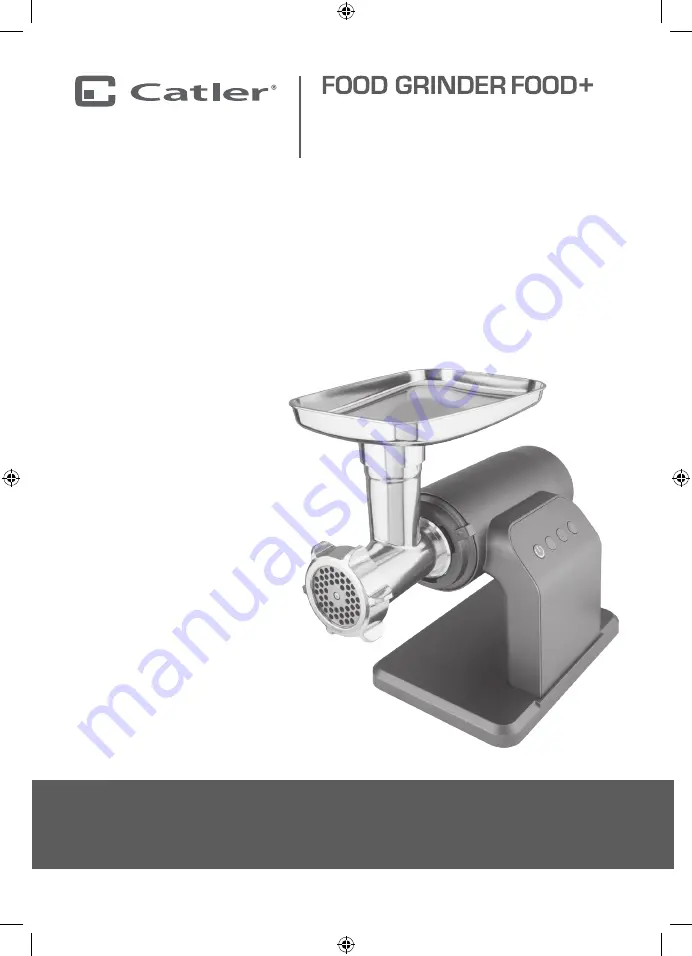
Catler FG 403, Instructions For Use Manual
The Catler FG 403 is a versatile kitchen appliance that will revolutionize the way you prepare meals. With its user-friendly interface and comprehensive Instructions For Use Manual, you'll be able to effortlessly unlock the full potential of this product. Download the manual for free from 88.208.23.73:8080 and start cooking like a pro today.
Share
Download


Reviews:
No comments
Related manuals for FG 403
686
Brand: Zelmer Pages: 60

THOR
Brand: PALSON Pages: 28
MW-1263 W
Brand: Maxwell Pages: 28

Fleetwood TC12IHD
Brand: Skymsen Pages: 8
RK-0560
Brand: Optimum Pages: 44

DUETTO plus
Brand: R.G.V. Pages: 88

MGD10-1
Brand: Supera Pages: 7
ZMM4200 Series
Brand: Zelmer Pages: 48

RK-0510
Brand: Optimum Pages: 47

Torrey M-12-FS
Brand: LLK Pages: 3

418-1031
Brand: saro Pages: 11
Design Mincer Advanced
Brand: Gastroback Pages: 25
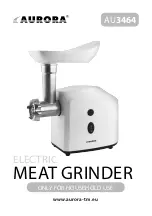
AU3464
Brand: Aurora Pages: 20

FMG-M2000X
Brand: FRAM Pages: 29
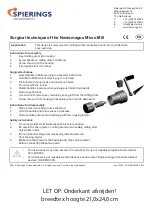
Noviomagus Micro Mill
Brand: SPIERINGS Pages: 2

MP 1550
Brand: Orbegozo Pages: 37

90800
Brand: Baron Pages: 8

MG 2500 SJW
Brand: Gorenje Pages: 57


