


13
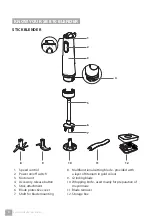
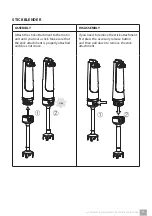
ASSEMBLY AND DISASSEMBLY OF YOUR SB 810 BLENDER
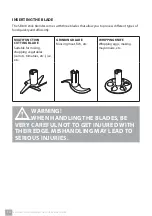
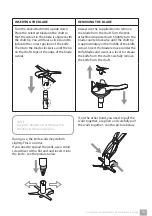
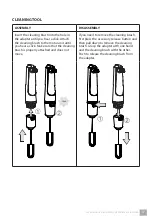
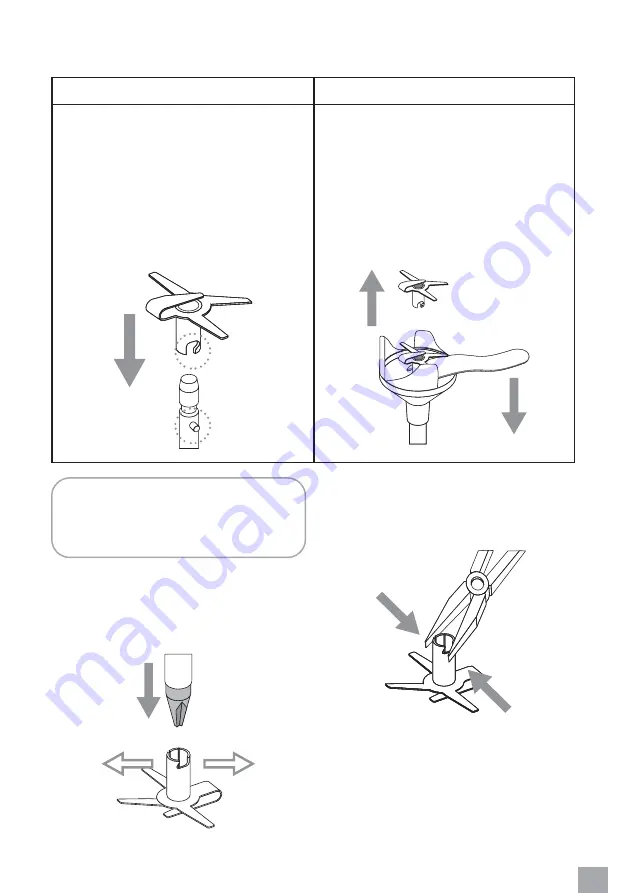
INSERTING THE BLADE
REMOVING THE BLADE
Turn the stick attachment upside down.
Place the selected blade on the shaft so
that the cutout in the blade is aligned with
the shaft tip. You will hear a click sound to
indicate the correct position of the knife.
Then turn the blade clockwise until the tip
on the shaft stops at the edge of the blade
cutout.
Always use the supplied tool to remove
the blade from the shaft. Turn the stick
attachment upside down. Slightly turn the
blade counterclockwise until the shaft tip
is approximately in the middle of the knife
cutout. Insert the blade remover under the
knife blades and use it as a lever to release
the knife from the shaft. Carefully remove
the knife from the shaft.
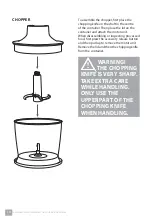
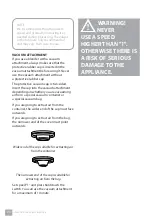
NOTE
Keep the blades out of the reach of
children in the storage box.
During use, the knife walls may deform
slightly. This is normal.
If you need to spread the walls, use a small
screwdriver with a fl at end and insert it into
the knife - see the picture below.
If, on the other hand, you need to pull the
walls together, use pliers and carefully pull
the walls together - see the picture below.


