6. Once the drive has been formatted, go to the Basic menu and follow the quick setup wizard.
This will help you to set up the IP configuration, add users and prepare file sharing.
7. You are now ready to share and download files.
Note: Without installing and formatting a drive first, most functions will not be available (e.g.
User & Group Management and BitTorrent download).
How to login
To configure your NAS, you will need to use the web browser. You will enter the IP address
and then use the web configuration for further setup. There are several methods to discover
the IP address of the device on the following pages.
Use the Setup utility included on the CD. This will list the device automatically and allow you
to access the web configuration interface. You may also use the same utility to map the
network drive after you setup your shares. The Setup Utility is located in the “Contents/CAND”
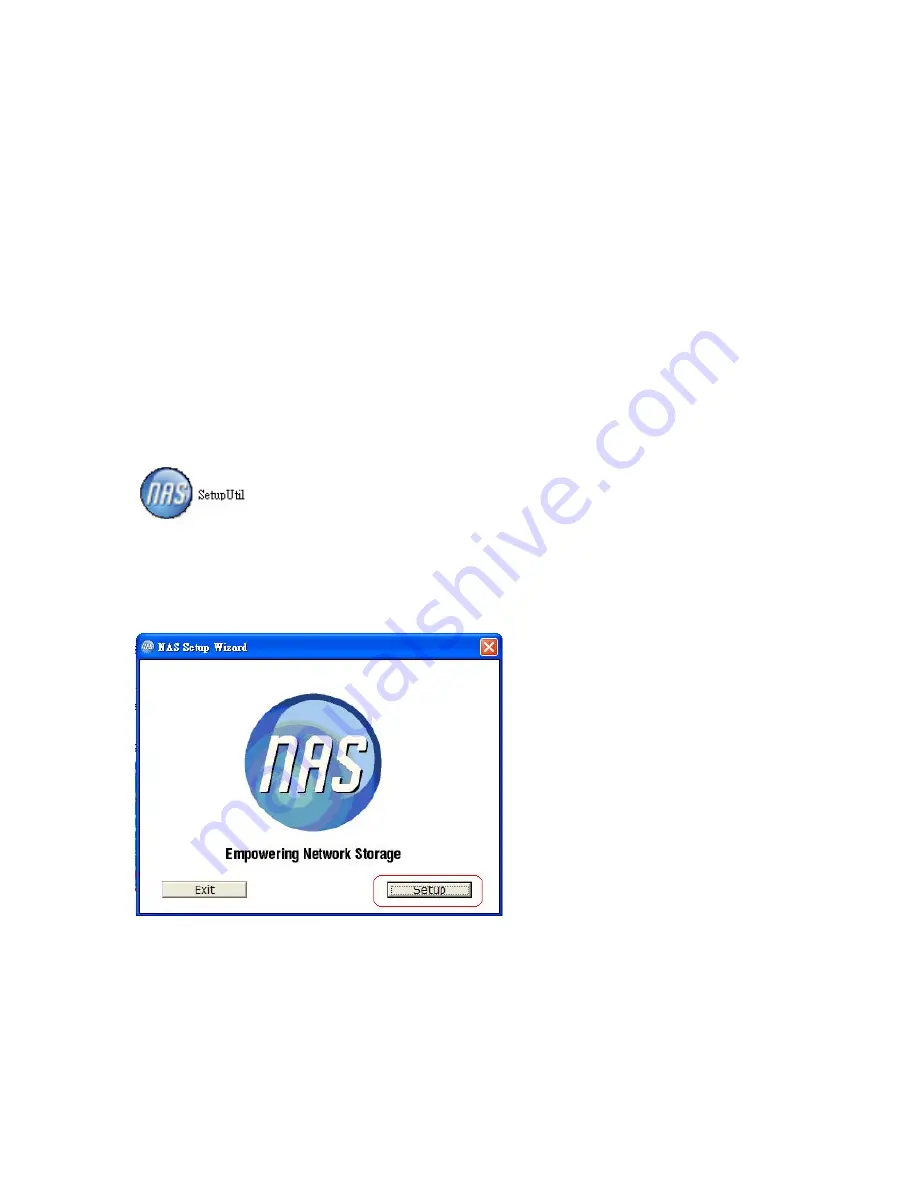
folder of the Resources CD. The SetupUtil icon should appear as follows:
Step 1. Turn on the NAS and make sure it is connected to the same network as your
computer.
Step 2. Start the Setup utility by double clicking on the SetupUtil.exe file and then press the
Setup button.
Step 3. Your NAS will automatically show up in the device list; if not, make sure the Setup
utility has access to the network and search again. You might have to configure your firewall
or even temporarily turn it off.
Summary of Contents for CAND Series
Page 2: ...Back of the CAND LED Indicators ...
Page 42: ......


