6–RoCE Configuration
Configuring RoCE on the Adapter for Linux
73
AH0054601-00 B
5.
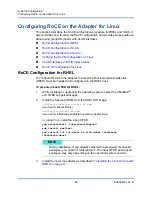
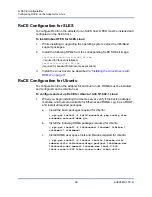
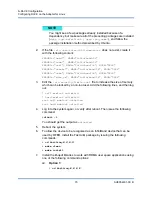
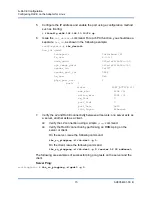
Configure the IP address and enable the port using a configuration method
such as ifconfig:
#
ifconfig ethX 192.168.10.10/24 up
6.
Issue the
ibv_devinfo
command. For each PCI function, you should see a
separate
hca_id
, as shown in the following example:
root@captain:~#
ibv_devinfo
hca_id: qedr0
transport: InfiniBand (0)
fw_ver: 8.3.9.0
node_guid: 020e:1eff:fe50:c7c0
sys_image_guid: 020e:1eff:fe50:c7c0
vendor_id: 0x1077
vendor_part_id: 5684
hw_ver: 0x0
phys_port_cnt: 1
port: 1
state: PORT_ACTIVE (1)
max_mtu: 4096 (5)
active_mtu: 1024 (3)
sm_lid: 0
port_lid: 0
port_lmc: 0x00
link_layer: Ethernet
7.
Verify the L2 and RoCE connectivity between all servers: one server acts as
a server, another acts as a client.
Verify the L2 connection using a simple
ping
command.
Verify the RoCE connection by performing an RDMA ping on the
server or client:
On the server, issue the following command:
ibv_rc_pingpong -d <ib-dev> -g 0
On the client, issue the following command:
ibv_rc_pingpong -d <ib-dev> -g 0 <server L2 IP address>
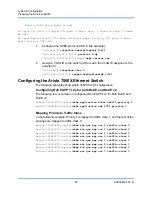
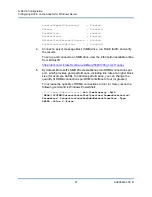
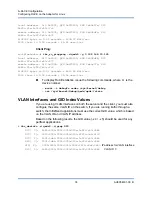
The following are examples of successful ping pong tests on the server and the
client.
Server Ping:
root@captain:~#
ibv_rc_pingpong -d qedr0 -g 0

