14
Mounting the extractor
If space will be tight once the extractor body has been mounted,
remove the chimney piece and then remove the film protecting it.
Place the chimney piece back inside the extractor body, whilst taking
care not to scratch it. If you can leave this stage until last, then do so
as it will help to prevent the chimney piece from receiving damage.
Once you are content with the prepared area, drill out the holes that
you have just marked out as per page 12. Use fixings (e.g. wall plugs)
suitable for the surface to which the extractor is to be mounted.
Insert screws into the upper holes and tighten them most of the way.
With the aid of another person, mount the extractor onto these screws
via the holes marked as ‘A’ as per Fig. 4 on page 12. If you are happy
with the extractor’s position, remove the grease filter and insert
screws into the holes marked as ‘B’ in Fig. 4 on page 12. Replace the
grease filter.
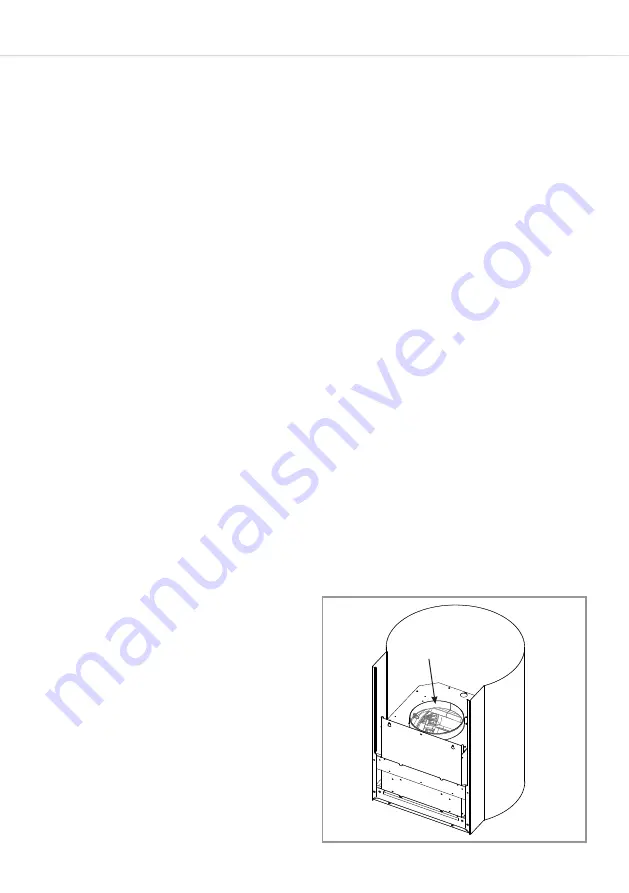
If ducting out the extracted air,
connect the ducting to the motor
outlet, marked as ‘O’ in Fig. 6.
Use a circlip or similar method to
secure the ducting to the outlet.
Fig. 6
O


