6
CDL Maple Sugaring Equipment Inc.
BRICKING
Here is the procedure for bricking your arch. You can also view a full bricking manual on
our website:
https://www.cdlinc.ca/wp-content/uploads/2018/05/Bricking-instructions-1.1-EN_low.pdf
Please note that we offer a bricking service. Contact your CDL representative for more
information.
1.
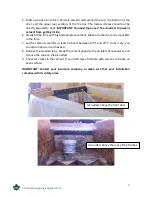
Place the ceramic wool against the inside walls of the arch from the bottom of the fire
box upwards. Leave an 8-inch overhang on top of the rail and cut with a retractable
knife. Tape down the excess if necessary. Dust masks must be worn when insulating
the evaporator.
2.
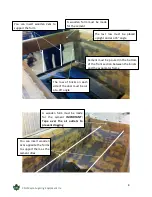
Use heat-resistant bricks to brick the bottom of the arch, followed by the walls. Start
at the front bottom and gradually work upwards and backwards. High-temperature
mortar must be applied in a thin layer behind and between the bricks to keep the
bricking solid and seal any gaps.
3.
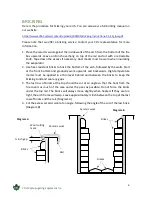
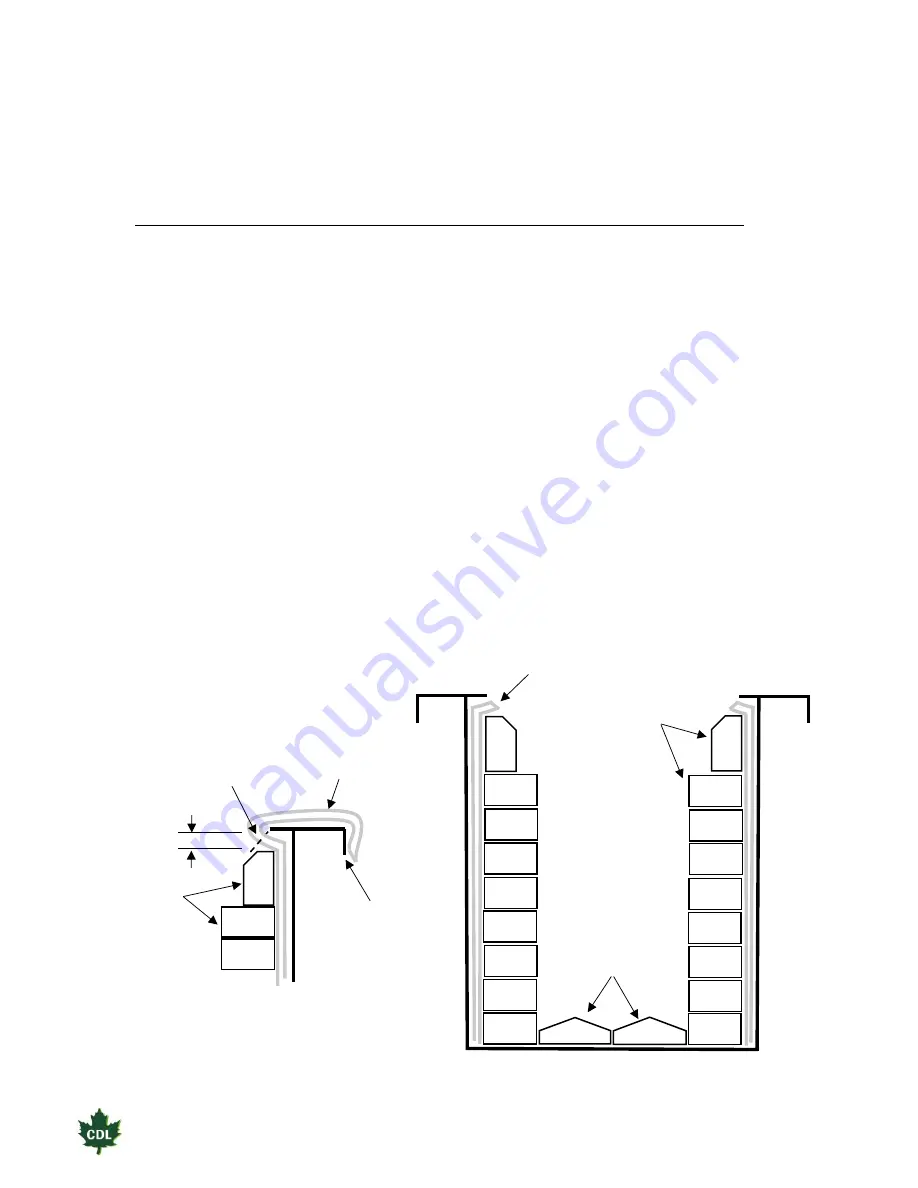
The last row of bricks at the top should be cut at an angle so that the heat from the
fire covers as much of the area under the pans as possible. Do not force the bricks
under the top rail. The bricks will always move slightly when heated. If they are too
tight, the arch frame will warp. Leave approximately ¼ inch between the top of the last
row of bricks and the rail. (Diagram A)
4.
Cut the excess ceramic wool at an angle, following the angle of the cut of the last brick.
(Diagram B)
Bricks
Ceramic wool
Wool cutting
mark
Rail
Diagram A
¼ inch gap
Bricks
Ceramic wool
Grates
Diagram B


