Installing the USB interface
Overview
This section describes how to install a Power1401-3 on a
Windows PC, communicating via a USB port.
To install the Power1401 you will need:
A Power1401
A power brick and mains cable
A USB data cable
The CED software application disk
When installing the PC USB interface, the software is installed
first, after which the hardware connection is made between the
Power1401 and the computer. Installation follows the same
procedure for all Windows operating systems.
Software
installation
The minimum software needed to control a Power1401 is the
standard 1401 command library and the USB device drivers.
These are supplied on the
CED 1401 installation software
disk,
together with test and diagnostic utilities. To install the
software, simply insert the CD. Typically it will autorun. If it
does not, run
setup.exe
.
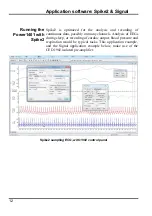
If you are installing Spike2 or Signal, the drivers, command
library and test utilities are loaded at the same time as the
application.
Installations with
application software
Hardware
installation
A Power1401 using the USB interface requires a computer with
a USB2 port and connector. All you have to do is connect the
USB data cable between the computer and the Power1401.
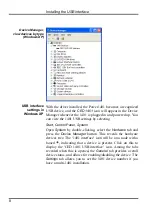
USB hardware is designed for ‘hot plugging’. With the
software installed, and both computer and Power1401 switched
on, insert the USB cable. This causes the computer’s USB
hardware to recognize the appearance of a new USB device. A
message window will briefly announce that Windows has
detected a new USB device and is looking for its driver. Since
this has already been installed, it will report that it has found the
CED 1401 USB software, and disappear.
Hot plugging
6
Summary of Contents for Power1401-3
Page 56: ...User notes 50 ...

