4 x
CE Table Leg FSC 5/4 x 4 x 29-1/2”
2 x
Support Table FSC 2 x 4 x 16-1/4”
2 x
Support Seat FSC 2 x 4 x 36”
012
011
010
Wood Parts
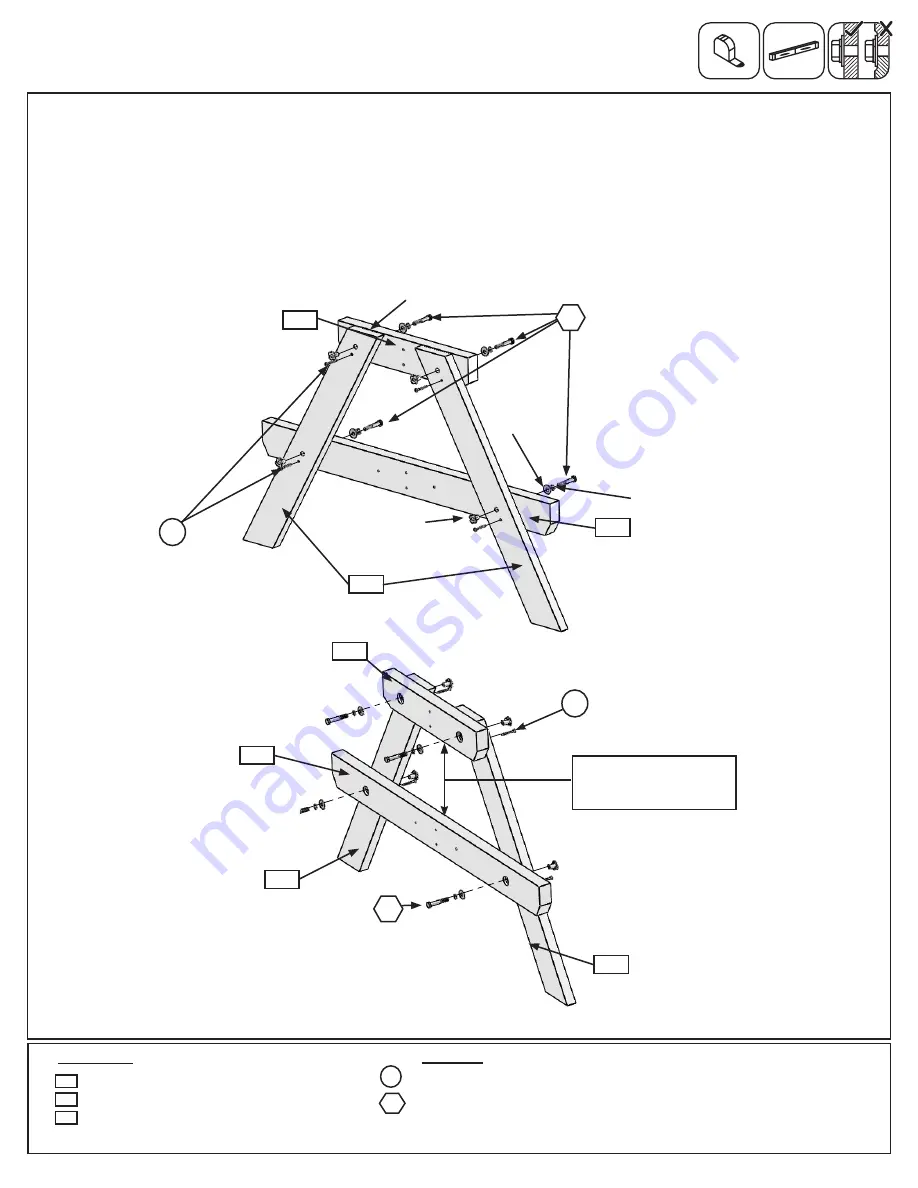
Step 43: Picnic Table Assembly
Part 1
A:
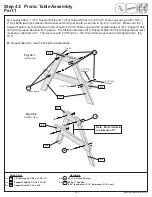
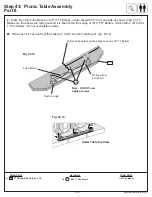
Loosely attach 1 (011) Support Table and 1 (012) Support Seat to 2 (010) CE Table Legs using 2 (G8) 5/16 x
2” Hex Bolts (with lock washer, flat washer and t-nut) per board, as shown in fig. 43.1 and 43.2. Make sure (011)
Support Table is level and flush with top of each (010) CE Table Legs and the angled edges of (011) Support Table
and (012) Support Seat are facing down. The distance between (011) Support Table and (012) Support Seat must
measure a minimum of 9”. Then secure with 2 (S15) #8 x 1-3/4” Wood Screws per board and tighten bolts. (fig.
43.1)
B:
Repeat Step A to create 2 Table End Assemblies.
8 x
#8 x 1-3/4” Wood Screw
8 x
5/16 x 2” Hex Bolt
(5/16” lock washer, 5/16” flat washer, 5/16” t-nut)
S15
010
012
012
5/16” Flat
Washer
G8
5/16” T-Nut
5/16” Lock
Washer
Hardware
G8
S15
x 2 per board
011
010
011
010
G8
Fig. 43.2
S15
Flush
Note: Must maintain
a minimum of 9”
Inside View
Outside View
Fig. 43.1
121
support@cedarsummitplay.com


