40
•
CEDIMA
® • Technical Documentation • All rights reserved according to ISO 16016 • Changes serving technical progress reserved •
Maintenance and care
CF•13.3 B / CF•13.3 B-L
ENGLISH
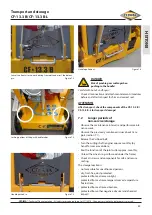
6. Tighten the clamping screw at the V-ribbed belt tension-
er (figure 6.1),
Carefully rotate the cutting shaft drive manually
(starter pull wire) so that the V-ribbed belt can "settle"!
7. Check the V-ribbed belt tension (section 4.4)!
ATTENTION
Do not overstretch the V-ribbed belt!
The V-ribbed belt can break and the cutting shaft and engine
bearings suffer overload and destruction!
8. If necessary, re-tension the V-ribbed belt as described
and check the tension again,
9. Tighten the clamping screw at the V-ribbed belt tension-
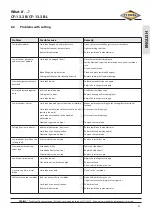
er and the lock nut of the adjustment screw (figures 6.1
and 6.2),
10. Check the true running by visual check in "inching"
mode! To do so, let the cutting shaft drive start up
shortly, see section 4.10, and immediately switch OFF
the joint cutter (engine) again.
6.7
Maintenance works
6.7.1 Tensioning the V-ribbed belt
1. Lift out the cutting shaft (saw blade),
2. Dismount the front plate (section 4.1),
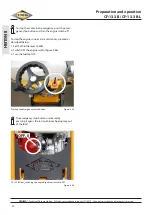
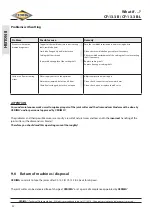
5. Tension the V-ribbed belt
Figure 6.3
17
If necessary, dismount the saw blade guard and the
saw blade mounted on the left (section 4.6.4)!
13
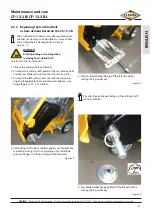
3. Clamping screw at V-ribbed belt tensioner
Figure 6.1
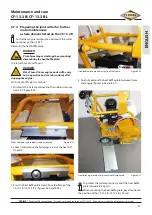
4. Lock nut of the adjusting screw at V-ribbed belt
tensioner
Figure 6.2
17
Summary of Contents for CF 13.3 B
Page 55: ......

