Issue 4.0
CEECO
Communication Equipment & Engineering Company
PROPRIETARY
10
PROGRAMMING CONTINUED…
•
Be sure to log your entries here for future reference:
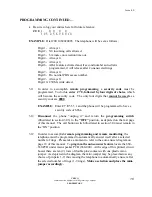
# 0 0
1 _ _ 0 0 _ 0 _ 0 _
1 2 3 4 5 6 7 8 9 10
EXAMPLE:
Dial #00 1060020005. The telephone will be set as follows:
Digit 1- Always 1.
Digit 2- N0 incoming calls allowed.
Digit 3- 6 minute conversation time out.
Digit 4- Always 0.
Digit 5- Always 0.
Digit 6- ADA feature activated and, if second number auto-dial is
programmed, it will release after 2 unanswered rings.
Digit 7- Always 0.
Digit 8- Do not dial PBX access number.
Digit 9- Always 0.
Digit 10- 250 Ms wink detect.
3.11
In order to accomplish
remote programming
, a
security code
must be
programmed. To do this,
enter # 7 0, followed by four digits of choice
, which
will become the security code. The only four digits that
cannot be used
as a
security code are
0000
.
EXAMPLE:
Enter
# 7 0
5 5 5 1 and the phone will be programmed to have a
security code of 5551.
3.12
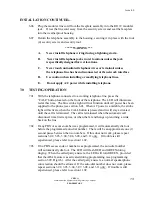
Disconnect
the phone “unplug it” and return the
programming switch
(Illustrated in section 3.03) to the
"OFF"
position, as depicted on the last page
of this manual. The call button switch illustrated in section 3.04 must remain in
the “ON” position.
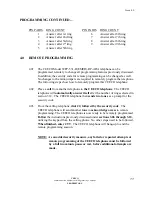
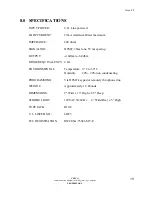
3.12 In order to accomplish
remote programming and remote monitoring
, the
telephone must be programmed to automatically answer itself after a selected
number of rings. Please take a moment to refer to the auto answer diagram on
page 18 of this manual. To
program the auto-answer feature
locate the 660-
650 PCB under main speaker PCB (660-000). At the edge of this printed circuit
board, there are ten (9) rows of double pins/contacts with one plastic mini-
jumper. As depicted in the diagram, the mini-jumper may be placed across any
choice of pin pairs 1-9; thus causing the telephone to automatically answer after
the selected number of rings (1-9 rings).
Make a selection and place the mini-
jumper accordingly.


