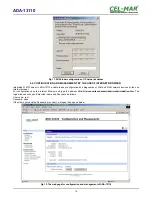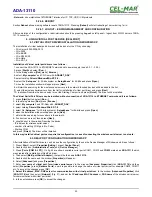
5.2.1. NETWORK CONFIGURATION
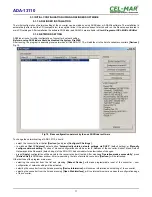
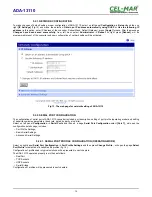
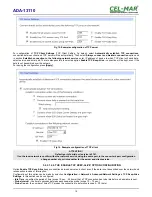
To make changes of default setting or new configuration of ADA-13110, select on left panel
Configuration -> Network
and then on
right
[IP Settings]
(Fig.13) and make the selection:
Obtain an IP address automatically using DHCP
or
Use the following IP
address
(in this option, enter IP Address of the converter, Subnet Mask, Default Gateway), press
[Apply]
for save. After the message
Changes have been saved successfully
, from left menu select
Administrator -> Reboot
on right press
[Reboot]
, will be
programmable reset of the converter and new configuration of network setting will be activated.
Fig 13. The web page for network setting of ADA-13110
5.2.2. SERIAL PORT CONFIGURATION
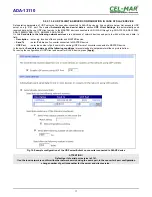
The configuration of serial port of ADA-13110 converter includes: port description, setting of port profile (operating mode) and setting
of serial transmission parameters (baud rate, data bits, parity, stop bits).
Select on left panel
Configuration -> Serial Ports
and then on a page
Serial Port Configuration
select
[Port 1],
will open the
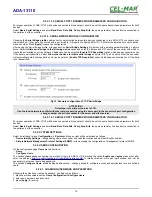
configuration details page, includes:
–
Port Profile Settings,
–
Basic Serial Settings,
–
Advanced Serial Settings,
5.2.2.1. SERIAL PORT PROFILE CONFIGURATION (OPERATING MODE)
Select on right panel
Serial Port Configuration -> Port Profile Settings
and then press
Change Profile...
will open the page
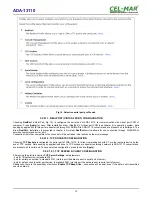
Select
Port Profile
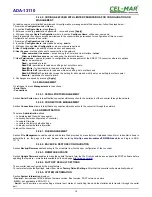
for selection of available port profiles (fig. 14).
Configuration of profile used in typical solutions will be presented in next chapters.
The ADA-13110 operates properly in profiles as follows:
–
RealPort
–
TCP Sockets
–
UDP Sockets
–
Serial Bridge
Configuration of profiles will be presented in next chapters.
13
ADA-13110

