During loading software the yellow LED located beside SW1 micro-switch will blink, showing data flow to the converter. If the software
was loaded correctly yellow LED will be blink again with frequency 1 Hz.
After that, set microswitch SW1 to RUN mode as shown in the table below.
SW1-1
SW1-2
OFF
OFF
In the RUN mode the yellow LED (located near the SW1), will turn off.
5.4. EMERGENCY FIRMWARE UPDATE
In case of the unsuccessful update of the converter software, try again according to description in the above point. If the update is still
incorrect use emergency firmware update. Set SW1 microswitch mode as in the table below.
SW1-1
SW1-2
ON
ON
After microswitch setting, converter should be restarted, by turning OFF and then ON the power supply. The yellow LED will light
continuously and the converter will be in Emergency Firmware Update mode. Now follow the description in the above point.
After successful software update, set microswitch SW1 to the RUN mode as shown in the table below.
SW1-1
SW1-2
OFF
OFF
In the RUN mode the yellow LED (located near the SW1), will turn off.
5.5. FACTORY DEFAULT
In case of faulty functioning of ADA-4040PC8, like:
- no communication in the configuration mode,
- transmission errors on RS485/422 bus,
can be restored the factory default setting of the converter internal registers.
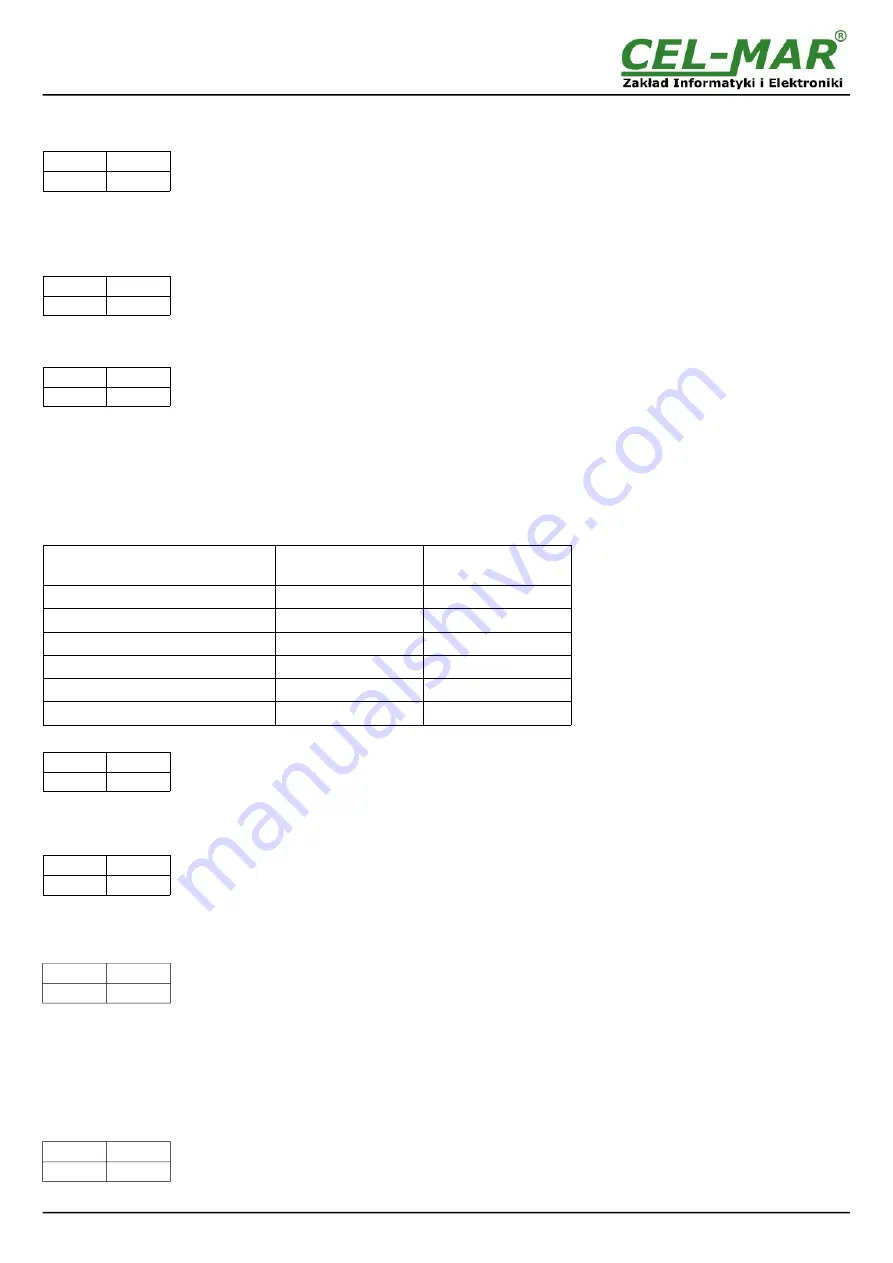
Factory default
Parameter
JCT
RS485/RS422
RTU
RS485/RS422
Device address
1
64
Baud rate
9600 bps
9600 bps
Data bits
8
8
Parity
None
None
Stop bits
1
1
Interval between frames in bytes
4
4
Set SW1 microswitch mode as in the table below.
SW1-1
SW1-2
OFF
ON
Disconnect the power and after while connect again the power. After that, will be loaded the factory default setting to the converter
internal registers.
After this operation, the converter parameters should be set again for operating in the application.
Set micro switch SW1 to run mode as shown in the table below.
SW1-1
SW1-2
OFF
OFF
In the RUN mode the yellow LED (located near the SW1), will turn off.
6. DATA TRANSMISSION DIAGNOSTICS
To readout diagnostics, the SW1 microswitch should be set to the configuration mode.
SW1-1
SW1-2
ON
OFF
In the configuration mode the yellow LED will blink with frequency 1Hz.
Correctness of transmission proceed on JCT (RS485) and RTU(RS485) interfaces can be checked by readout the errors list by
ADAConfig
Software from the converter memory. Frames error counter will be increased, in case of: improper speed set compared to
real speed of data transmission. Parity error counter will be count the errors which can arise in case of misrepresent bytes in
transmitted sign. This counter will not work in case of disable control parity.
To check those counters press the button
[Read transmission errors],
and to delete (zeroing of counters in the memory of the
converter) press
[Delete transmission errors].
In case of parity errors or frame errors, should be checked the ADA-4040PC8
converter's configuration and correctness connection of RS485 bus to RTU and JCT converter ports.
After finishing the diagnostics, the SW1 microswitch should be set to the run mode as shown in the table below.
SW1-1
SW1-2
OFF
OFF
In the run mode the yellow LED (located near the SW1), will turn off.
10
ADA-4040PC8

