Page | 17
E Series Installation Guide
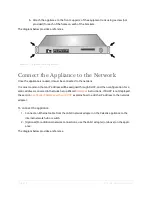
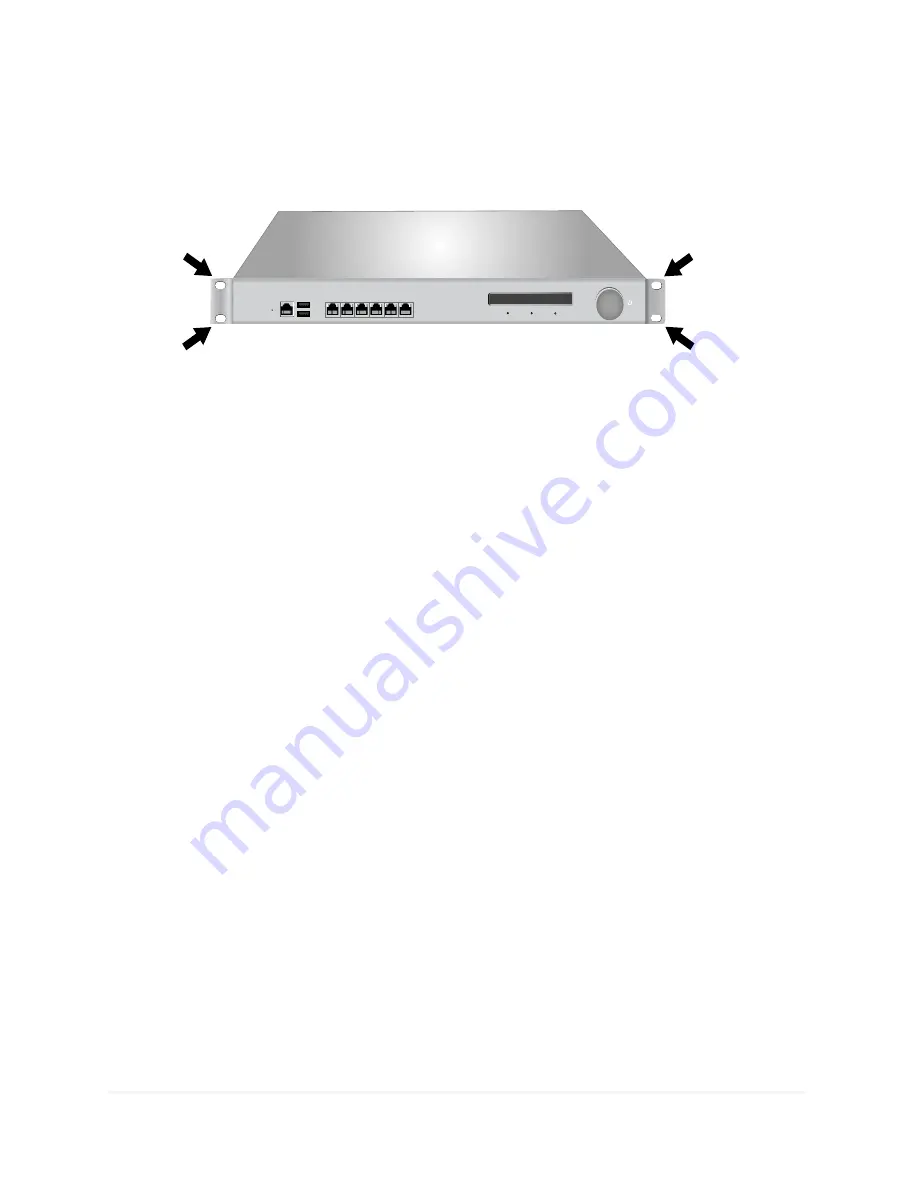
b. Attach the appliance to the front supports of the equipment rack using a screw (not
provided) for each of the holes on each of the brackets.
The diagram below provides a reference.
Illustration 7: Appliance Mounting Brackets
Connect the Appliance to the Network
Once the appliance is racked, it must be connected to the network.
It is most common that an IP address will be assigned through DHCP, and then configuration for a
static address is covered in the Quick Setup Wizard
instructions. If DHCP is not deployed,
the section
Configure IP Address without DHCP
explains how to add the IP address to the network
adapter.
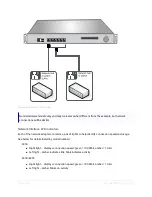
To connect the appliance
1. Connect an Ethernet cable from the LAN0 network adapter on the Celestix appliance to the
internal network hub or switch.
2. [Optional] For additional network connections, use the LAN1 adapter (or above) on the appli-
ance.
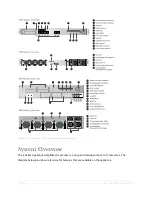
The diagram below provides a reference.

