background image

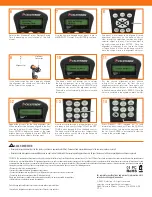
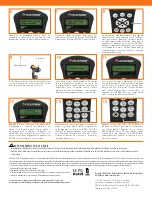
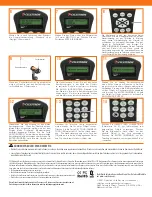
Now that your telescope is properly aligned, you 

are ready to find your first object. Press the SKY 

TOUR button (keypad #5) on the hand control.  

The hand control will display a list of objects that 

are visible, above your horizon, for the date and 

location you entered.

13

Press OBJECT INFO (keypad #0) to read 

information about the object. Press the SCROLL 

DOWN scroll key to display the next object on 

the list. Press ENTER to automatically slew the 

scope to the selected target.

14

FCC NOTE:  This equipment has been tested and found to comply with the limits for a Class B digital device, pursuant to part 15 of the FCC Rules. These limits are designed to provide reasonable protection against harmful 

interference in a residential installation. This equipment generates, uses, and can radiate radio frequency energy and, if not installed and used in accordance with the instructions, may cause harmful interference to radio 

communications. However, there is no guarantee that interference will not occur in a particular installation. If this equipment does cause harmful interference to radio or television reception, which can be determined by 

turning the equipment off and on, the user is encouraged to try to correct the interference by one or more of the following measures:

•  Reorient or relocate the receiving antenna.

• Increase the separation between the equipment and receiver.

•  Connect the equipment into an outlet on a circuit different from that to which the receiver is connected.

• Consult the dealer or an experienced radio/TV technician for help.

Please note that changes or modifications not expressly approved by the party responsible for compliance  

could void the user’s authority to operate the equipment.

Product design and specifications are subject to change without prior notification.
This product is designed and intended for use by those 14 years of age and older.

   SOLAR WARNING

•   Never point telescope directly at the Sun (unless you have an approved solar filter).  Permanent and irreversible damage to the camera or optics may result.
•   Never leave the telescope unsupervised. Make sure an adult who is familiar with the correct operating procedures is with your telescope at all times, especially when children are present.

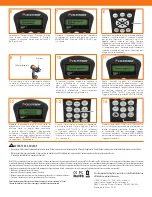
The hand control will prompt you to center 

the bright alignment star in the center of the 

eyepiece. Once centered, press ALIGN. This will 

accept the star as your first alignment position.  

The motors will automatically slow down to make 

this easier. 

10

For the second alignment object, choose 

a bright star or planet as far from the first 

alignment object as possible. Once again, use 

the directional arrow buttons to center the object 

in the finderscope and press ENTER. Once the 

object is centered in the eyepiece, press ALIGN. 

11

Repeat the process for the third alignment star.  

When the telescope has been aligned to the final 

star, the display will read “Match Confirmed.” 

Press UNDO to display the names of the three 

bright objects you aligned to, or press ENTER to 

accept these three objects for alignment.

12

Use the numeric keypad enter today’s date in 

MM/DD/YYYY format. Press ENTER to continue. 

7

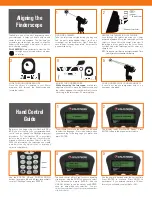
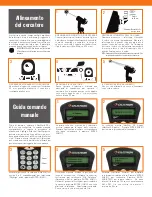
The mount is now ready to be aligned. Use the 

directional arrow keys on the hand control to 

slew (move) the telescope towards any bright 

celestial object in the sky. Center the object in 

the finderscope and press ENTER.  Once the 

alignment is underway, do not move the scope 

or tripod by hand.  Use only the hand control to 

move the scope or errors in alignment will occur.

8

If the finderscope has been properly aligned, 

the alignment star should now be visible in the 

field of view of the eyepiece.

9

Select either Standard Time or Daylight Saving 

Time, depending on your location or the time 

of year.

6

For complete specifications and warranty information, visit: 

celestron.com/support/warranties

© 2021 Celestron • All rights reserved

celestron.com/pages/technical-support

2835 Columbia Street • Torrance, CA 90503 USA 
12-21

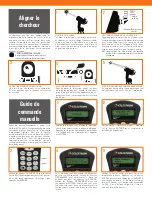
StarPointer 

Finderscope

Alignment Star

Summary of Contents for 11068

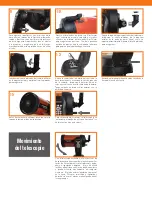
Page 1: ...tripod leg to the desired height loosen the locking knob pull the leg section out and re tighten the knob 5 Locking Knob Remove the leg brace locking knob 3 Ensure that all parts of your NexStar 6SE o...

Page 2: ...cure 11 Insert the silver barrel of the 25mm eyepiece into the star diagonal Tighten the silver screw to secure 12 Turn on the power switch located at the base of the fork arm 14 Slowly turn the focus...

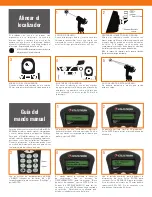
Page 3: ...ce 5 YOUR FINDERSCOPE IS NOW ALIGNED It should not require realignment unless it is bumped or dropped 3 LOOK THROUGH FINDERSCOPE Once the object is centered in your 25mm eyepiece look through the find...

Page 4: ...ever point telescope directly at the Sun unless you have an approved solar filter Permanent and irreversible damage to the camera or optics may result Never leave the telescope unsupervised Make sure...

Page 5: ...lage du pied de tr pied et en tirant le pied la longueur d sir e et en resserrant la molette 5 Molette de verrouillage Retirez la molette de verrouillage du renfort de jambe et faites glisser le plate...

Page 6: ...re de 25 mm dans le renvoi coud et serrez la vis argent e pour le fixer 12 Allumez l interrupteur pr sent sur la base du bras de fourche 14 Pour obtenir la meilleure image travers le t lescope tournez...

Page 7: ...on avec l objet observ dans l oculaire de 25 mm 5 VOTRE CHERCHEUR EST MAINTENANT ALIGN Il n aura pas besoin d tre align de nouveau tant qu il n aura pas subi un choc ou qu il sera tomb REGARDER DANS L...

Page 8: ...un filtre solaire appropri Des dommages irr versibles peuvent tre inflig s la cam ra ou aux optiques Ne jamais laisser le t lescope sans surveillance Assurez vous qu un adulte connaissant les bonnes...

Page 9: ...Feststellknopf des Stativbeins l sen das Bein auf die gew nschte L nge herausziehen und den Knopf wieder festziehen 5 Feststellknopf Entfernen Sie den Feststellknopf der Bein strebe und schieben Sie...

Page 10: ...die verchromte Steckh lse des 25 mm Okulars in den Star Zenitspiegel ein und ziehen Sie die verchromte Schraube zum Sichern fest 12 Schalten Sie den Ein Aus Schalter auf der Unterseite des Gabelarms e...

Page 11: ...ote Punkt ber dem gleichen Objekt erscheint das Sie im 25 mm Okular des Teleskops beobachten 5 IHR SUCHERFERNROHR IST JETZT AUSGERICHTET Es ist keine Neuausrichtung erforderlich es sei denn es wurde e...

Page 12: ...skop niemals unbeaufsichtigt Achten Sie darauf dass ein Erwachsener der mit den richtigen Betriebsverfahren Ihres Teleskops vertraut ist stets gegenw rtig ist insbesondere wenn Kinder in der N he sind...

Page 13: ...irando la gamba alla lunghezza desiderata e serrando nuovamente la manopola 5 Manopola di blocco Rimuovere la manopola di blocco del supporto per le gambe e fare scorrere il vassoio porta accessori ne...

Page 14: ...25mm nel diagonale stellare e serrare la vite argentata per fissare 12 Attivare l interruttore di alimentazione posto alla base del braccio a forcella 14 Per ottenere una visione ottimale attraverso i...

Page 15: ...sullo stesso oggetto che si sta osservando nell oculare da 25 mm 5 IL CERCATORE ORA ALLINEATO Non occorre effettuare un nuovo allineamento salvo colpi o cadute OSSERVARE ATTRAVERSO IL CERCATORE Una v...

Page 16: ...sibili danni permanenti e irreversibili alla fotocamera o alle ottiche Mai lasciare il telescopio incustodito Assicurarsi che un adulto che abbia familiarit con le procedure di funzionamento corrette...

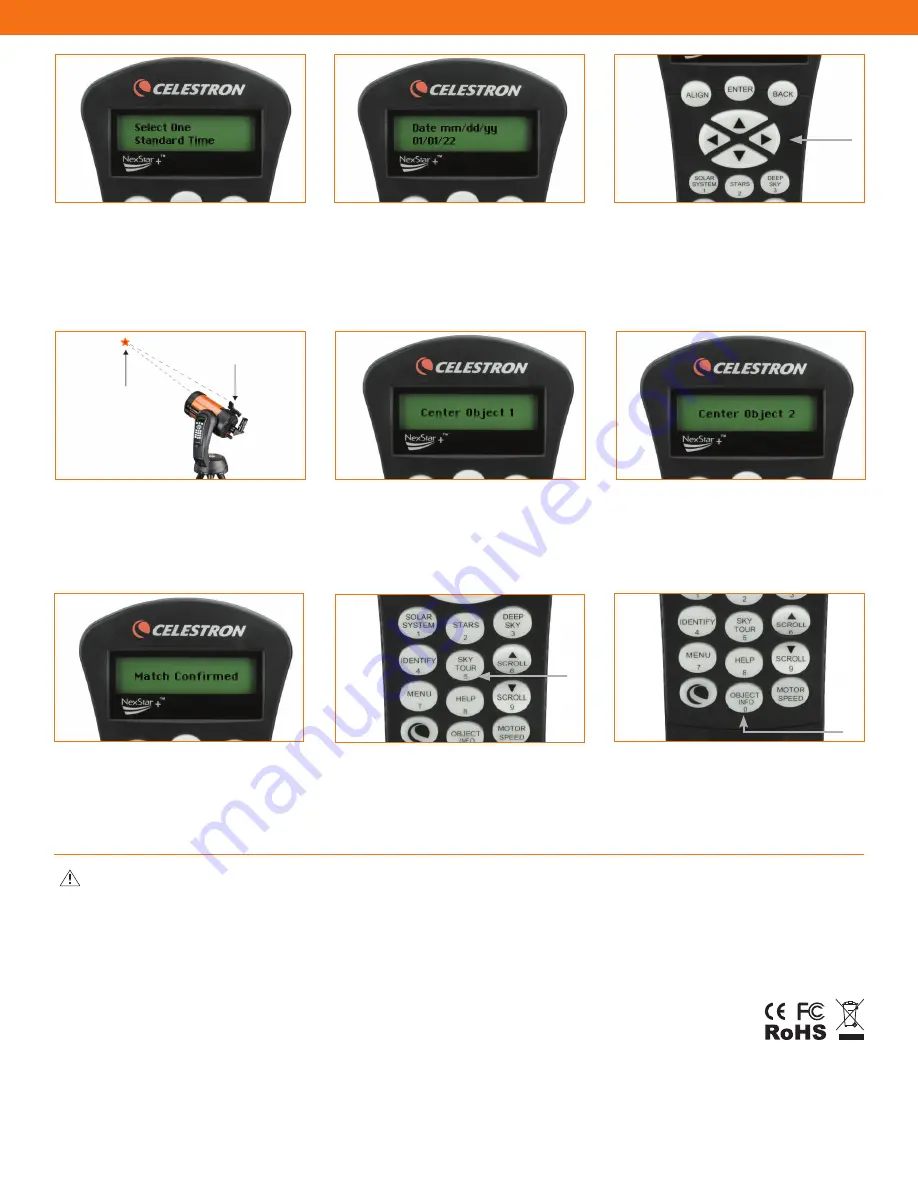
Page 17: ...del tr pode y extendiendo la pata a la longitud deseada y volviendo a apretar el mando 5 El mando de bloqueo de la pata Retire el mando de bloqueo de la abrazadera de pata y deslice la bandeja de acc...

Page 18: ...el ca n plateado del ocular de 25mm en la diagonal estelar y apriete el tornillo plateado para asegurarlo 12 Encienda el interruptor de encendido situado en la base del brazo de horquilla 14 Para obt...

Page 19: ...bjeto que est observando en el ocular de 25 mm del telescopio 5 SU LOCALIZADOR EST ALINEADO No deber a realinarse a menos que reciba golpes o caiga MIRAR POR EL LOCALIZADOR Cuando el objeto est centra...

Page 20: ...e irreversibles a la c mara o la ptica No deje nunca el telescopio sin supervisi n Aseg rese de que un adulto familiarizado con los procedimientos de uso adecuados est con el telescopio en todo momen...

Reviews: