background image

4

5

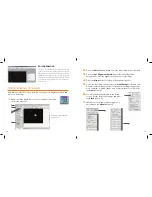
SOFTWARE INSTALLATION

1. 

Click Install iCap and follow the prompts to complete installation.

2. 

Click Install RegiStax and follow the prompts to complete installation.

Skyris will also operate in USB 2.0 at a reduced frame rate. 

CONNECTING THE CAMERA 
TO A TELESCOPE

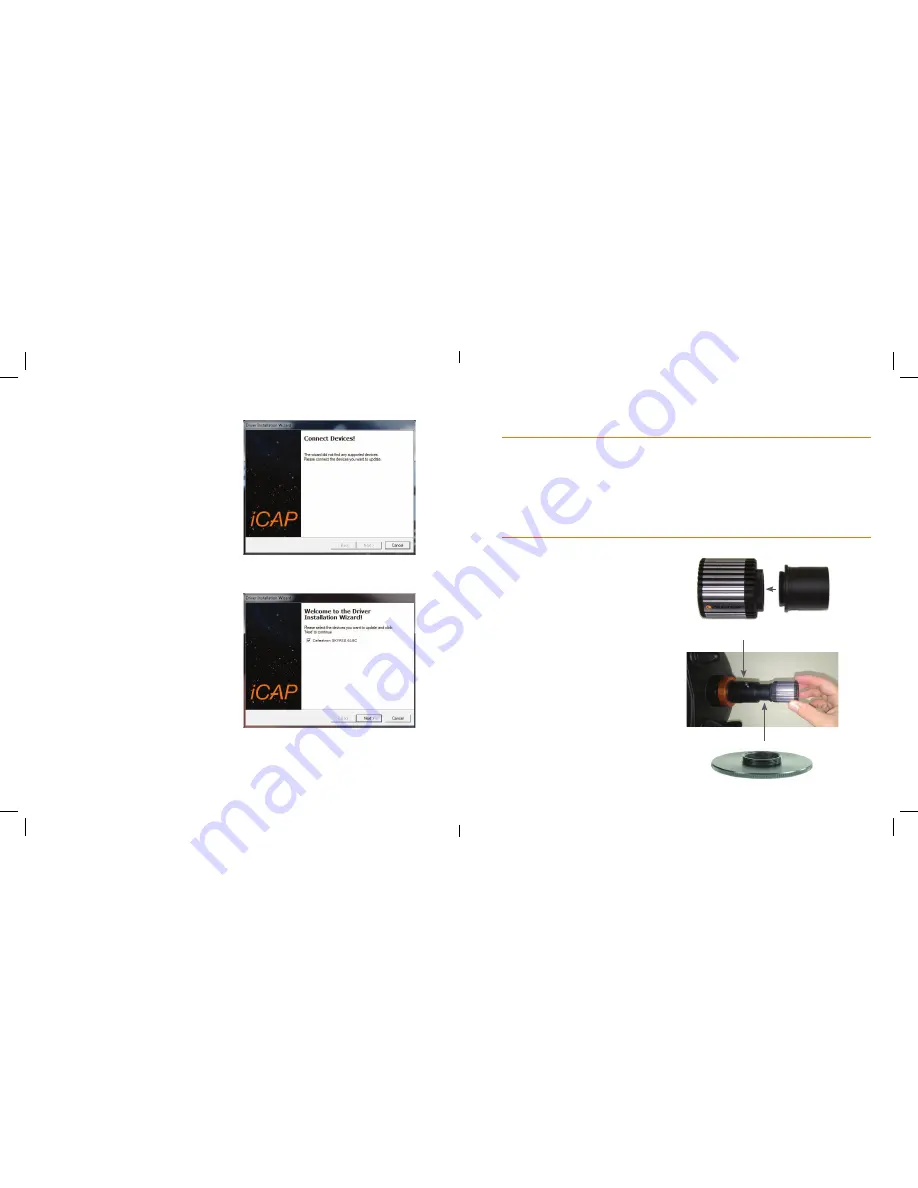
3.

  Click Install Driver. The Driver 

Installation Wizard will appear 
and prompt you to connect 
your camera.

4.

  Plug the Skyris camera into 

the computer’s USB port 
using the included cable. If 
equipped, use a USB 3.0 
port. The Driver Installation 
Wizard will automatically 
detect your Skyris model. 
Click Next and proceed 
through the prompts until the 
driver installation is complete.

1.

  Remove the dust cap on 

the camera body and thread 
the 1.25” nosepiece to the 
camera body. The threaded 
ring on the camera body 
should still be attached. 

2.

  Insert the camera into the 

1.25” eyepiece holder on your 
telescope. The camera body 
can also attach to a camera 
adapter with C-threads, 
typically requiring the use of a 
T-to-C adapter.

1.25” nosepiece

1.25” visual back

Optional T-to-C adapter (not included)

Summary of Contents for Skyris 132C

Page 1: ...INSTRUCTIONAL MANUAL USB 3 0 ASTRONOMICAL CMOS CAMERA 95508 SKYRIS 132C 95509 SKYRIS 132M...

Page 2: ...sk space recommended Telescope with a 1 25 eyepiece holder or adapter with C threads Motorized Mount Altitude Azimuth or German Equatorial recommended NOSEPIECE SKYRIS CAMERA BODY iCAP SOFTWARE CD USB...

Page 3: ...t using the included cable If equipped use a USB 3 0 port The Driver Installation Wizard will automatically detect your Skyris model Click Next and proceed through the prompts until the driver install...

Page 4: ...one master image The images are captured in video allowing you to accumulate hundreds of frames in just a few seconds The video files will later be exported to RegiStax and processed as shown in Proce...

Page 5: ...the dropdown menu to select the framerate closest to the exposure time used For example if the exposure time is 1 34 sec select 30 FPS 9 In the Capture menu select Toggle Recording Info Dialog 10 Cli...

Page 6: ...enter a number that represents one half of the number of image frames that were captured i e if 300 frames were captured then enter 150 Press the Limit button E 6 You will automatically advance to the...

Page 7: ...alignment of the optics will ruin your chances for a good image Before you begin imaging always check the collimation of your instrument and make adjustments if necessary Refer to your telescope s own...

Page 8: ...Even one frame of a high resolution video can use a large amount of disk space Hundreds or thousands of frames will quickly consume much of a hard disk We recommend storing your large video files on...

Page 9: ...ith the instructions may cause harmful interference to radio communications However there is no guarantee that interference will not occur in a particular installation If this equipment does cause har...

Reviews: