40’ x 280’ Classic Series Frame Tent
www.GetTent.com / www.CelinaTent.com
PG.9
© 2013 Celina Tent Inc.
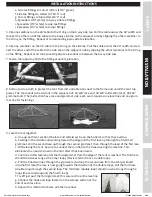
9. Lace the tent together:
a. Line up each tent section (the lace end will always be on the bottom) so that they overlap.
b. Starting in the middle and working toward the edge pull the first lace up through the first small
grommet. Pull the second lace up through the second grommet, then through the loop of the first lace.
c. While lacing the tent, be sure to connect the rain flap to the rope covering the lace line. This
eliminates the need to crawl on the tent after it has been laced.
d. Continue in this fashion until the third grommet from the edge of the tent is reached. The third lace
should be twice as long as the other loops (this is referred to as a double loop).
e. Pull the final two lines through the grommets and loop the second lace from the tent perimeter
into the first lace (the lace is now going towards the direction of the double loop). Pull the third lace
(double loop) through the second loop. The third lace (double loop) should now be strung through 2
loops (the second loop and the fourth loop).
f. Tie off just past the third grommet; this secures the entire lace line.
g. Connect the hook and loop located on the valance section at the
end of each lace line.
h. Repeat this method to secure all other lace lines.
SAFETY
MAINTENANCE
INS
TALLA
TION
CONT
AC
TS
INSTALLATION INSTRUCTIONS
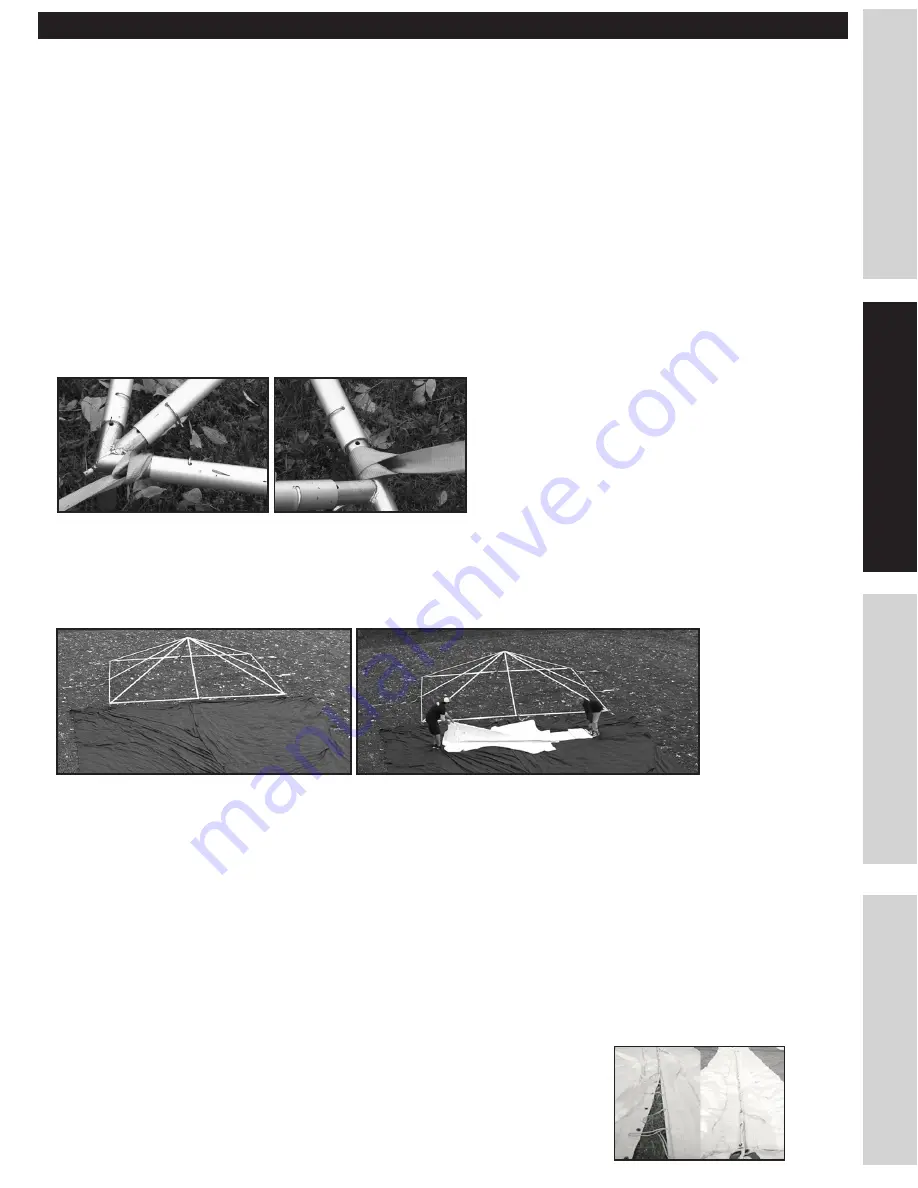
8. Roll out a drop cloth to protect the tent from dirt and abrasions next to the frame and unroll the tent top
pieces. The tent needs to be laid out in the sequence of: 40’x20’ lace end, 40’x20’ midsection (x12), 40’x20’
grommet end. (The midsection has a lace and grommet side; each seam requires one lace line and one grom
-
met line for fastening.)
7. Fasten the loop strap (B) to the fitting at each leg location.
5. Clip one carabiner on the 40’ cable to the O ring on the 6 way side tee. Pull the cable across the 40’ width and
connect the other end of the cable to the 6 way side tee on the adjacent side by clipping the other carabiner to
the O ring on the fitting. Repeat at corresponding 6 way side tee location.
6. Clip one carabiner on the 40’ cable to the O ring on the side tee. Pull the cable across the 40’ width and con
-
nect the other end of the cable to the side tee on the adjacent side by clipping the other carabiner to the O ring
on the fitting. Repeat at all corresponding side tee locations in between the 6 way side tees.
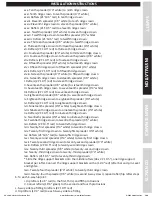
e. Side tee fittings to corner rafters (10’6” green)
f. Side tee fittings to rafters (21’10.5” red)
g. Corner fittings to hip rafters (14’4” red)
h. Spreaders (9’4” white) to 6-way side tee fittings
i. Spreaders (9’4” white) to side tee fittings
j. Spreaders (9’4” white) to corner fittings


