40
CHL-350 TECHNICAL MANUAL
03-2021
Translation of the original manual
16. START-UP SEQUENCE.
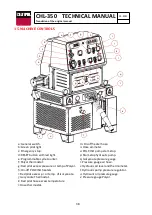
1. Install the machine completely fixed and stable.
2. Electrical connection of the unit. Ensure that the electrical connection is correct and
that the line is suitably shielded (magnetothermal and differential shielding).
3. Connect the machine to earth using the terminal fitted for the purpose (only necessary
in the event of the external power supply hose has no earth conductor).
4. Unroll the hoses.
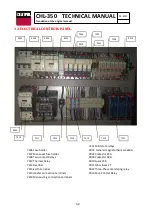
5. Ensure that the emergency pushbutton is activated (
c
).
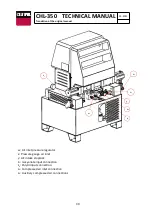
6. Connect product tanks to the machine (
z
1
,z
2
) by transfer pumps (they can be directly
connected to the machine in the event of emergency).
1
7. Connection of compressed air (external supply) to the distributor (
z
3
).
8. Open the main air valve located in the air distributor (
y
).
9. Adjust the pressure regulator (
w
) to between 6 and 8 bars.
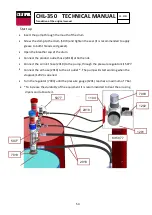
10. Unscrew the loose nut on each stopcock on the gun and insert the end of each hose into
their respective tanks (this task of recirculating liquids must be carried out before using
the machine for bleeding the air in the same).
2
11. Put the general switch (
a
) in the ON position.
12. Connect hydraulic pump by start button (
p
).
13. Select the working pressure by means of a pressure regulator (
t
) located on the front of
the machine. A pressure (bar) must be selected depending on the product to be used. It
is displayed on the pressure gauge (
u
):
i. Polyurea: 170-200 bar
ii. Polyurethane: 100-120 bares
(In the pressure switches of both heaters a protection pressure is preselected,
causing the machine to stop if this pressure is reached due to any anomaly).
14. Connect the cylinder start button (
o
)
to fill the pumps with liquid.
15. Select the required temperature using the thermostat for each product (
f,j
) and connect
the same with the start-up pushbutton (
h
).
3-4
16. Select the required temperature on the hose using the thermostat (
l
).
5
Switch on the heating using the ignition button
(m
)
.
17. Leave the cylinder activated for a few minutes for effective bleeding.
18. Stop the machine to be able to perform the following procedures.
19. Reconnect both loose nuts on each product to the gun.
20. Open the air stopcock on the gun.
21. Open the air stopcock on both products on the gun.
22. The system is now ready to start the application
7
.
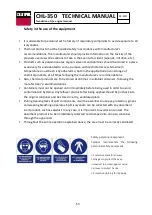
23. Use the appropriate means of personal protection
8
.
Summary of Contents for CHL-350
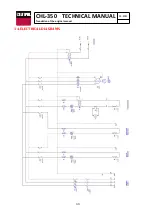
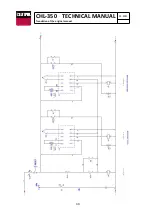
Page 33: ...33 CHL 350 TECHNICAL MANUAL 03 2021 Translation of the original manual 14 ELECTRICAL DIAGRAMS ...
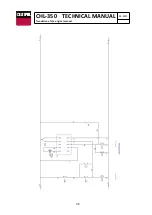
Page 34: ...34 CHL 350 TECHNICAL MANUAL 03 2021 Translation of the original manual ...
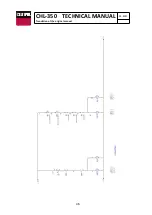
Page 35: ...35 CHL 350 TECHNICAL MANUAL 03 2021 Translation of the original manual ...
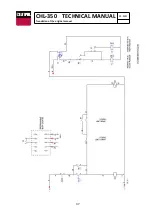
Page 36: ...36 CHL 350 TECHNICAL MANUAL 03 2021 Translation of the original manual ...
Page 37: ...37 CHL 350 TECHNICAL MANUAL 03 2021 Translation of the original manual ...
Page 60: ...60 CHL 350 TECHNICAL MANUAL 03 2021 Translation of the original manual 28 CE DECLARATION ...
Page 61: ...61 CHL 350 TECHNICAL MANUAL 03 2021 Translation of the original manual ...

