8
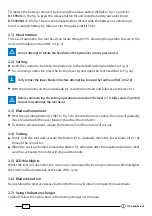
2.8) Battery status
(Metabo battery)
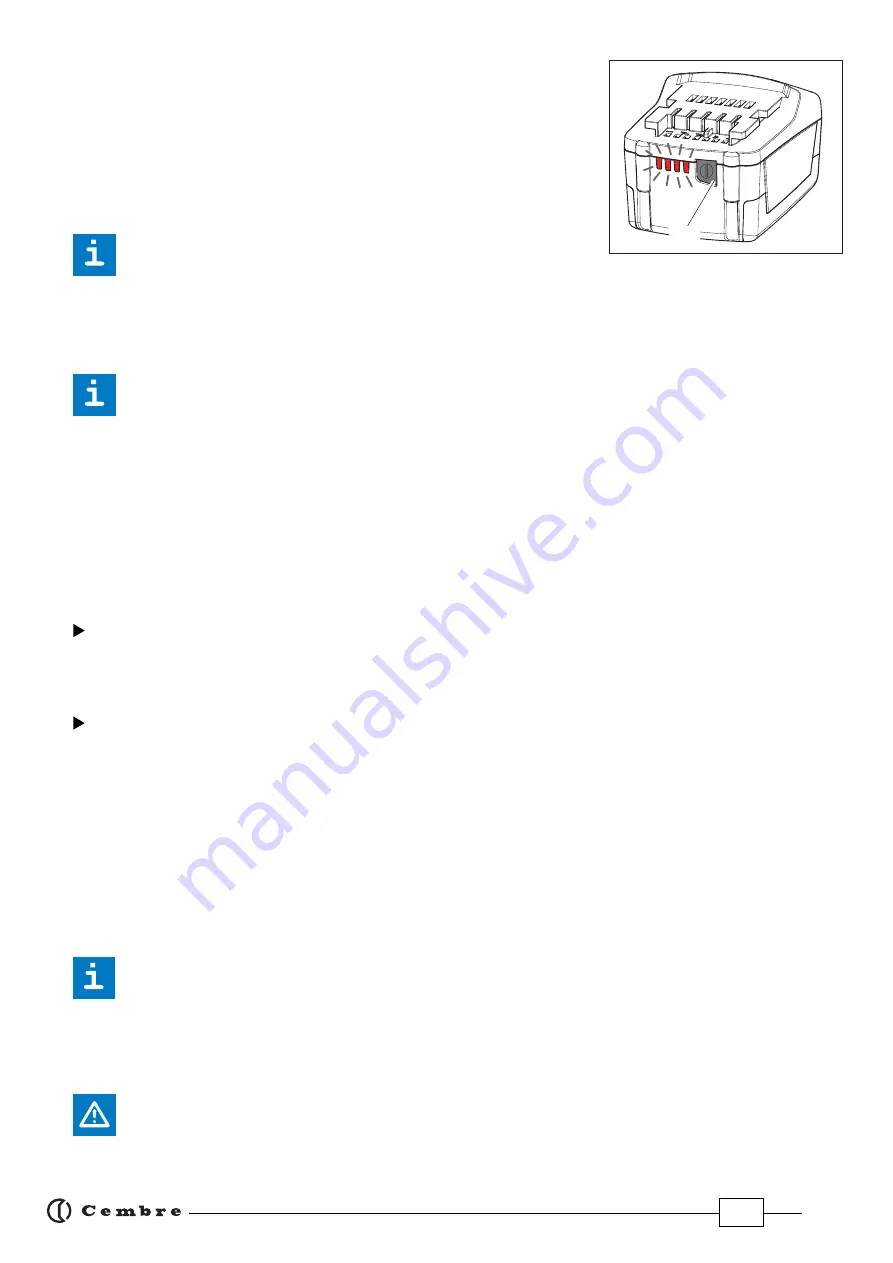
The battery is equipped with LED indicators that indicate the remain-
ing battery life at any time by pressing the adjacent button (12):
4 LEDs illuminated: fully charged
2 LEDs illuminated: 50 % capacity
1 LED flashing: minimum charge, replace the battery.
Workligths(6) illuminated combined with an alarm audible
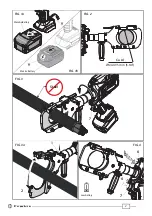
when the operating button (7) is pressed (Ref. to Fig. 5), indicate that the battery voltage has
dropped below a minimum safety threshold; under these conditions the tool will not start,
and it is necessary to recharge or replace the battery. The approximate time to fully recharge a
battery is about 80 minutes.
After each working cycle, and after the extraction of the battery from the tool, an integrated
battery
cut-off device will operate after 70 s approx. Then the LED nearest to button (12) will
fl ash 5 times each 14 s approx. The battery will be reactivated when it is reintroduced into
the tool and the operating button is pressed.
3. MAINTENANCE
The tool is robust, completely sealed, and requires very little daily maintenance. Compliance with
the following points, should help to maintain its optimum performance:
3.1) Thorough cleaning
Dust, sand and dirt are a danger for any hydraulic device. Every day, after use, the tool must be
wiped with a clean cloth taking care to remove any residue, especially close to pivots and move-
able
parts.
Do not use hydrocarbons to clean the rubber parts.
Regularly lubricate the moving parts and pivot pins of the head with a few drops of oil.
3.2) Storage case
When not in use, the tool should be stored and transported in the metal case, to prevent damage.
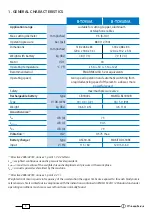
Metal case: VAL-B-TC950, size 565x410x132 mm (22.2x16.1x5.2 in.), weight 6,7 kg (14.7 lbs).
3.3) Routine maintenance
When the tool reaches the predetermined number of hours worked, it will signal that routine main-
tenance is recommended.
The tool will continue to work however 15 sec. after use an alarm comprising 3 beeps com-
bined with illumination of the worklights will signal that its return to
Cembre
for service is
recommended (see § 6).
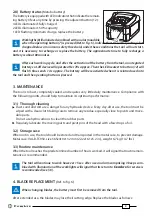
4. BLADE REPLACEMENT
(Ref. to fi g. 6)
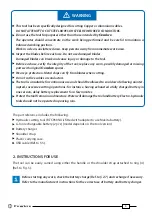
When changing blades, the battery must fi rst be removed from the tool.
After extended use, the blades may lose their cutting edge. Replace the blades as follows:
12
Summary of Contents for B-TC950A
Page 11: ...11...

