10
ENGLISH
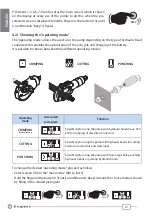
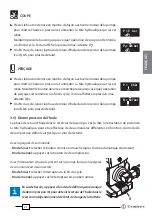
Control button (9) on the pump:
rocker type switch, enables
the control of the pump only when the remote controller
is not connected:
Push forwards for actuation and backwards for oil release.
When a crimping head is used, press and hold the
operating button (1) until the motor stops automati-
cally.
The control button (9) is only enabled when the remote
controller is not connected.
3. INSTRUCTIONS FOR USE
3.1) Preparation
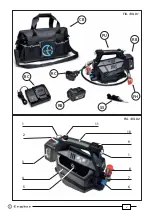
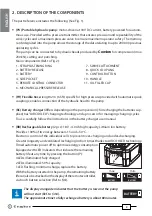
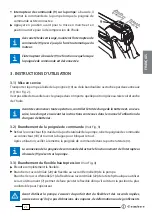
The pump can be easily carried using either the main handle (10) or the shoulder strap attached
to the two rings (1) (Ref. to Fig. 2).
The pump has an hermetically sealed hydraulic circuit allowing it to operate in any position.
Before starting any work, check the battery charge and recharge it if necessary following
the instructions in the battery charger user manual.
3.2) Connecting the remote controller
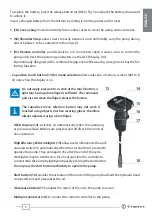
(
Ref. to Fig. 3)
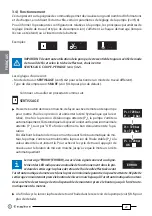
Extract the connector (5) located inside the side pocket of the pump.
Connect the remote controller using the connector (18) and turn the dial to lock it.
At the end of operation it is convenient to store the remote controller inside the side pocket (4).
Connection of the remote controller disables operation of the control button (9) on the
pump.
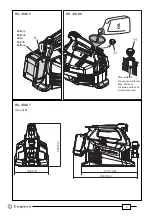
3.3) Connecting the fl exible hose
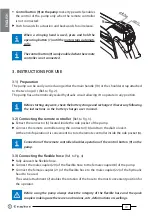
(
Ref. to Fig. 4)
Fully unravel the flexible hose.
Connect the male coupler (20) of the flexible hose to the female coupler (8) of the pump.
Connect the female coupler (21) of the flexible hose to the male coupler (22) of the hydraulic
head to be used.
The swivel attachment (7) enables the rotation of the hose to the most convenient position for
the
operator.
Before using the pump always check the integrity of the fl exible hose and the quick
couplers making sure there are no abrasions, cuts, deformations or swellings.
9
release
star
t


