Engine System Centaur Service Manual
Ontario Drive & Gear Limited www.centaur8x8.ca
(519) 662-2840 FAX (519) 662-2421
EN-32
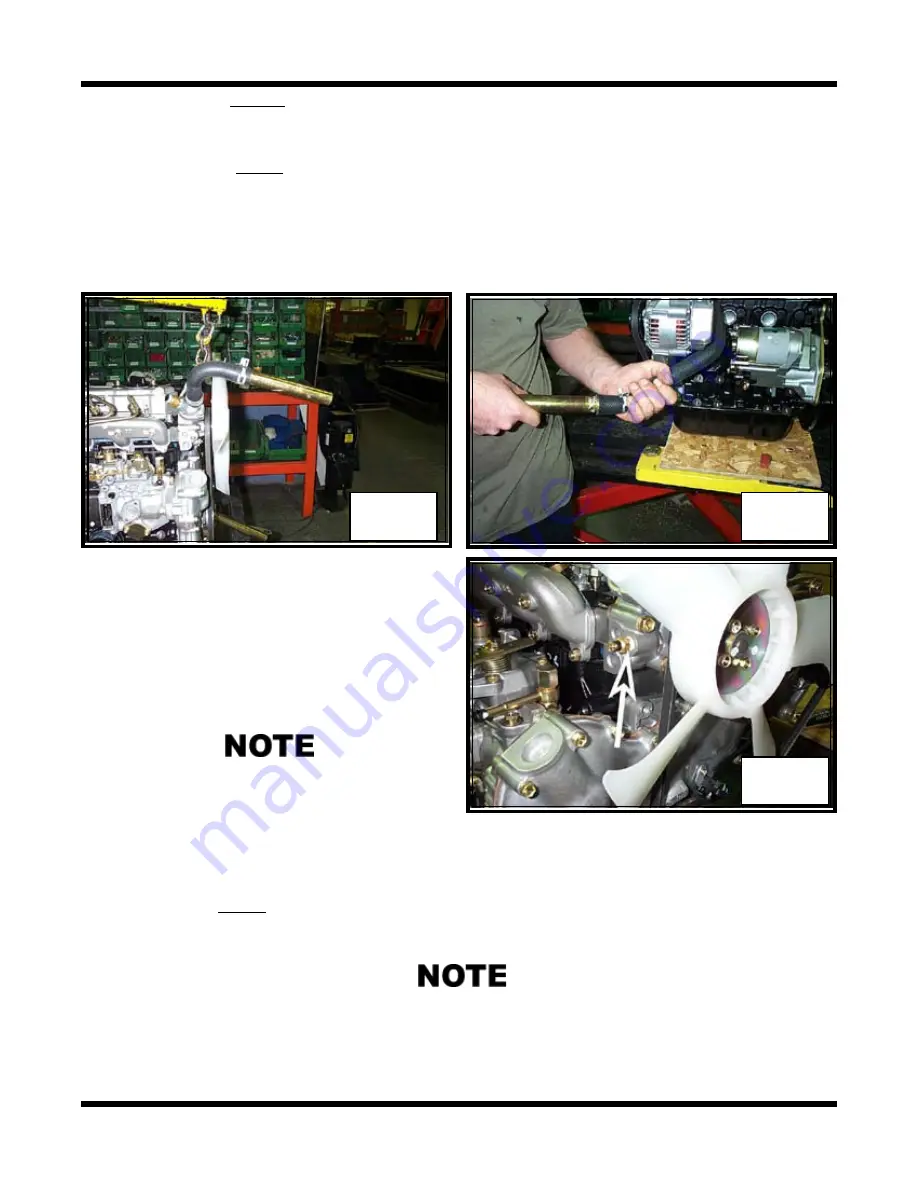
48. Remove the
lower
rad hose and extender tube that is connected to the outlet side of
the cooling system.
Photo EN-65
49. Remove the temperature gauge sensor located just below the thermostat.
Photo EN-66
47. Remove the
upper
rad hose and extension tube connected to the top of the thermo
-
stat.
Photo EN-64
Engine Sub-Assembly
1. Apply teflon pipe sealant to the threads
of the temperature gauge sensor and
install below the thermostat.
Photo EN-66
If the sensor is being installed into a new
engine, you must first remove the brass plug
below the thermostat.
2. Install the lower
rad hose and extender tube to the outlet side of the cooling system.
Photo EN-65
above.
Apply a little white grease to the inside diameter of both ends of the rad hose. This will
ease the assembly of the hose to the outlet side of the cooling system. It will also help when
assembling the extension tube to the other end.
EN-64
EN-65
EN-66
Summary of Contents for 2001 950
Page 2: ......
Page 4: ......
Page 353: ......
Page 413: ......
Page 416: ...saue Axial Piston Pumps Motors and Transmissions Technical Information Series 70 15 Series ...
Page 429: ...14 saue Axial Piston Pumps Motors and Transmissions Series 70 15 Series Notes ...
Page 447: ...31 saue Axial Piston Pumps Motors and Transmissions Series 70 15 Series Notes ...
Page 449: ......


