DATALOGGER THERMOMETER
9
(8) After finish installing USB-120 connector driver, it will install SE374 software automatically.
It will copy SE374.exe ( executable file ) and help file to your hard disk ( default is
c:\program files\SE374)
(9) After finish installation, plug USB-120 connector to PC usb port, execute
”
start
”
→
”
My Computer
”, then choose “View System Information” on the left top of the
window, the window below will show up.(see Fig.7)
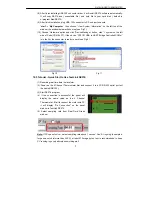
(10) Choose “Hardware” option and click “Device Manager” button, click “+” symbol on the left
side of Ports(COM &LPT),
if the device
“CP2101 USB to UART Bridge Controller(COMx)”
is in the list, the connector is ready to work.(see Fig.8)
Fig.10 Fig.11
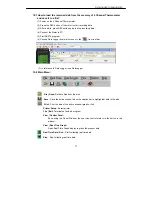
10.5 Tutorial - Quick Start to Use TestLink SE374:
(1) Recording real time data in waveform.
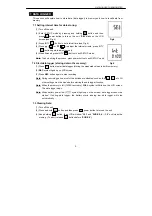
(2) Power on the 4 Channel Thermometer first and connect it to a PC RS-232 serial port wit
the cable(USB-120),
(3) Start SE374 program.
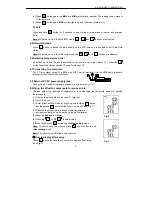
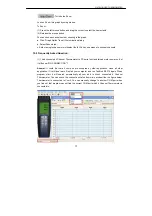
(4) If the connection is successful the panel will
display the same value as the 4 Channel
Thermometer. If fail to connect the meter with PC,
it will display "No Connection" on the panel
window in TestLink SE374.
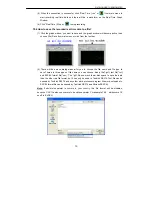
(5) Select sampling rate from Real-Time Graph
window.
Note: If PC speed is slow , select sampling rate above 1 second. And if it is going to sample a
large amount data(more than 5000), at least 512 mega bytes ram is recommended to keep
PC running in good performance working well.
Summary of Contents for 374
Page 1: ...374 Data Logger THERMOMETER SE 374 ...
Page 19: ......

